
So this would be project four but scratch build two after the Jazzmaster I built. This would however be the first unassisted build I've attempted (the JM I built the body but did a night course for the neck build with guidance) because, y'know, it's not as if these things need to be accurate or anything right?
Started out with the slowly dwindling pile of Lebanese Cedar for the body.
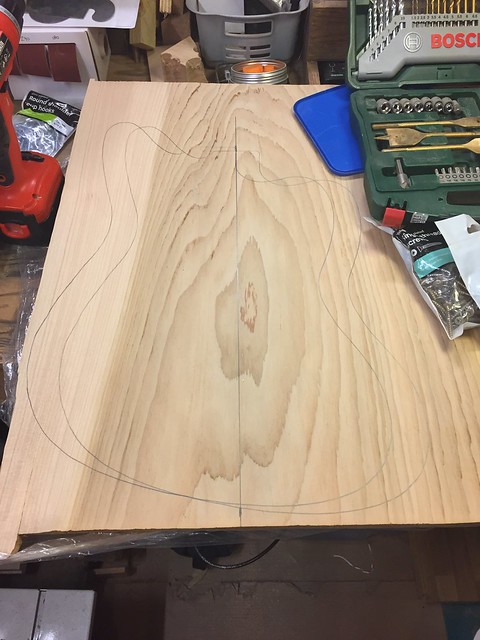
Started cutting it out and just as I was turning it out with my jigsaw a massive massive crack split it out
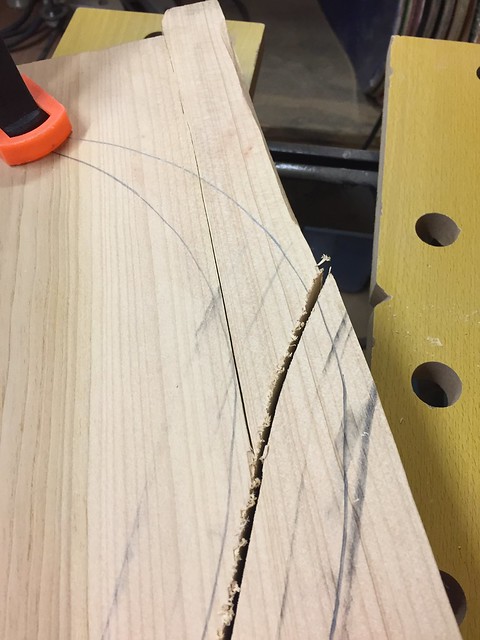
Luckily, the crack was pretty much a hair's breadth on the right side of the line so disaster was averted. Through absolutely no action on my part.
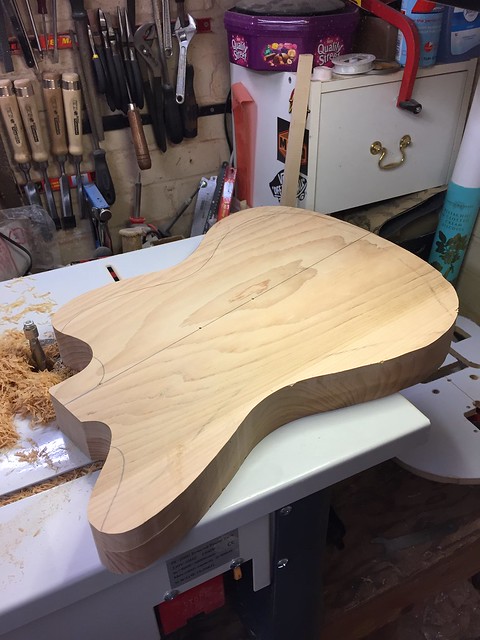
After that its part of the love-hate relationship I have with the flush trim bit. On one hand, it's sharp as hell, and really efficient and makes things a lot easier. On the other hand, it's sharp as hell and I'm in a constant state of fear that I might cut one or all of my fingers off every time I use it.
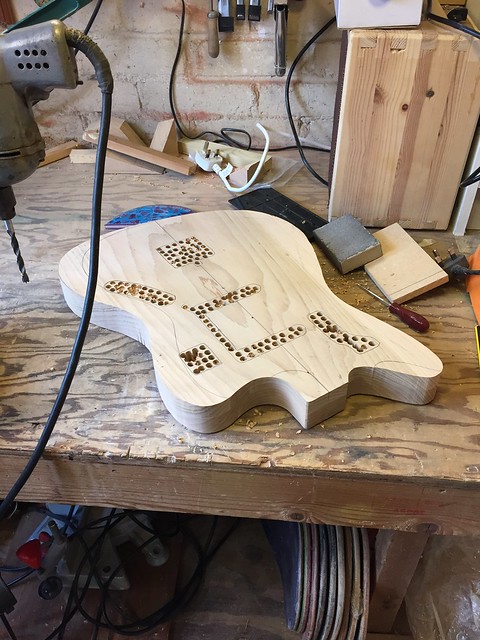
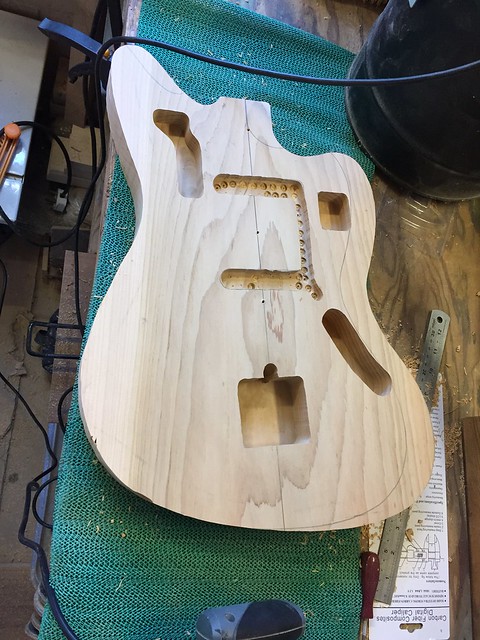
Once everything was trimmed down to size, its over to hogging out the cavities with my budget drill press and vacuum. Nothing about this is pretty, nothing about this is probably even a good idea but it gets the job done.
Halfwit episode No. 5001, when drilling out the depth of the pickup cavities, make sure you measure properly otherwise, you get a load of bradpoint marks when you route through.
It won't make any difference but there's something really pleasing about a clean routed body blank and the twitchy compulsive part of me feels let down and cheated that the clumsy fucking stupid part of me won out. Again.
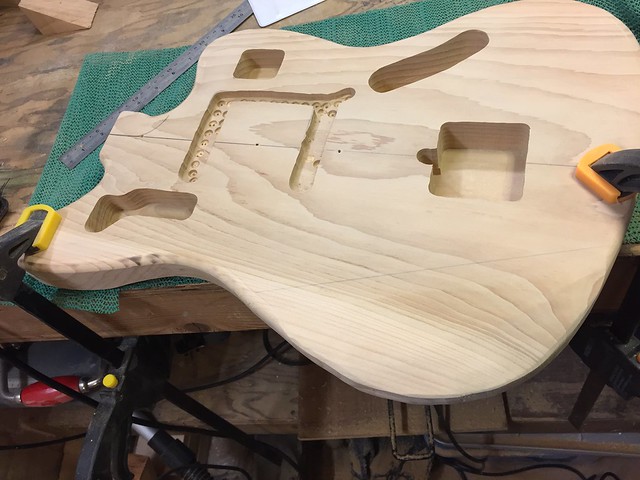
After that came the rounding over part and contours.

Rasped and sanded, rasped and sanded. Then later on, shaped with an orbital sander.
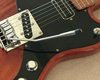
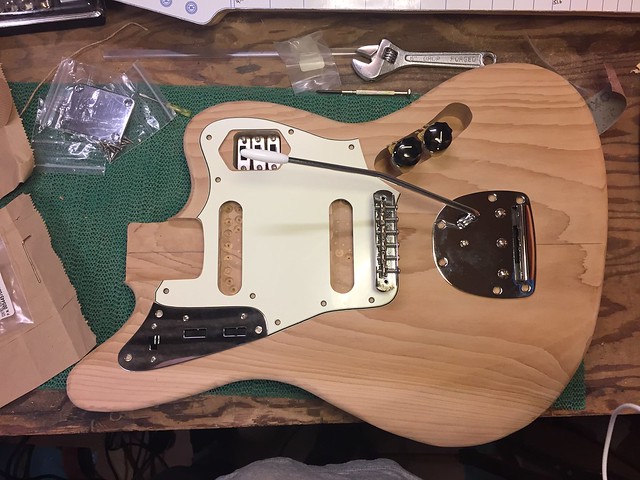
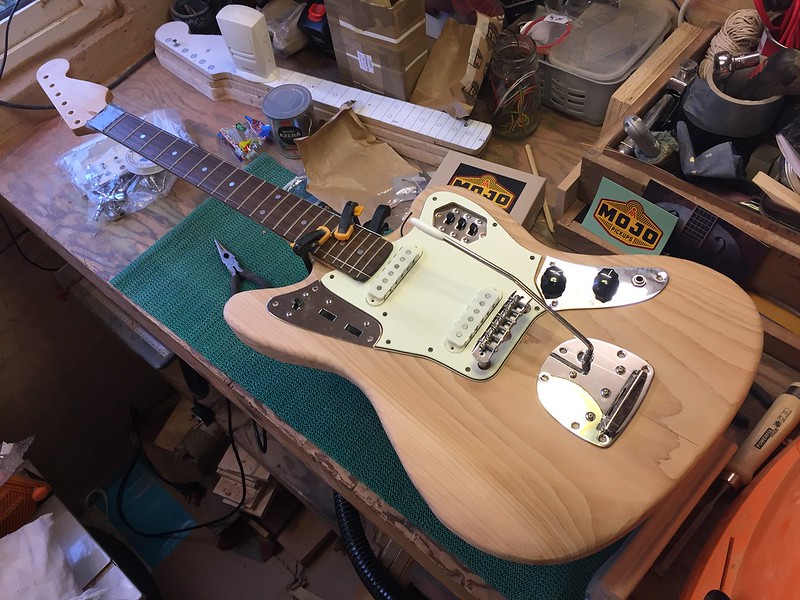
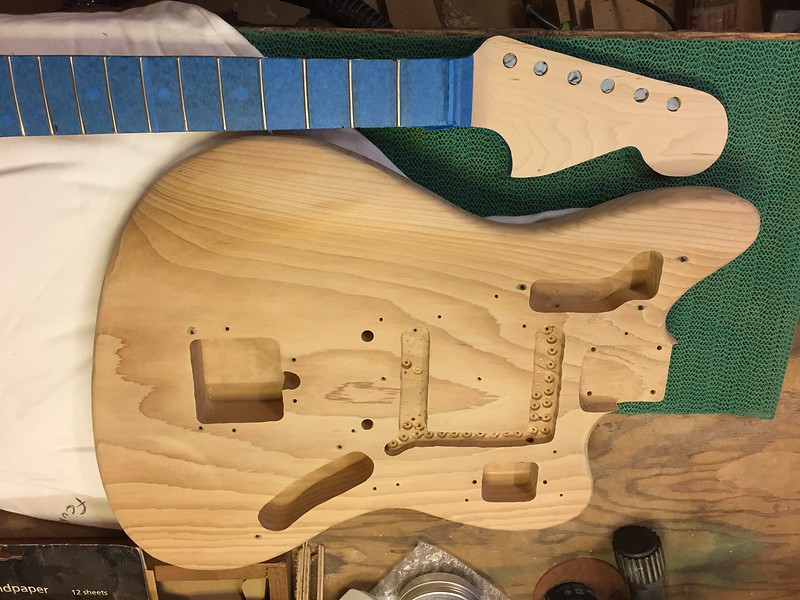
The parts turned up and I did the obligatory "put everything on the guitar so you can see what it looks like" shot.
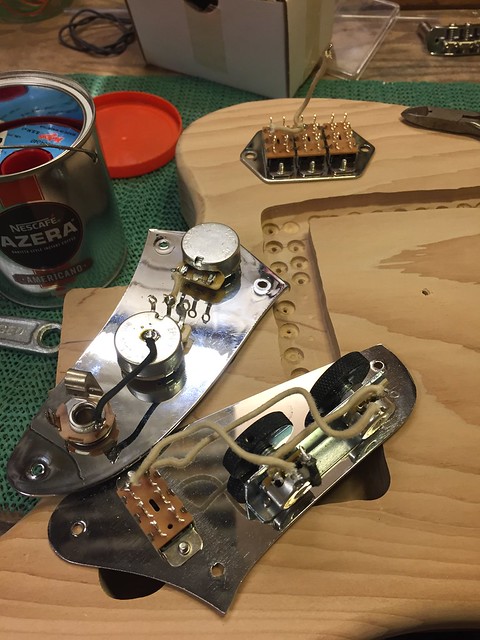
Then I wired up everything that I had with cloth wire while I waited for the Jaguar pickups to turn up from Mojo (who are still brilliant)
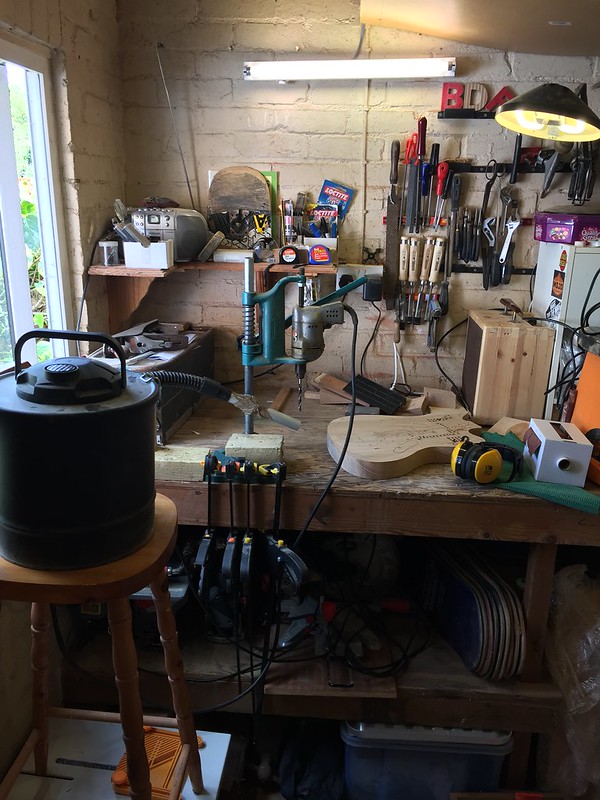
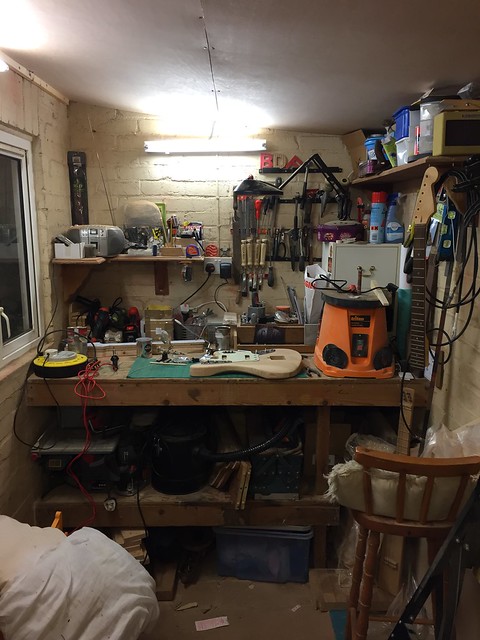
Around this time, I also, reinsulated and reroofed my workshop so here's a picture of that.
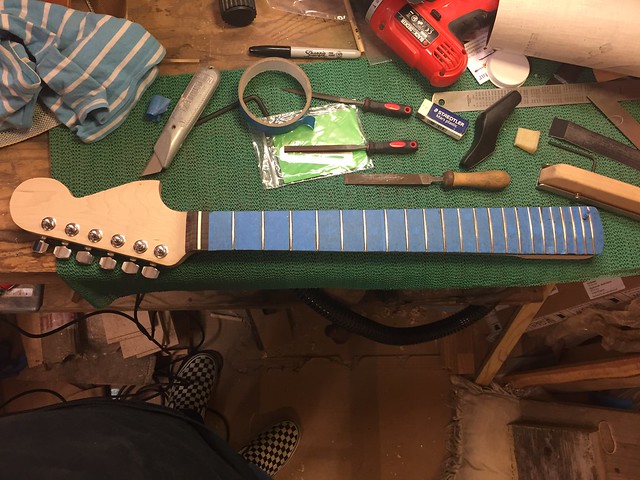
Pickups in and a spare neck lying around, I got everything straight and screwed everything down.
At this point, I should probably mention, I did start a neck, but my aforementioned clumsy stupid part, managed to win the day (again) and I wasn't happy with it. The first issue was, it was too narrow to do a Jaguar scale headstock, so I tried cutting it at an angle and glueing the top bit to the bottom bit and pairing it up, didn't really like it and to make matters worse, took a chunk out of the side when routing. SO. I got a load of maple blanks cut and started again.
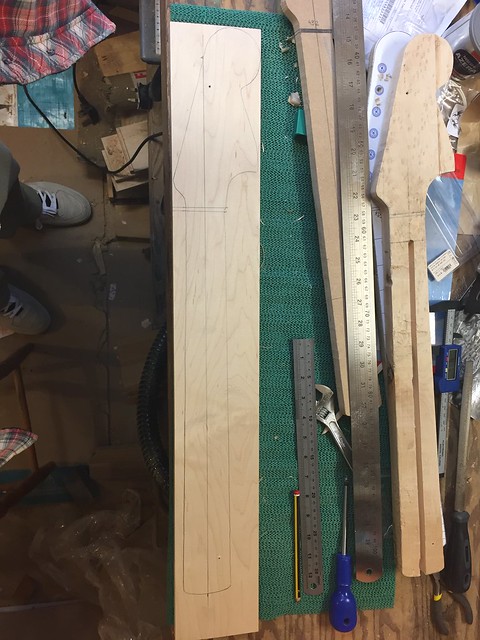
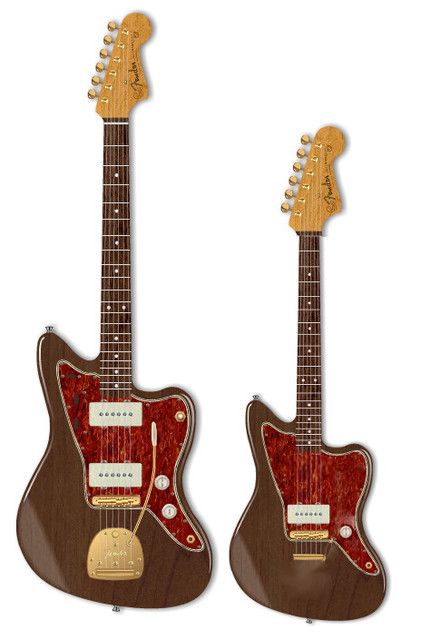
Top one is the one we're using, bottom one is really birdeyey maple one we're shelving and resurrecting for my son's first electric guitar that I'm building, which will most likely be a short short scale Jazzmaster clone to match my first build.

Picture of the impossibly cute child that we gave birth to precisely half way through this build and put everything on hold for and will no doubt end up commandeering these guitars in later life...

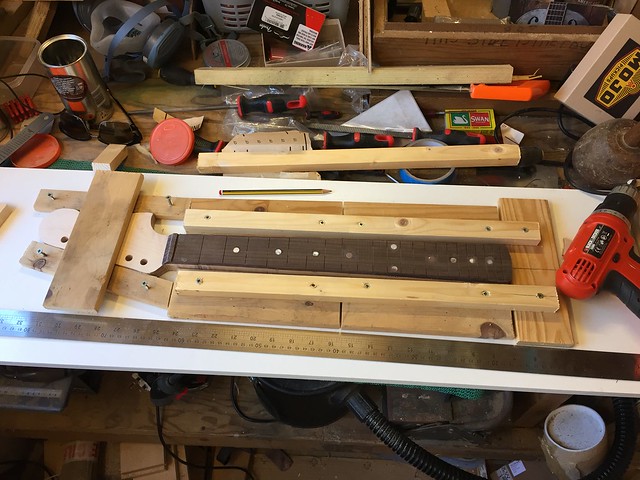
Back to luthiering, I got a fret slotting jig and a selection of Snokoling (i think) instead of Rosewood before the CITES thing kicked in just in case it was a pain in the arse afterwards.
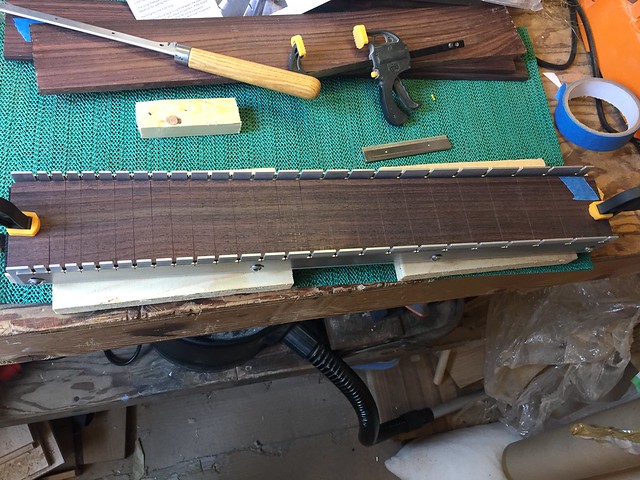
Cuts out a treat, even though it's a 25.5" scale, i just started one fret on if that makes sense. Plus I'm too cheap to get two different scales and will most likely only do full or short scale Fender scales anyway I didn't worry too much.
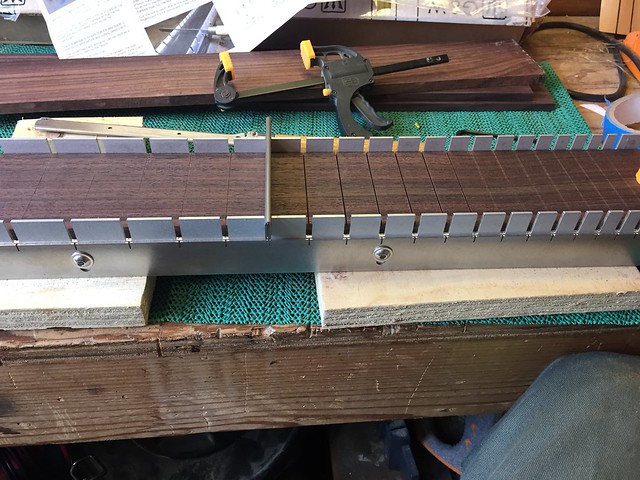
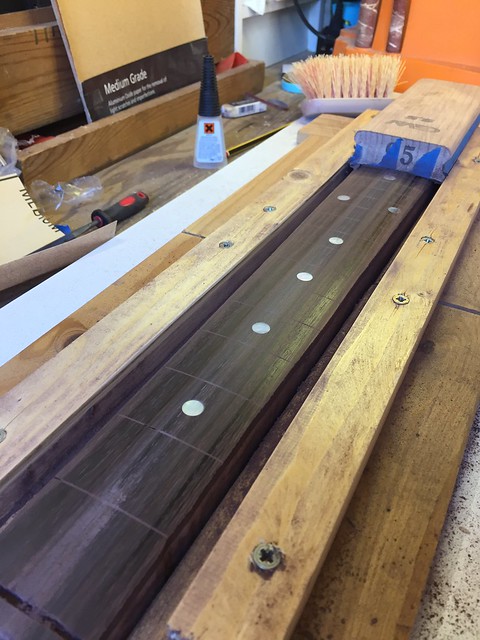
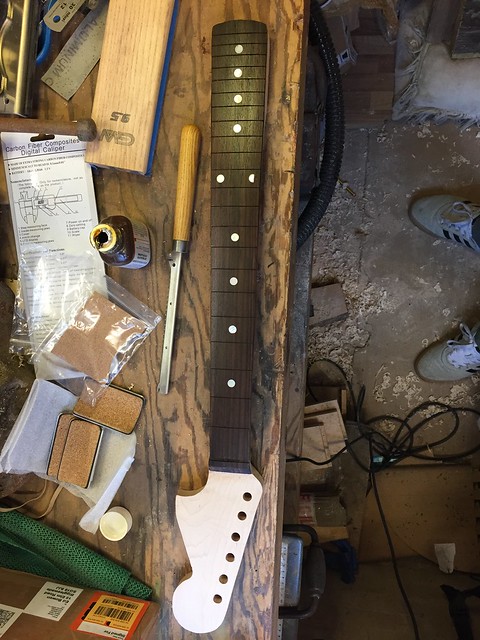
Then it was marking and drilling the marker holes, pegging and pinning the board to the neck
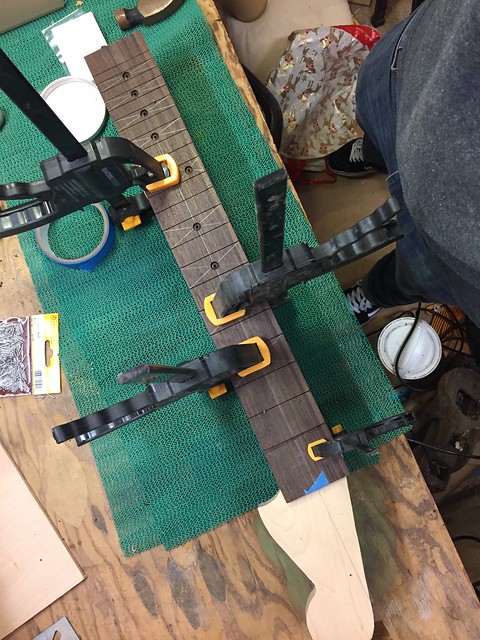
Then gluing and clamping the shit out of it.
Then flush trimmed the fingerboard back to the neck. Then, I broke my spindle sander. And the bandsaw that I have is too small to get the flare of the headstock in to cut back the majority of the stock for the headstock transition. So I thought I'd improvise. What could go wrong? Well...
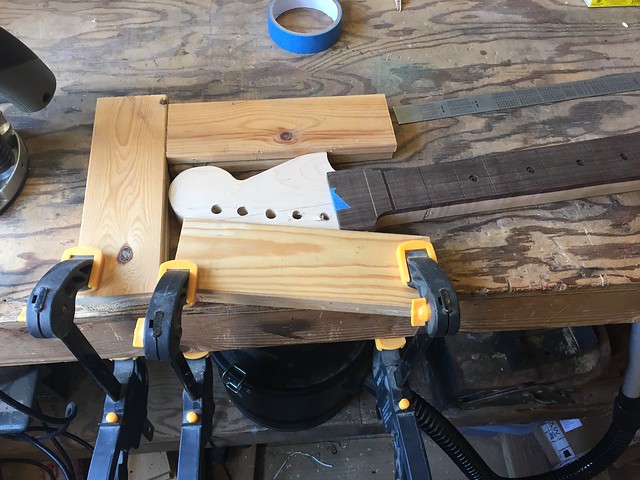
Trying to route it out worked reasonably well, until I discovered that the base of my plunge router wouldn't contact both guides at the same time. Which mean that when it fell off one side (and it did fall off) it took a chunk out before I corrected it.
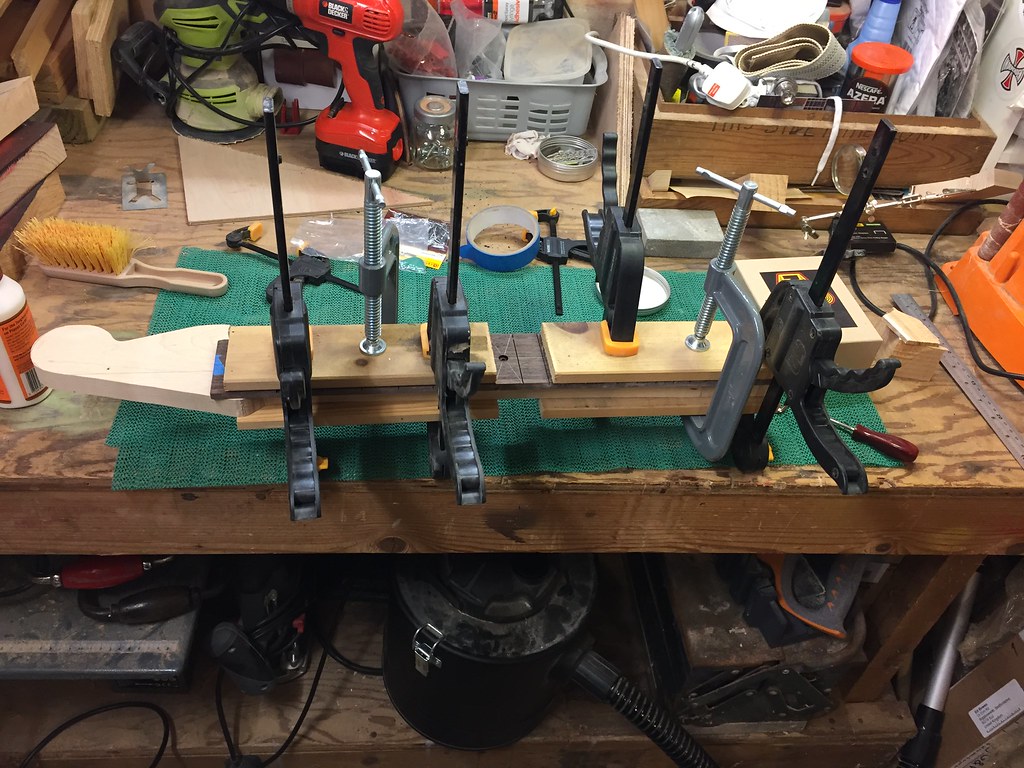
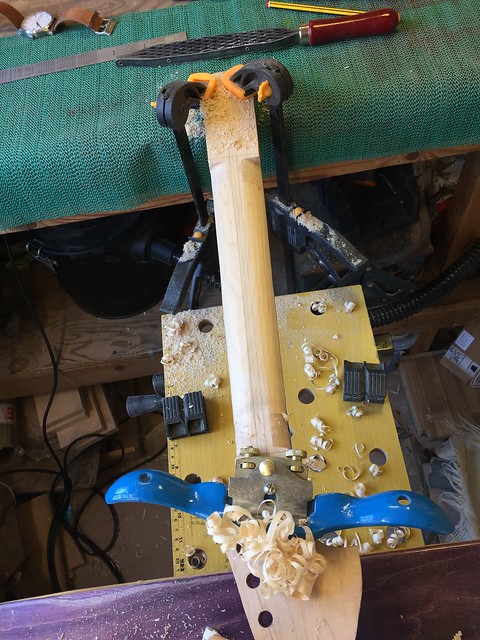
So rather than faff around with it, I decided the safest, (if not the most time efficient) way would be to cut it back with a levelled out saw rasp to get the majority off so I could get onto radiussing. Which led to the next budget home made jig. The thinking was: make a jig that was flush to the sanding block so that I could evenly sand right the way up rather than free handing it like I did with the Jazzmaster.
Which actually seemed to work quite well. The only issue was constantly having to change over the paper.
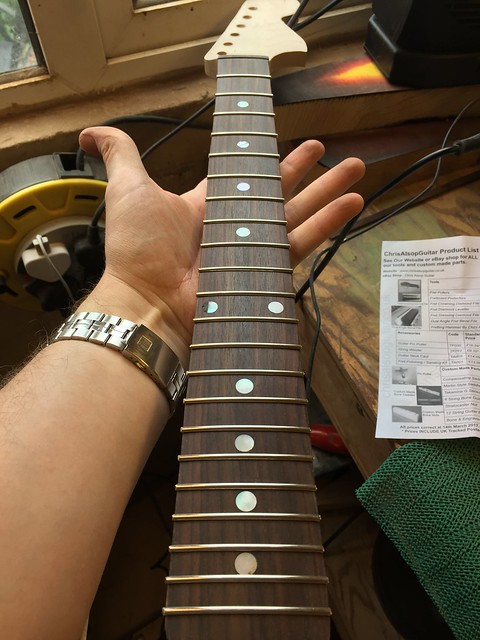
The radius sanded, I realised that I'd not set the markers deep enough into the board so sanded through the left hand 12th fret but decided that it's something I can live with and if nothing else, if Wabi-sabi is good enough for ancient Japanese craftsmen then it's good enough for me...
Neck carving next: I love and hate this part. It's really therapeutic but the risk of cocking it up lingers on so I erred on the side of caution and took this slowly.
Alternating between spokeshaving and rasping worked well

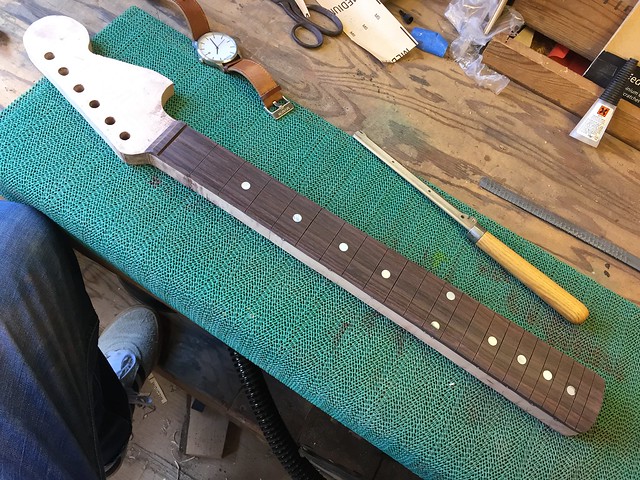
Did a quick coat of TruOil to the board
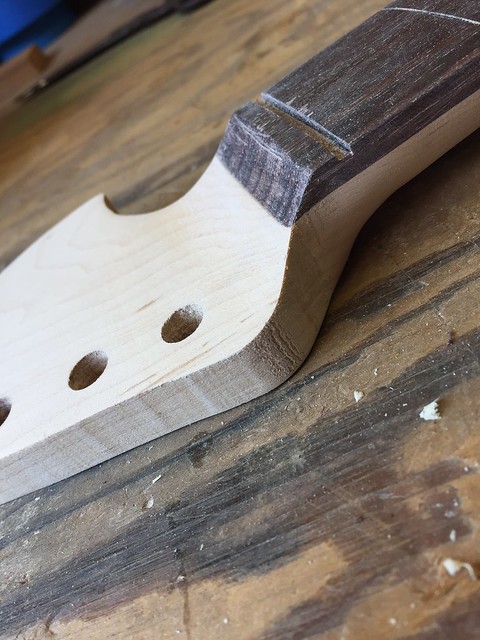
Used a cabinet scraper to blend in the headstock transition. It took a while but I'm happy with how it ended up.
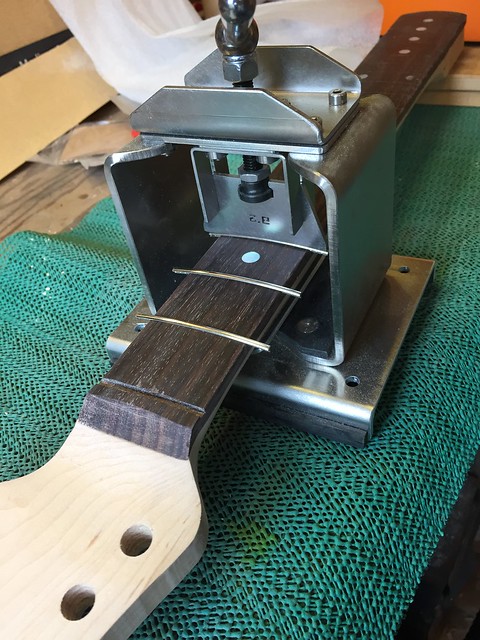
Got myself the fretting press from GMC which I'd definitely recommend. Made things a lot easier.
Trimmed and ready for filing and dressing
All done.
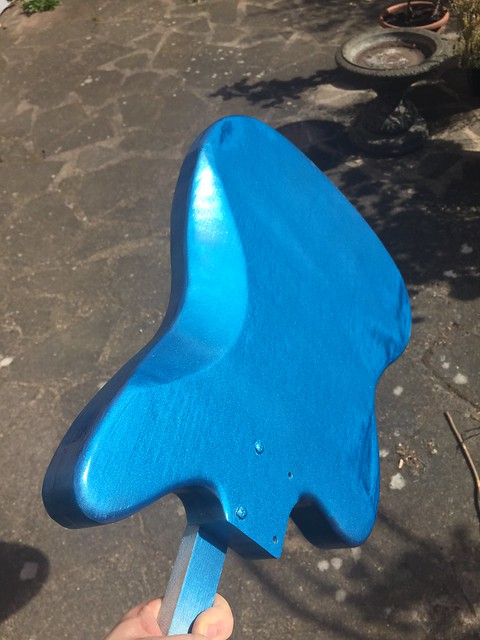
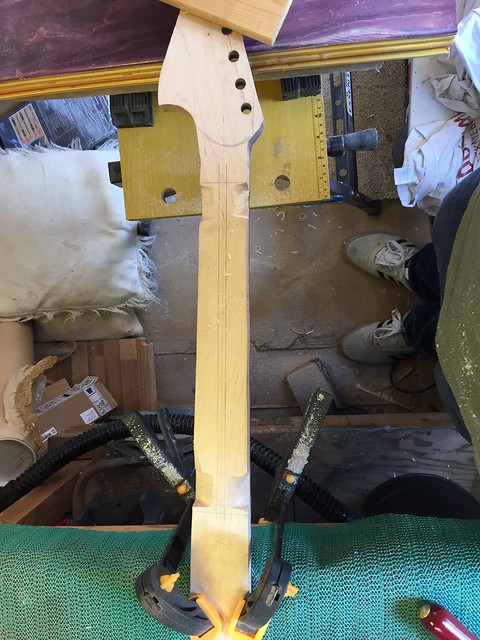
Did some progressive sanding back to 350 then rubbed back with white spirit.
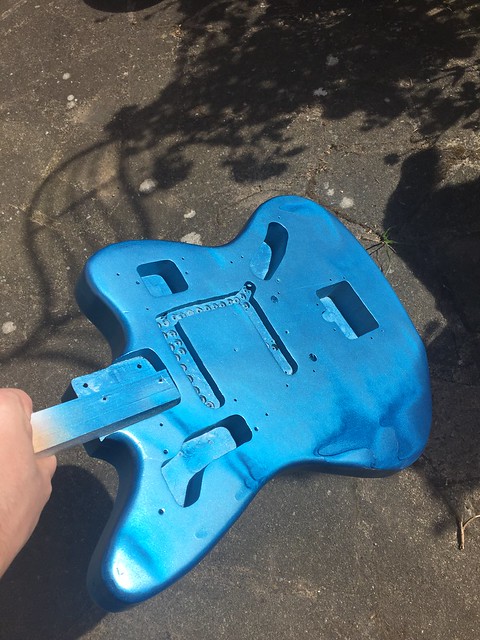
Shot the first coat of primer yesterday and will build up a couple of coats to give me some manoeuvring room and will try and get the colour coats on in the next week or two.
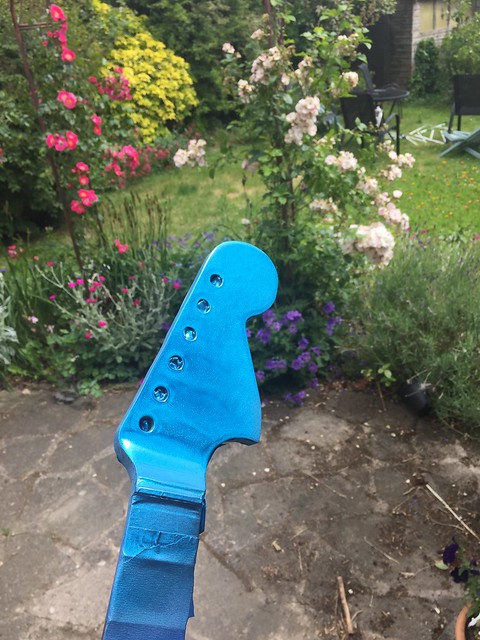
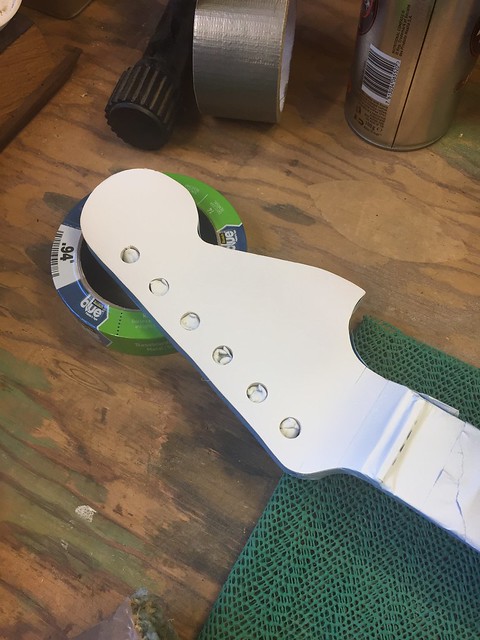
One coat on the headstock
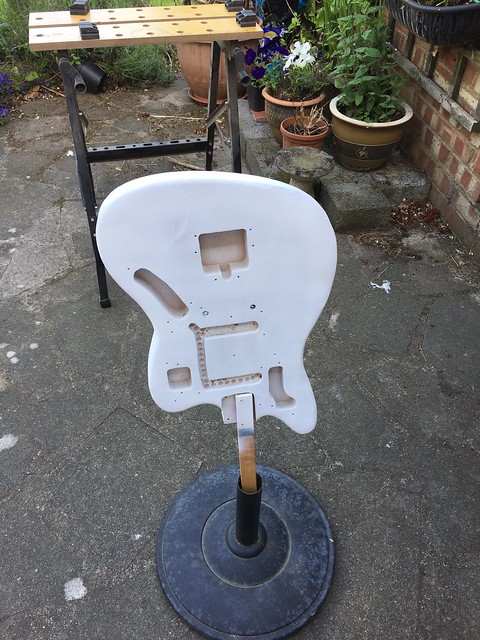
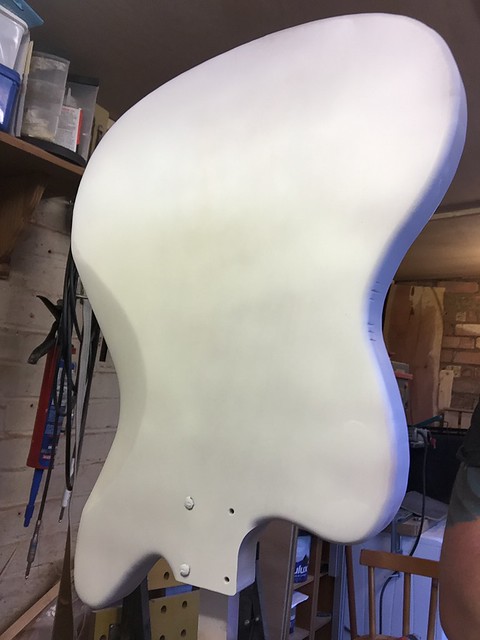
Front of the body, lighting has made the colour look a bit off but it's white.
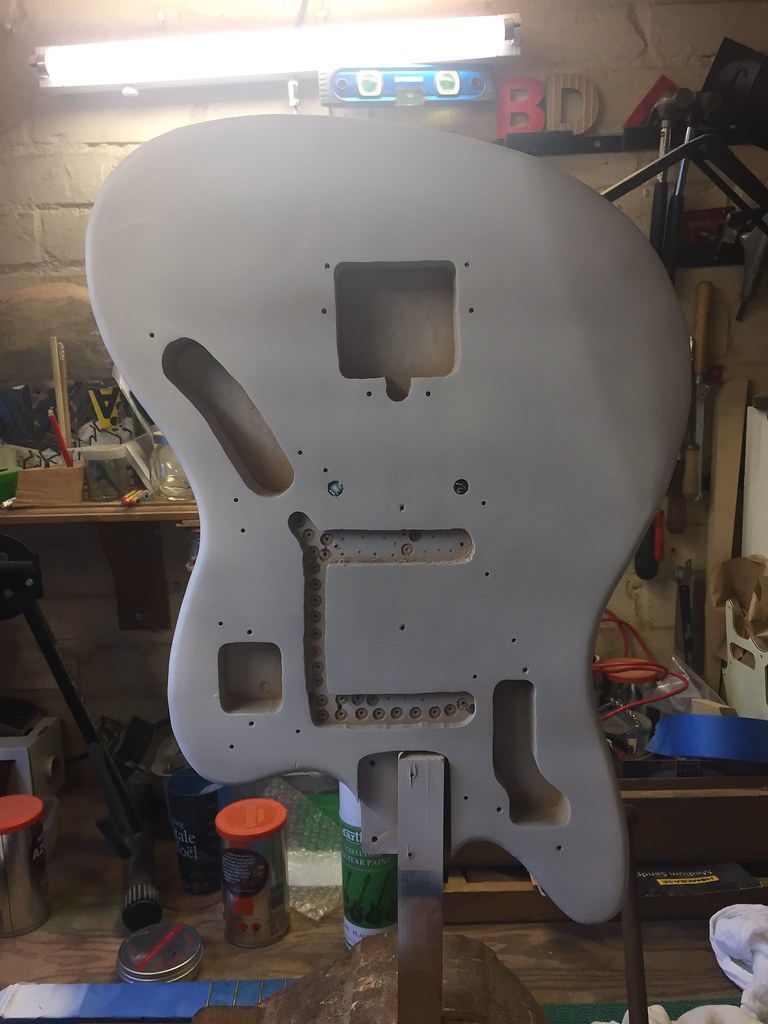
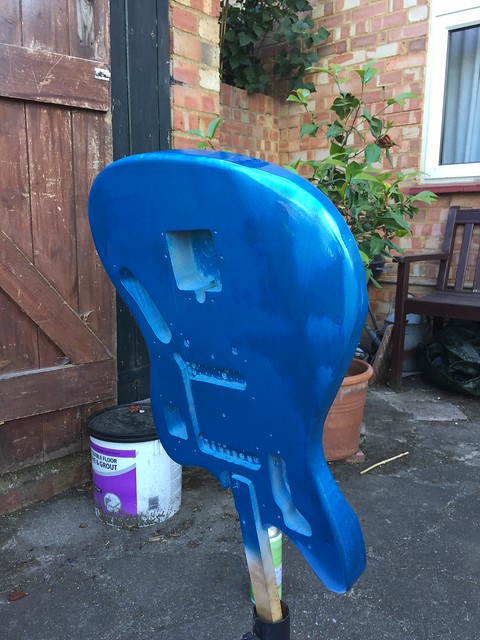
and the back
So, expect an extension to this post as and when I get round to doing more.
Cheers