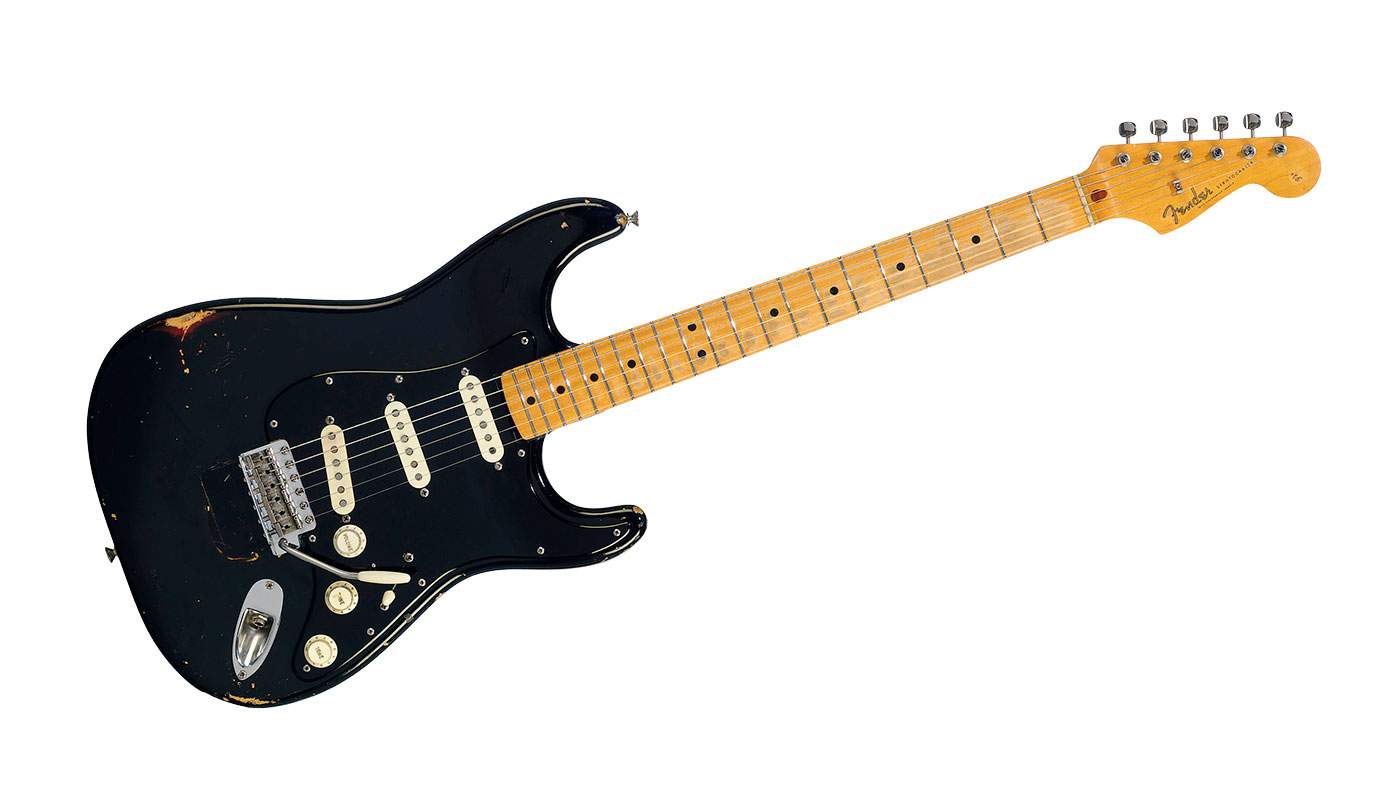

 lhv2yzy8heufsa24a714 by Christopher Louck, on Flickr
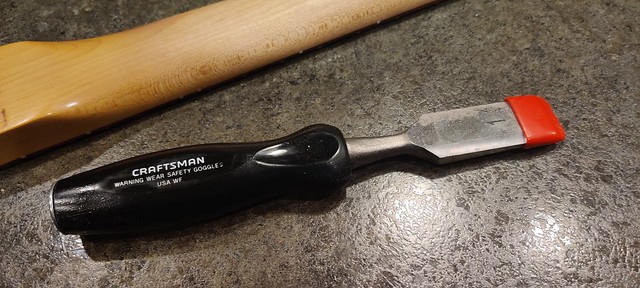
It arrived today. As it was, I could only get sound out of the rhythm switch it was seeming so I started taking it apart. While disassembling, I noticed the neck wasn't mounted straight. That happens sometimes with predrilled necks. I filled them so I can redrill and remount it straight. Love the feel of these road worn Fender necks.
 IMG_20210929_201309 by Christopher Louck, on Flickr
 IMG_20210929_201326 by Christopher Louck, on Flickr
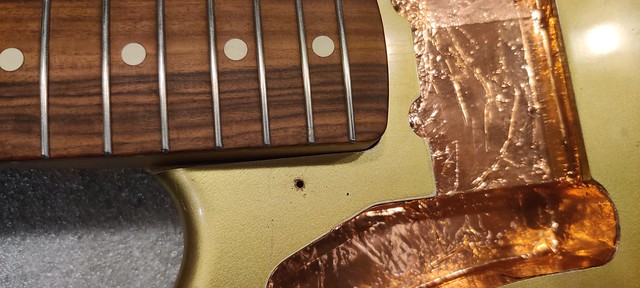
I took off that no name tremolo and string roller and saw that the holes weren't drilled exactly straight, so I plugged those to redrill after I square off the tremolo corners. Going to install a Classic Player tremolo with the threaded arm and use an American Professional 52mm bridge.
 IMG_20210929_201652 by Christopher Louck, on Flickr
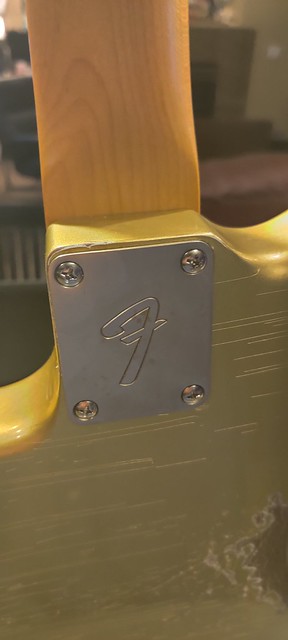
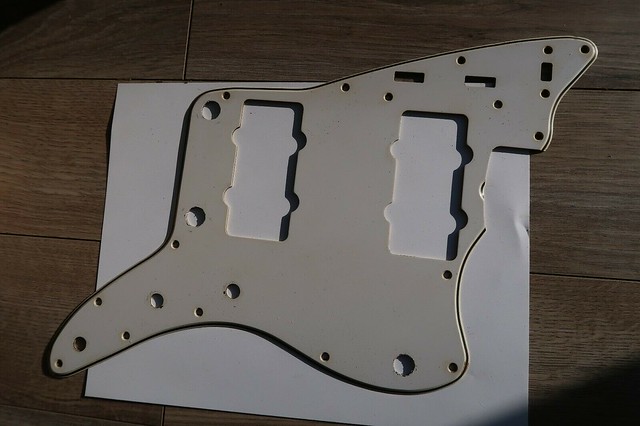
Then I got to removing the pickguard and pickups. Copper shielding looks ok except it isn't connected to anything. It has Sunday Handwound pickups in it. (Wood Chime ones.) Saving those for another build. The wiring on this one was bizarre. I wanted to use a different pickup anyways, so I am just going to load a new guard. I plan on using these Revel WRHB style pickups I got recently. No idea on guard yet. It had a MONSTER huge ground wire to the thimble so I removed it and put a normal wire in. I already put on the dual design straplocks I always use. Progress!
 IMG_20210929_201754 by Christopher Louck, on Flickr
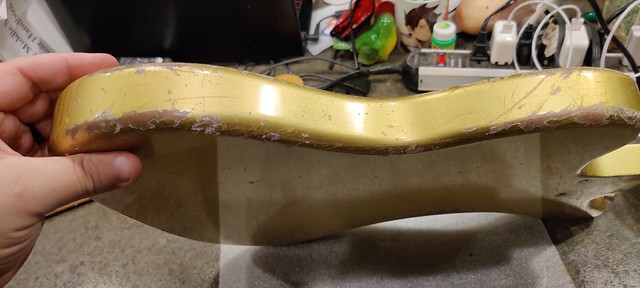 IMG_20210929_201713 by Christopher Louck, on Flickr
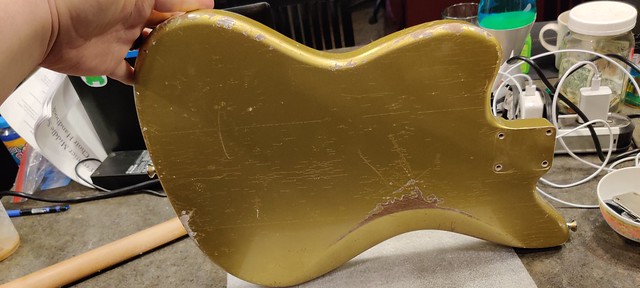 IMG_20210929_201709 by Christopher Louck, on Flickr