I have a '65 original, vintage JM neck/headstock. Previous owner had Grovers installed...very messy install. The bushings were tightened so much that they left pretty deep, un-level, chipped impressions on the top of the headstock around the tuner holes. The holes themselves were not properly reamed, I would guess with sandpaper or a file since the hole diameters are not consistent nor perfectly round. I have vintage Klusons with the original bushing (not the adapter/conversion ones) and am trying to decide how to proceed:

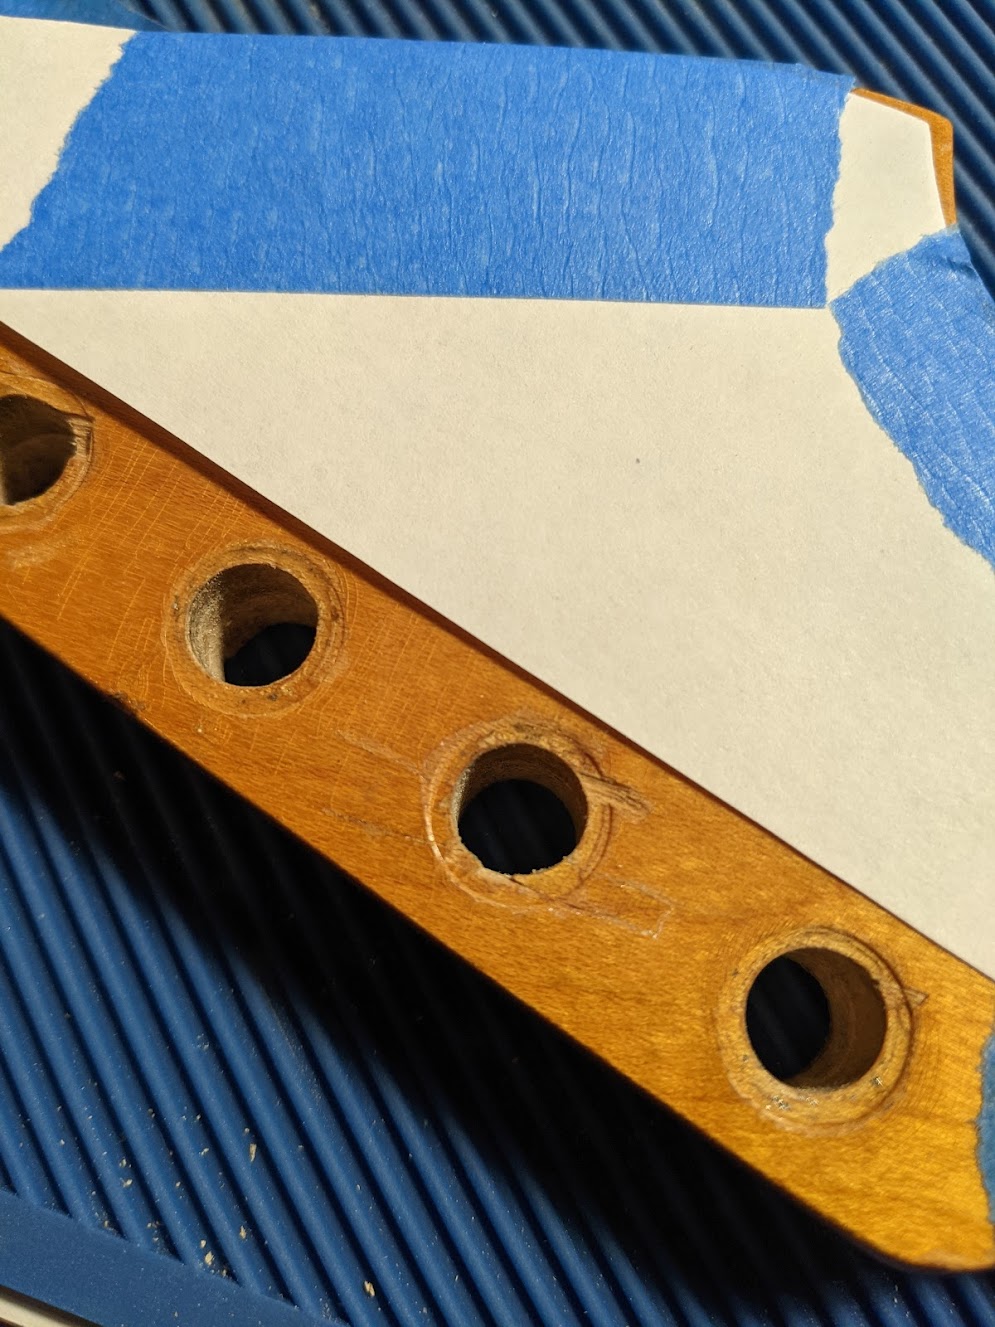
Option 1 -- level out the top of the headstock with combo of filler (famowood) / stain / drop fill with clear + don't mess with the holes...shim/fill the inner diameter to fit the original (narrow) bushings
Option 2 -- ream holes to be wider and use (wider) conversion bushings << still might need some minor filling work due to the chip outs and indentations not being level
Option 3 -- drill and plug with maple, finish fresh wood to match rest of headstock, re-drill, etc. << this seems like a nightmare
IMHO, each option would still leave a visible ring around the bushing so nothing is going to be perfect...I'm okay with that, as long as it's not offensive looking. But am leaning towards option #1 to avoid having to remove any original wood from the headstock...but am not sure if drip fill lacquer / filler will be too brittle and the bushings will loosen over time....or should I just accept the fact that more wood has to be removed and that the bushing will need to be relic'ed new stock...or is there an option 4 that I'm missing!!?
What would you do?
Many thanks in advance,
Sang