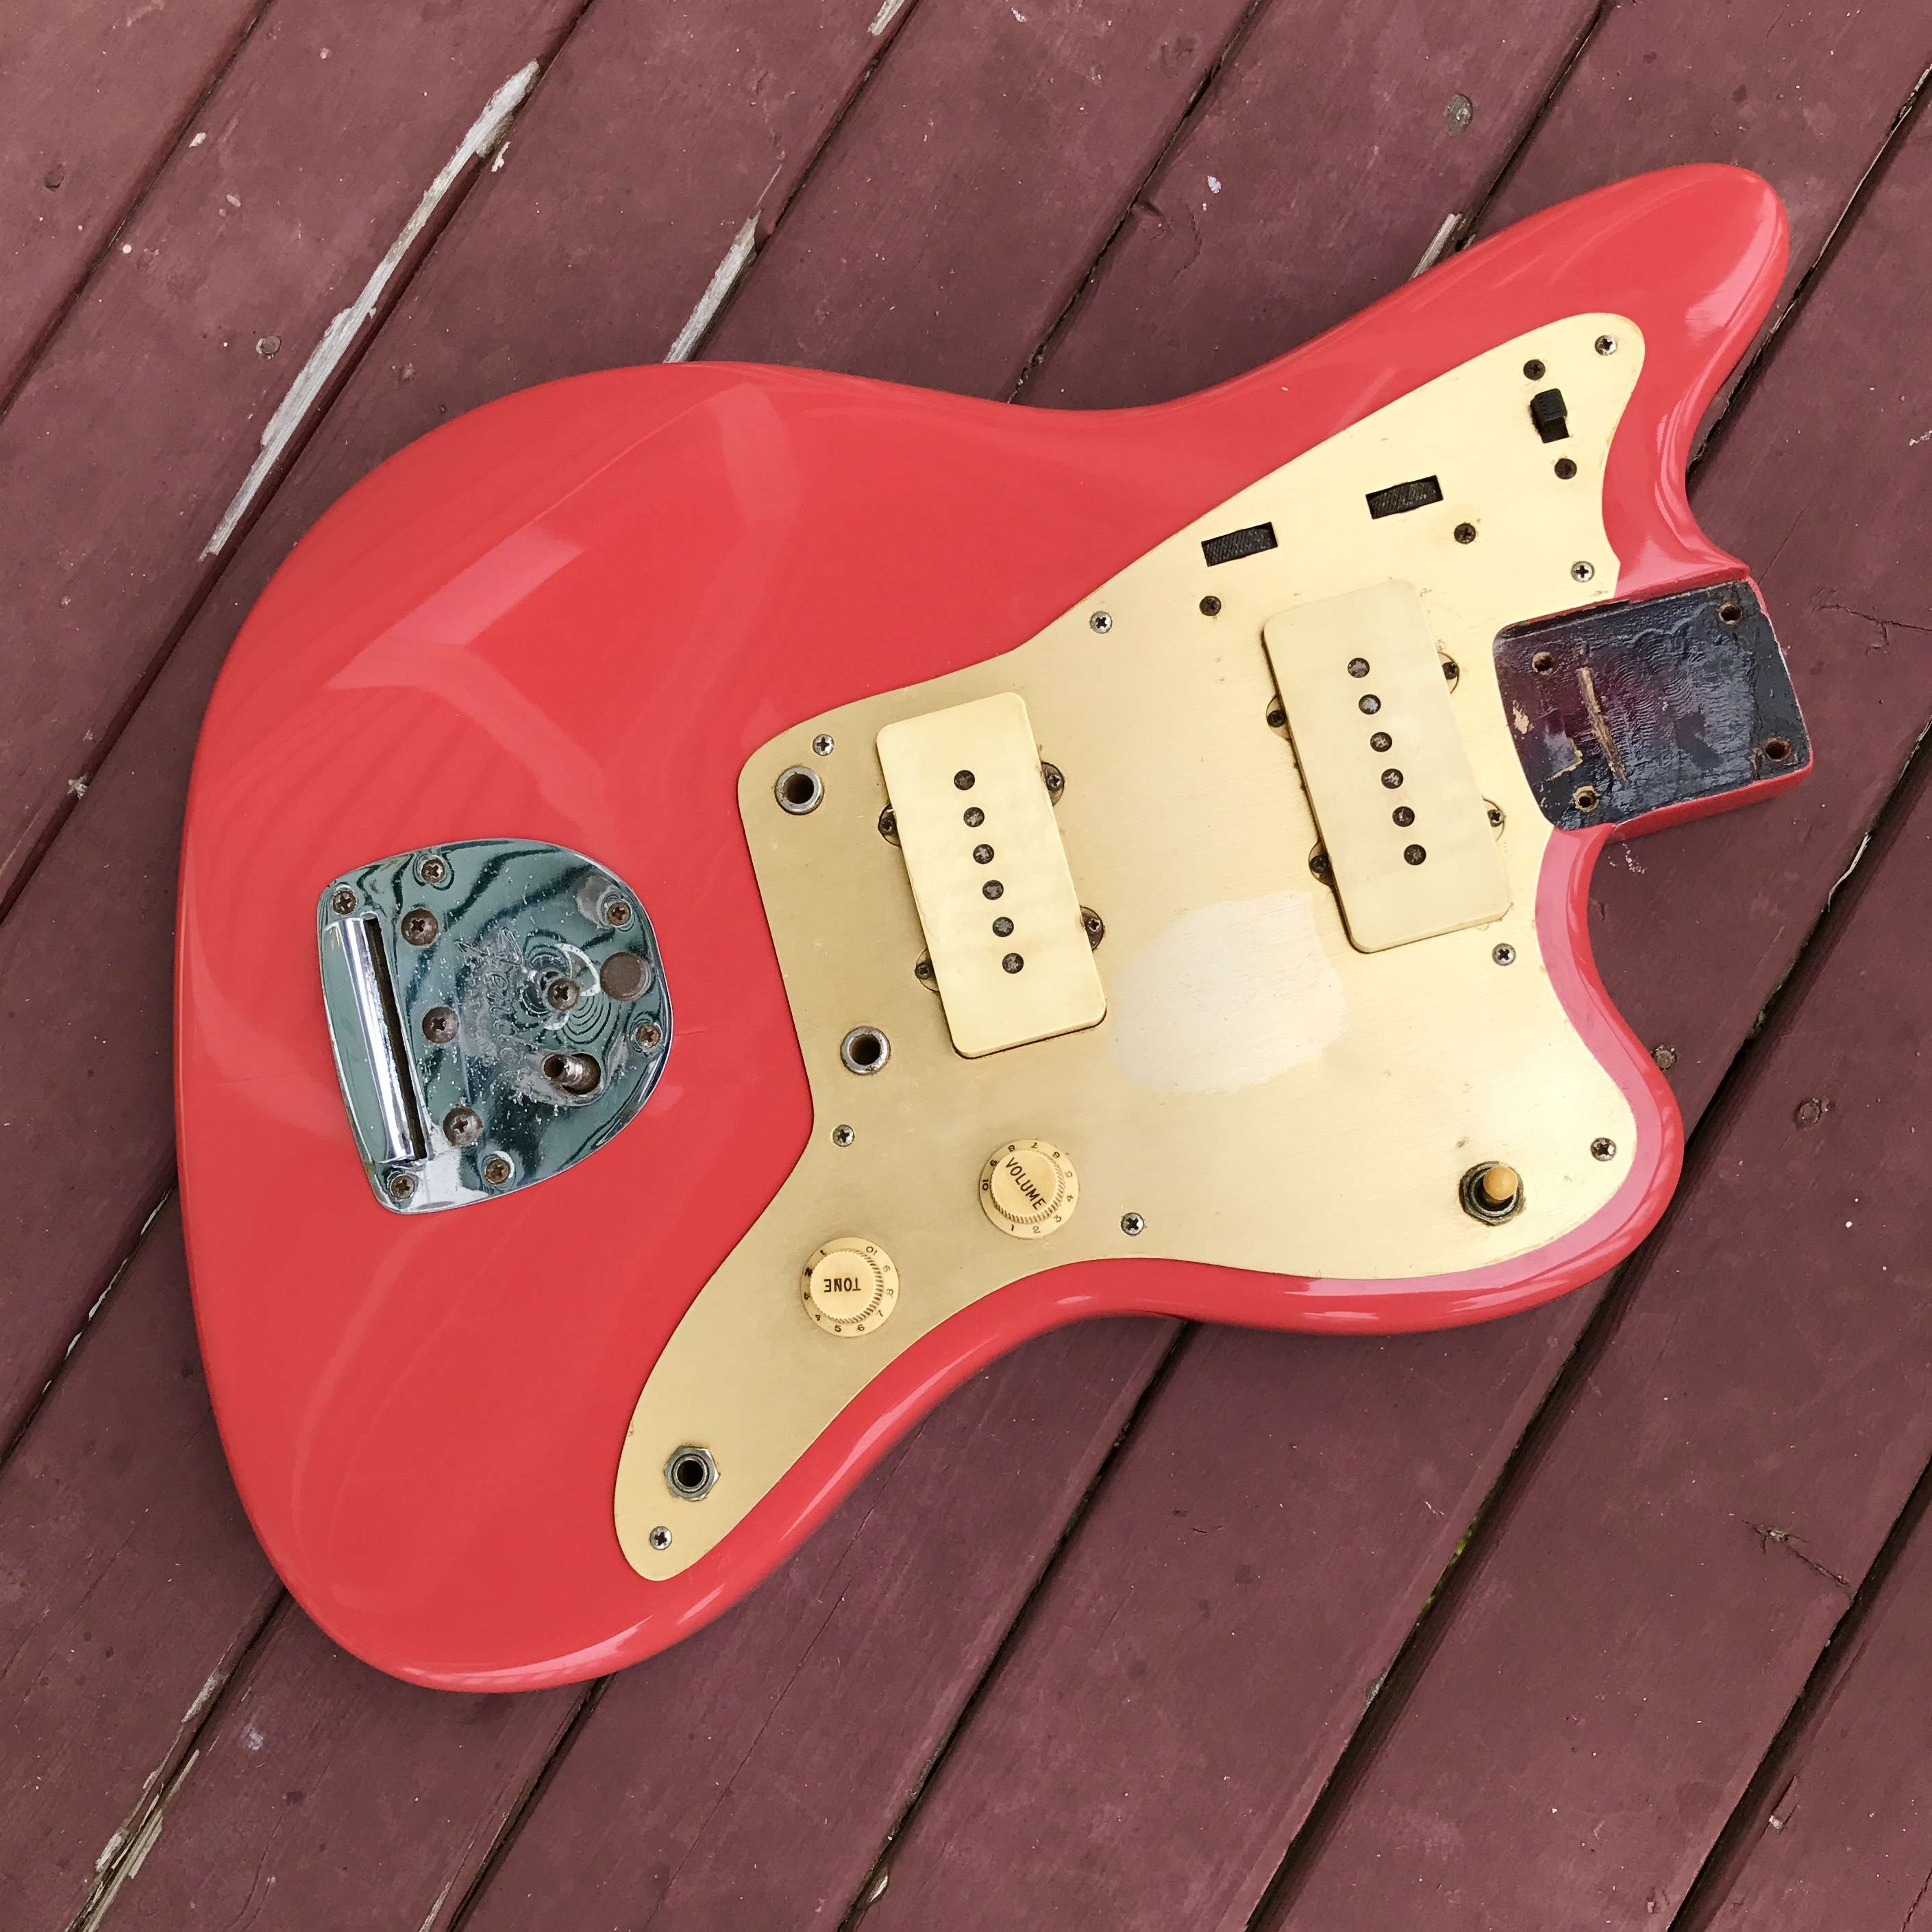
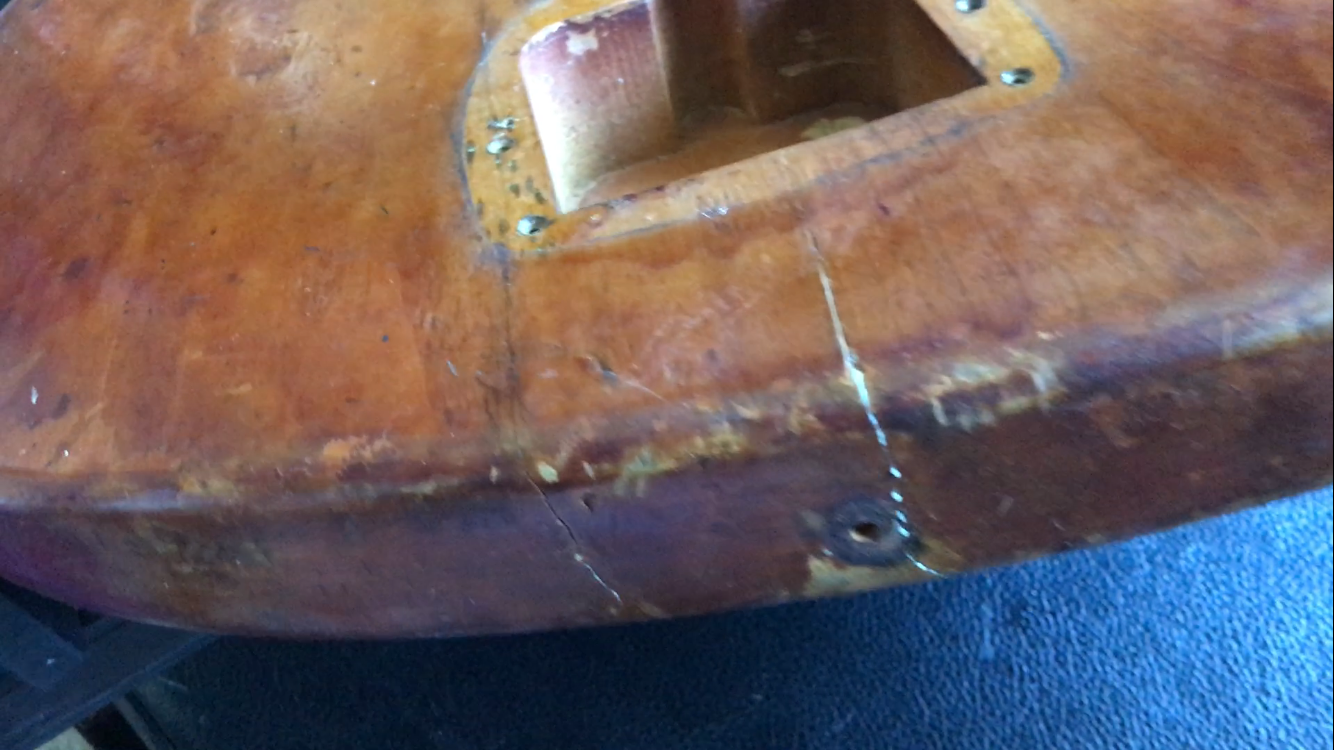
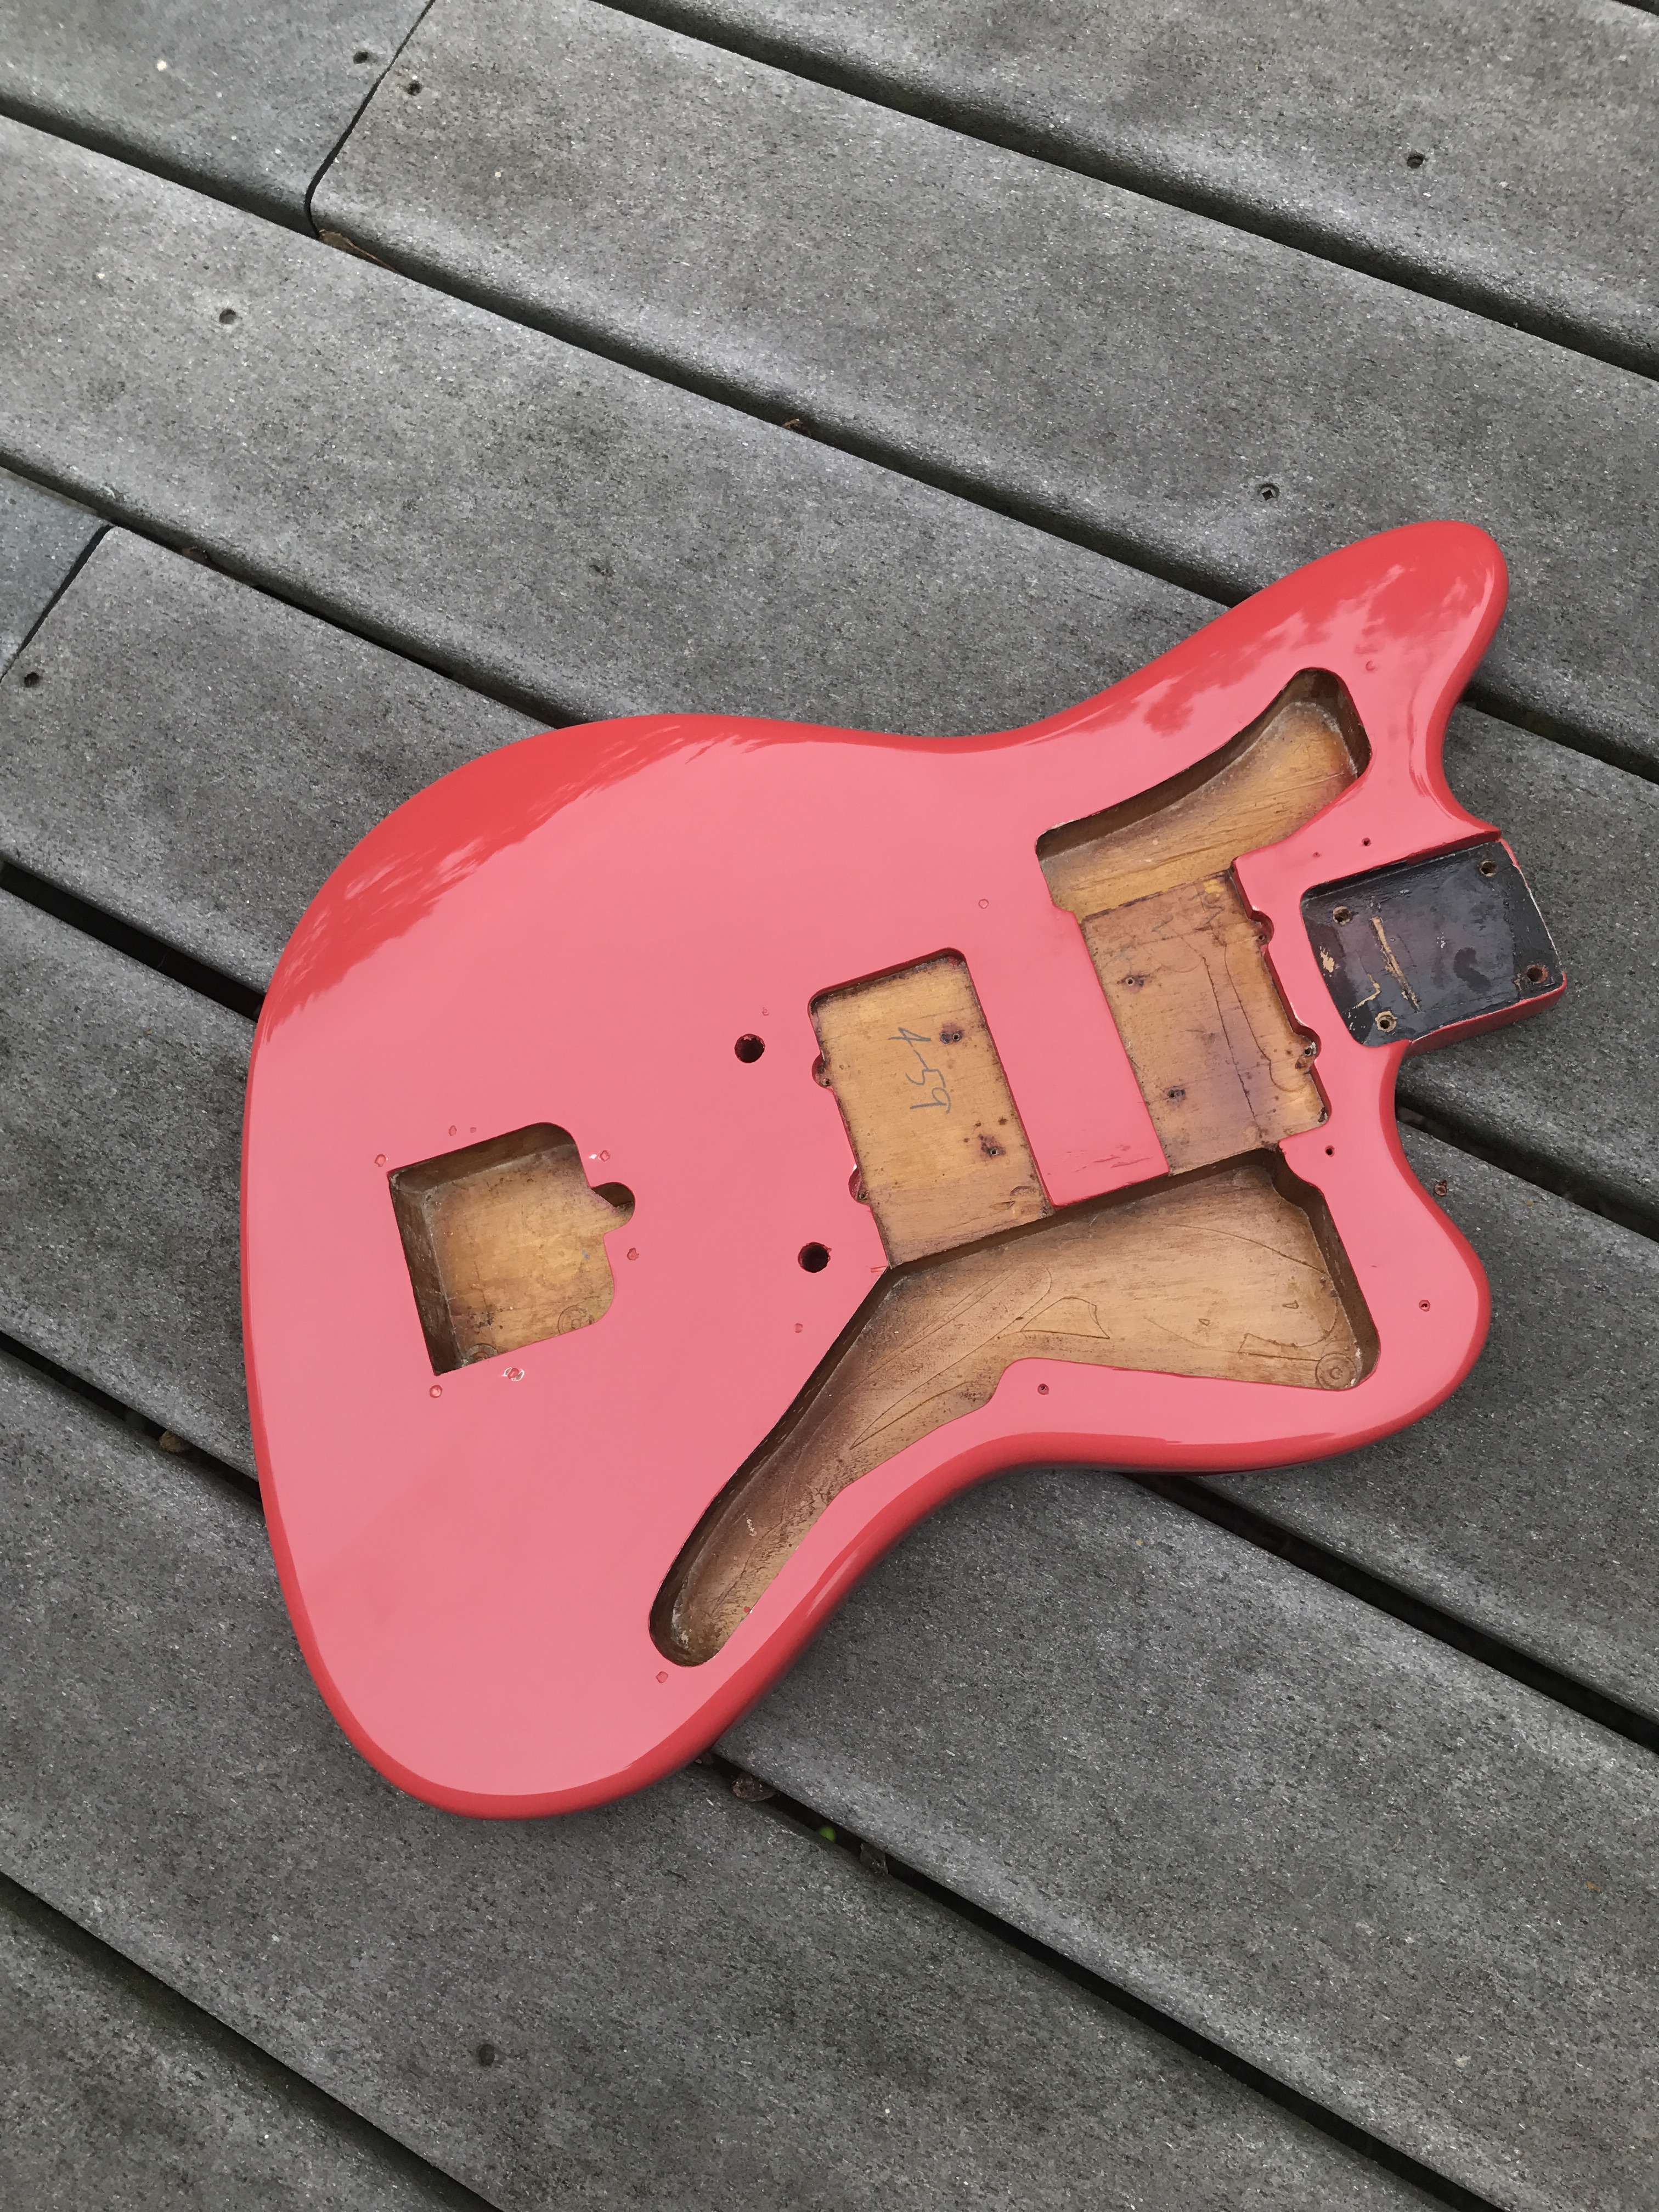
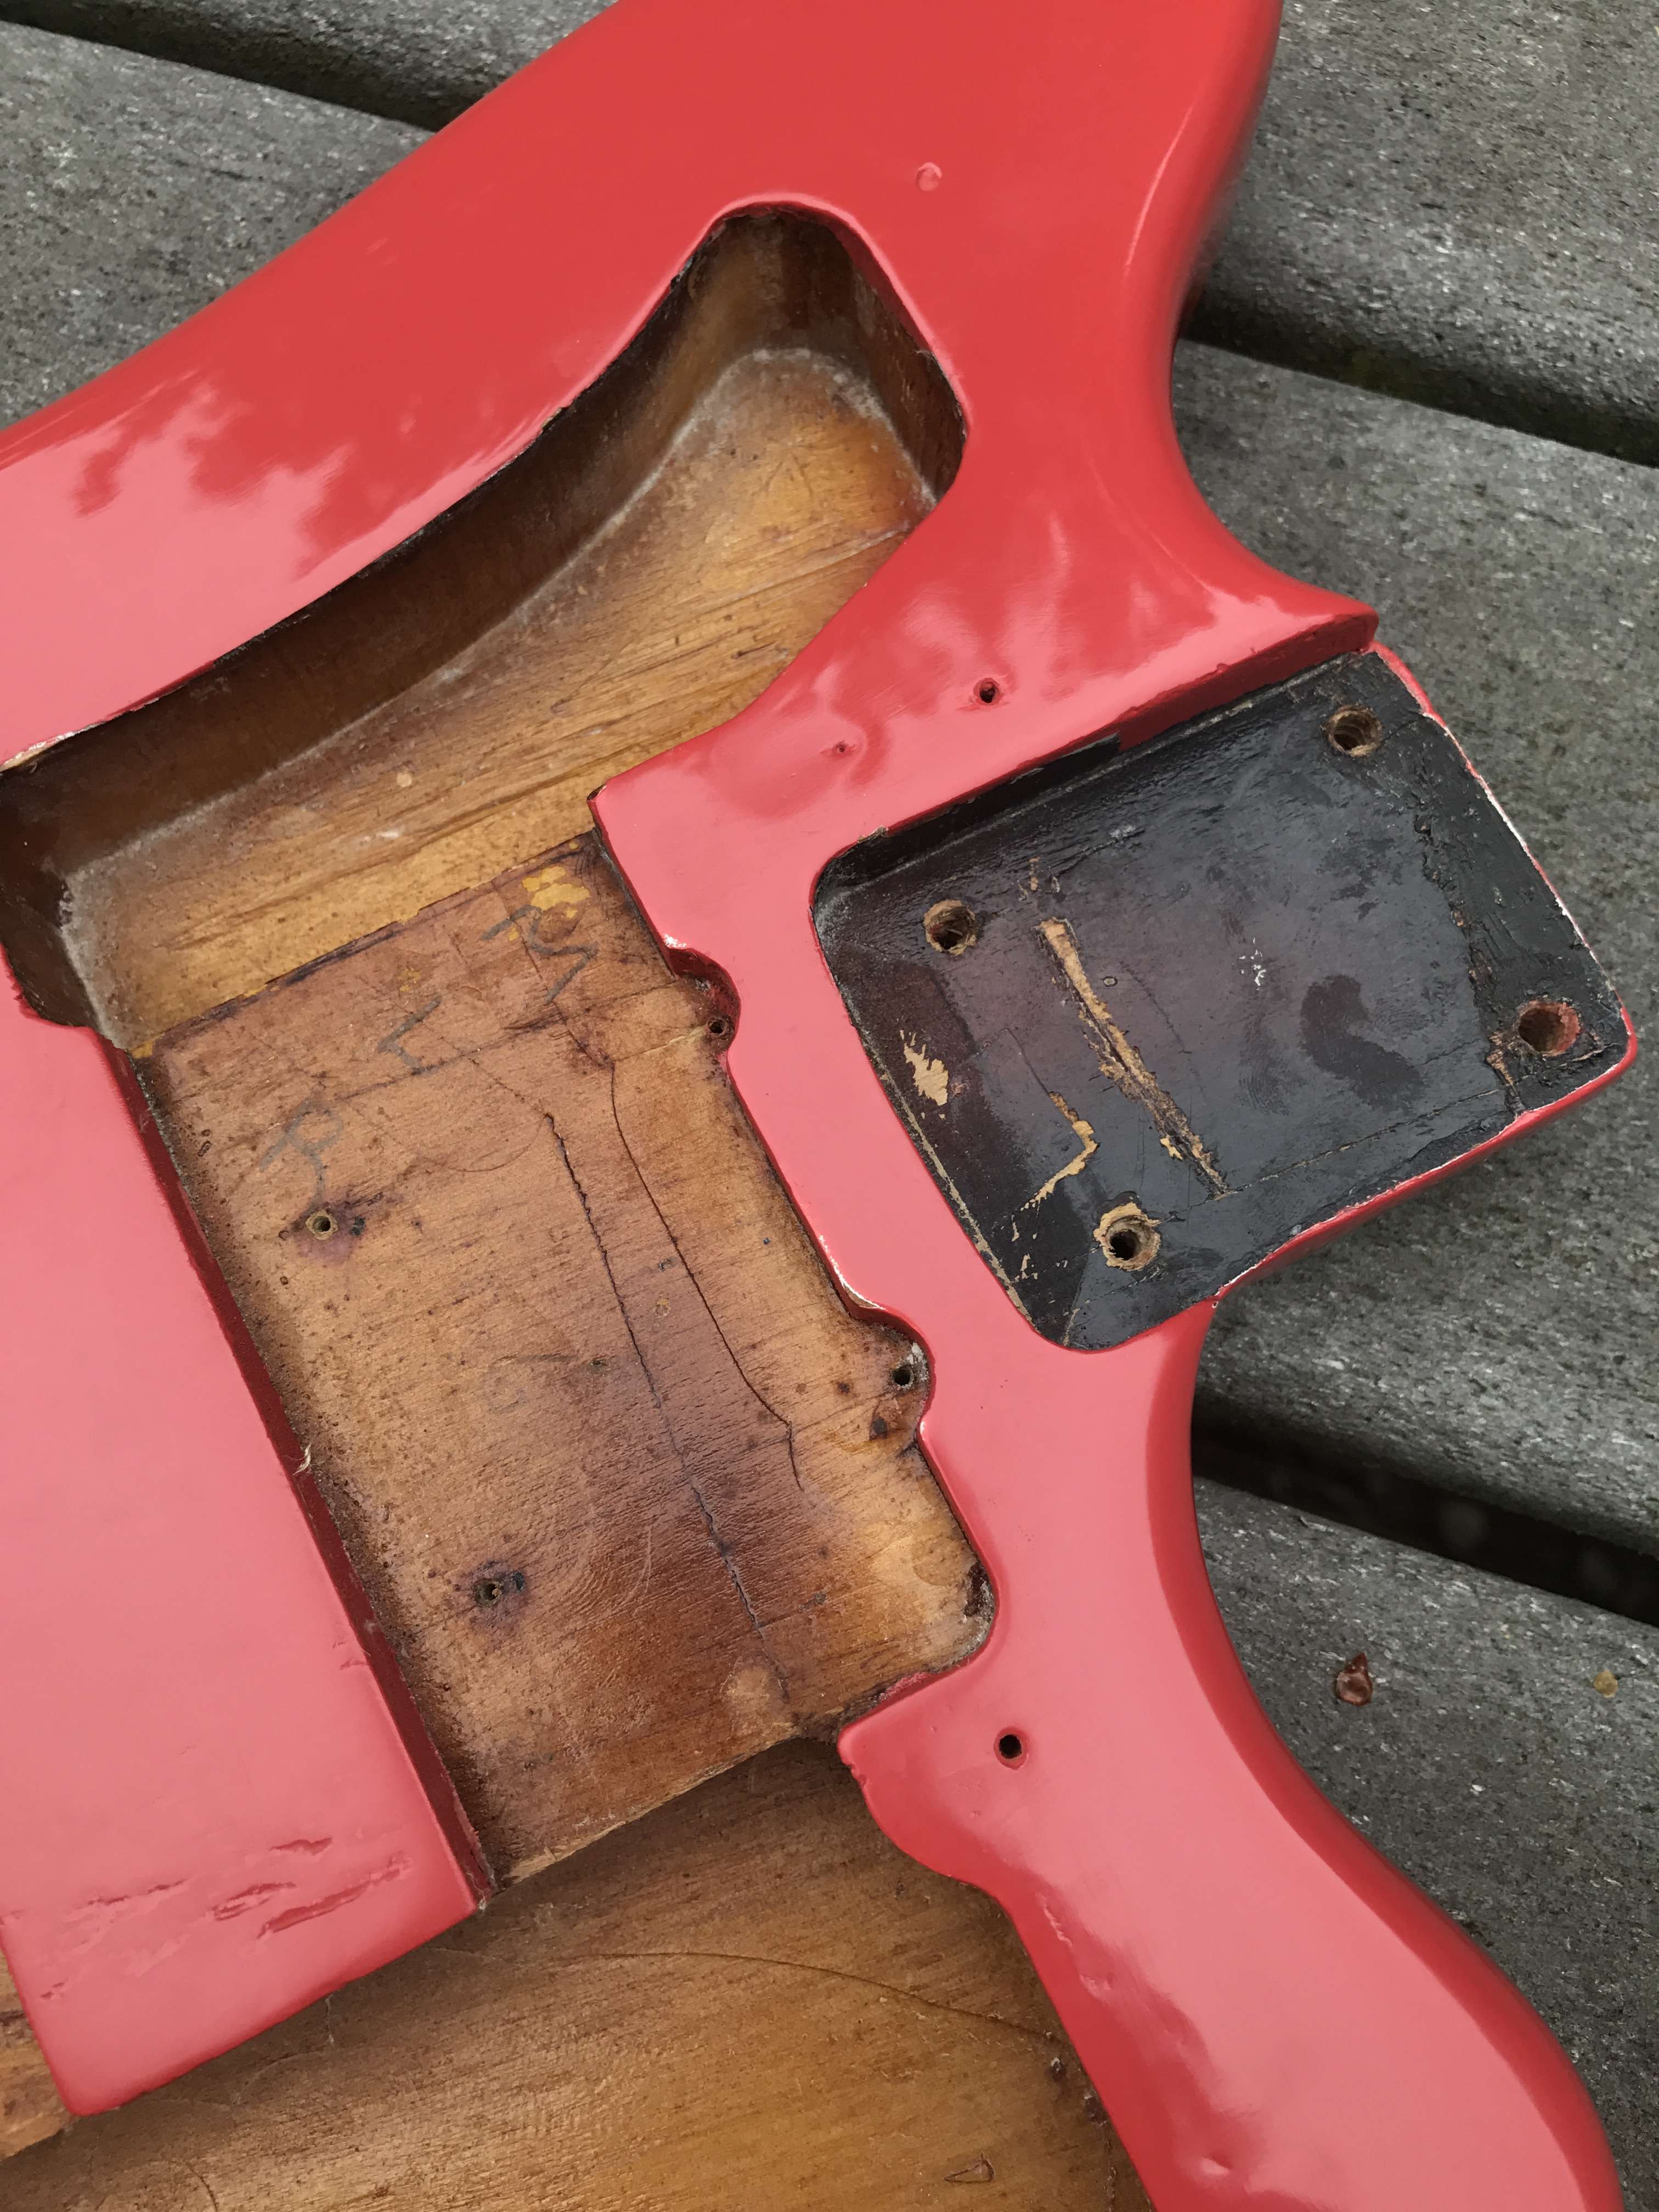
As you can see in these first shots, there were multiple cracks on the top and bottom ends of the body. It looks to me like the guitar may have been dropped.
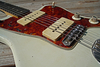
This is what I saw when the eBay listing went up:
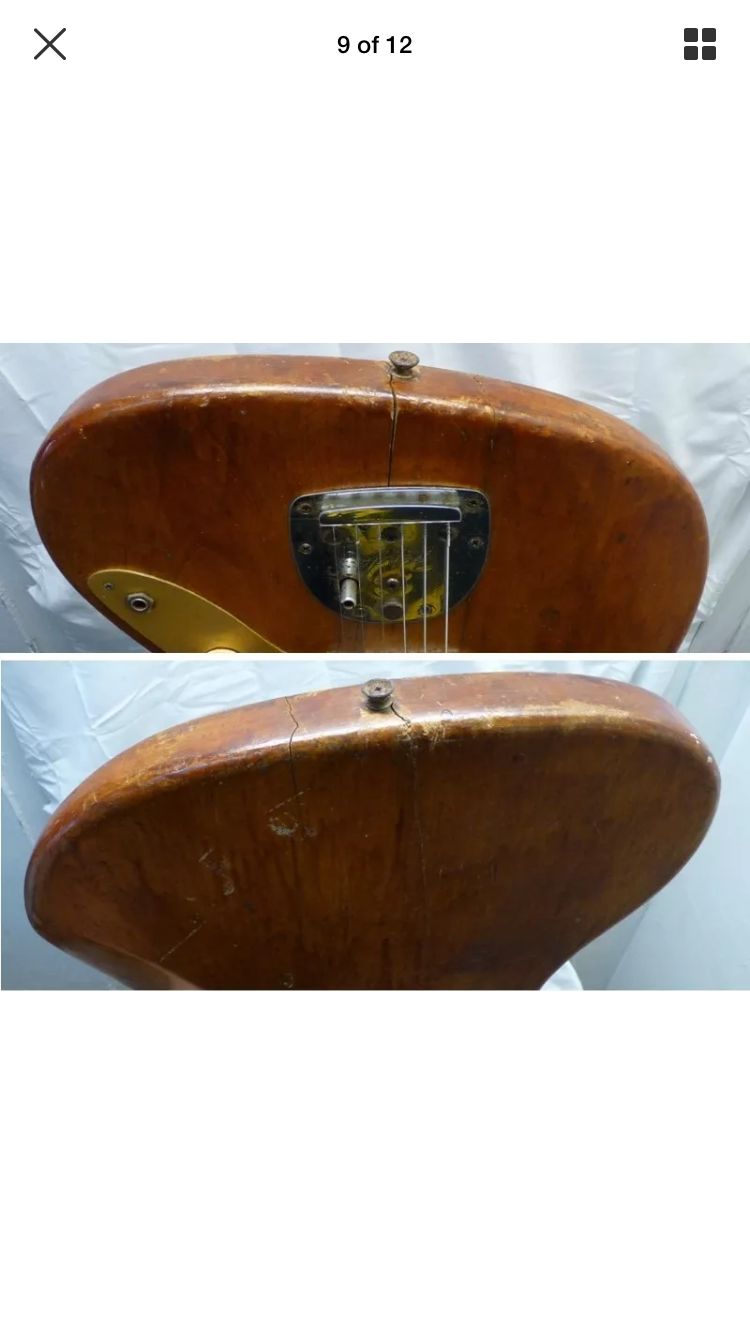
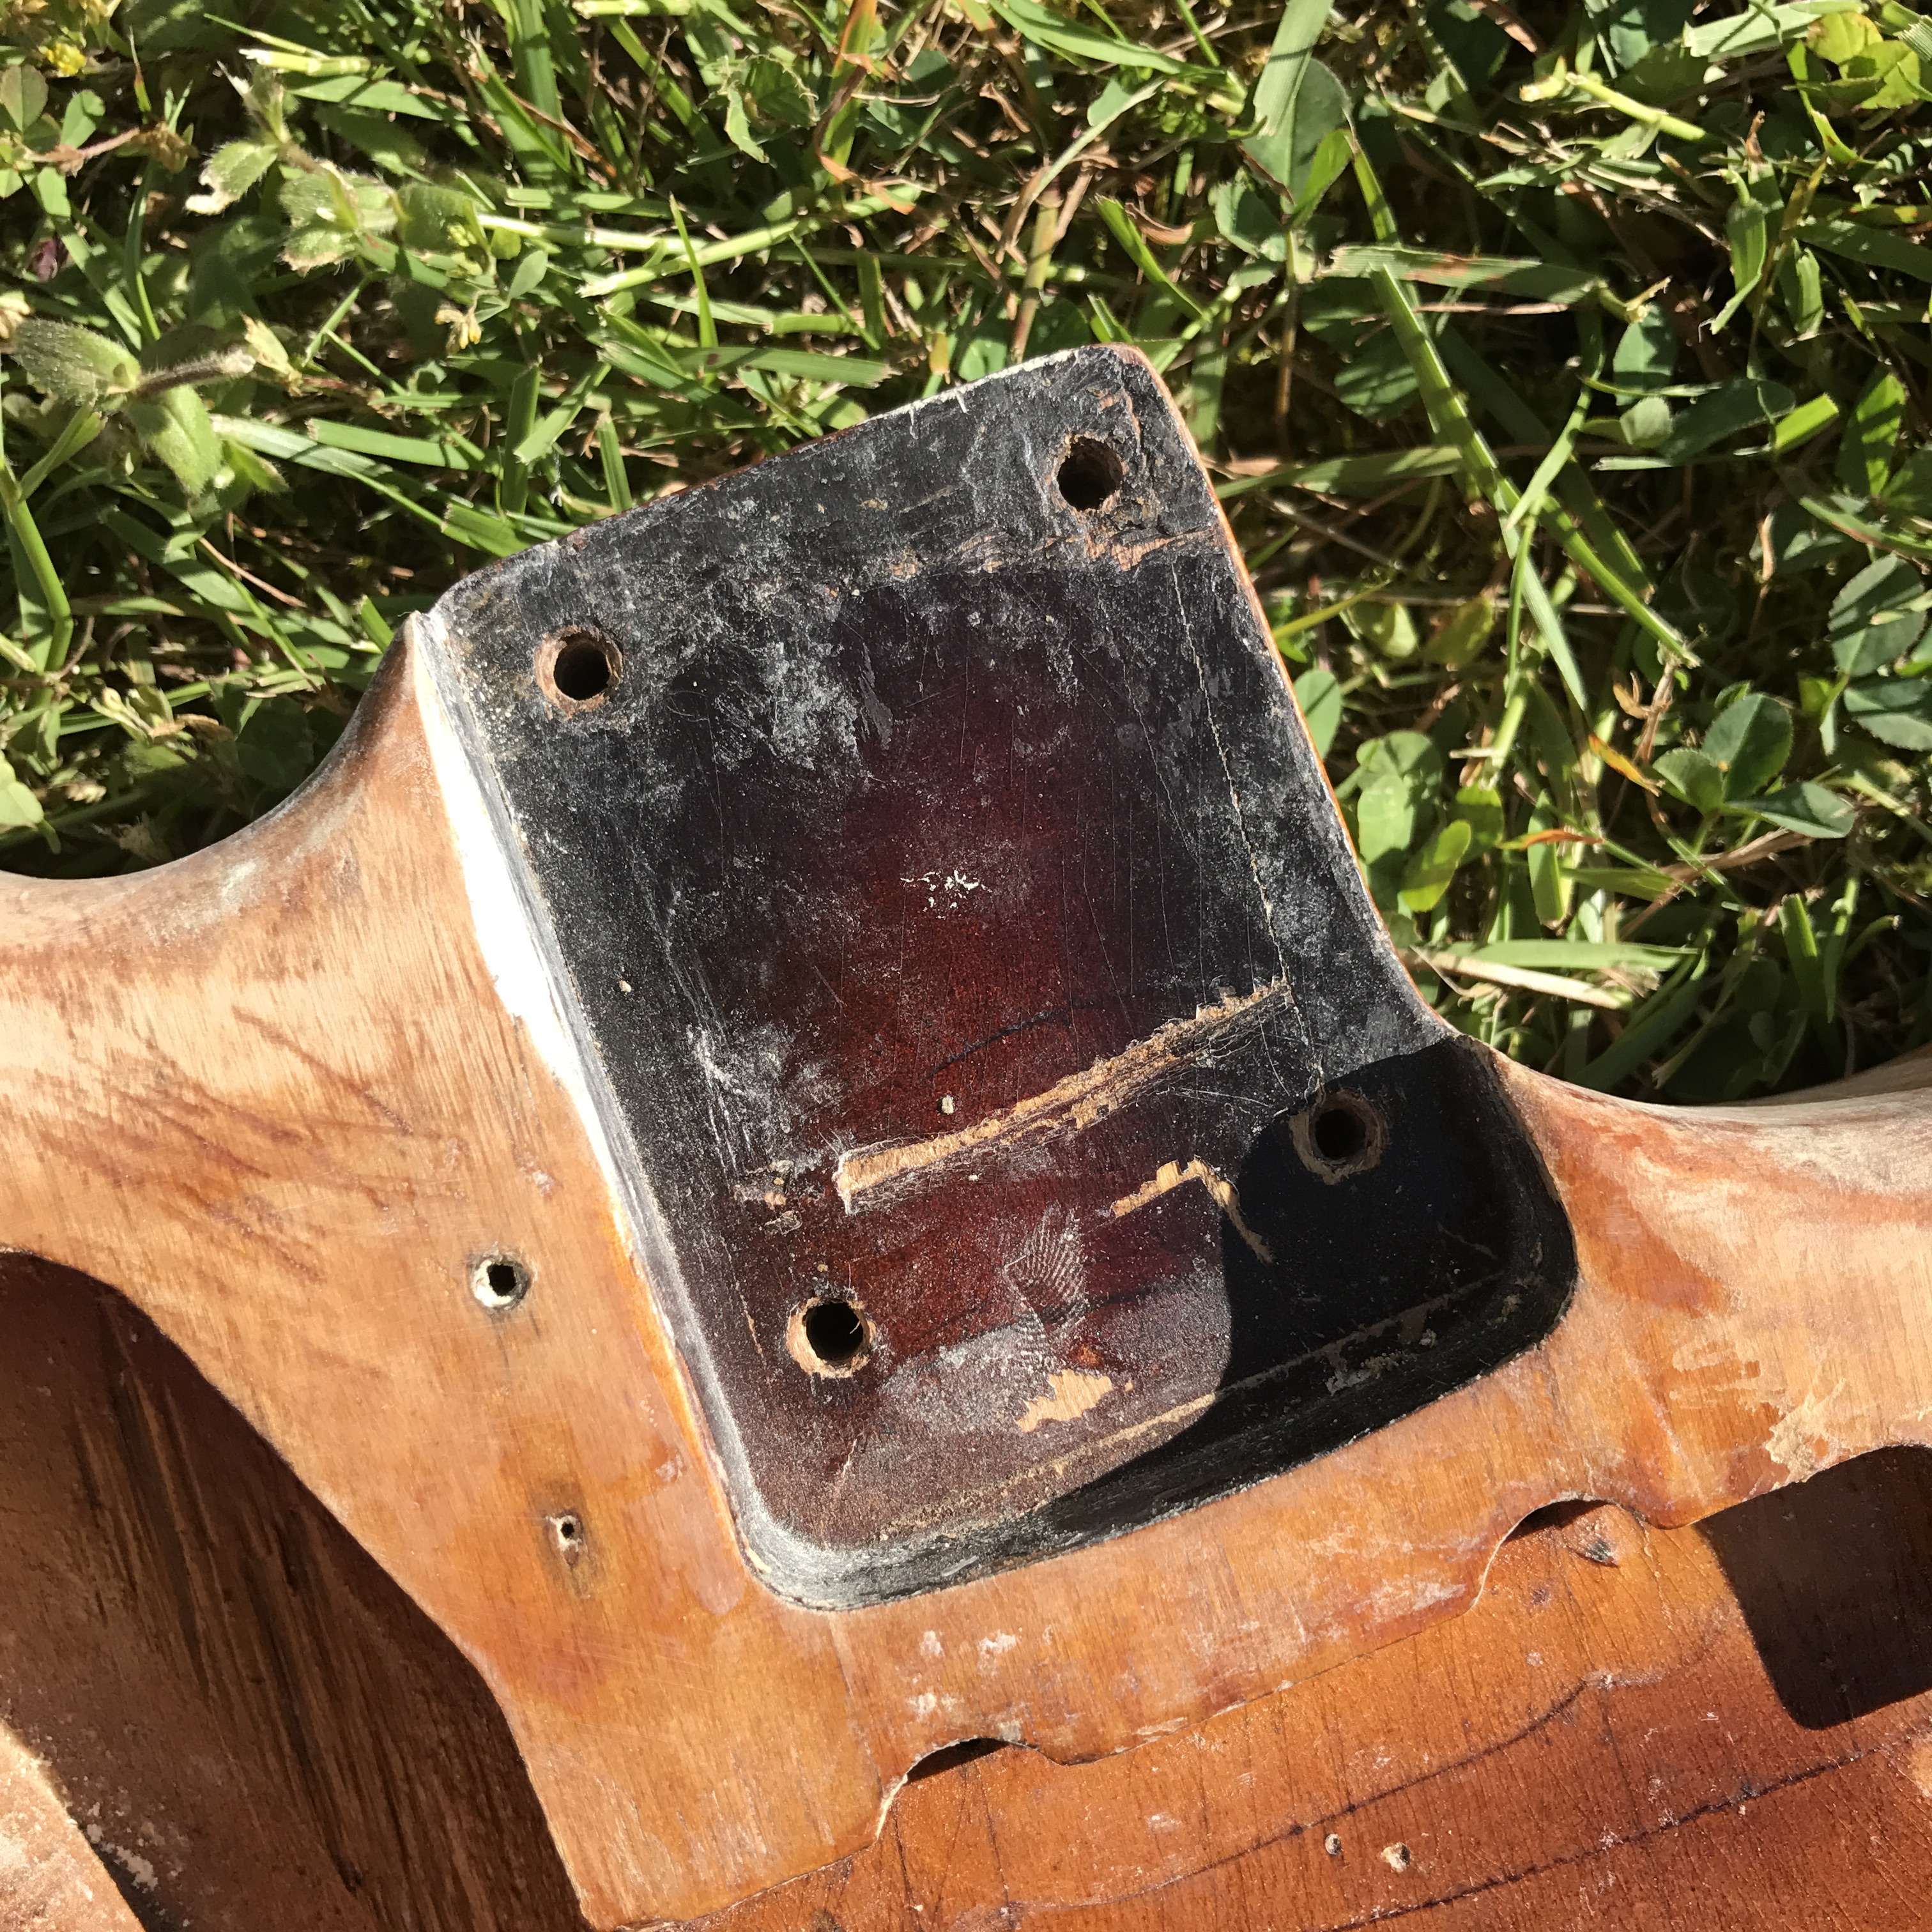
Clearly not a pretty picture. It looked a little better when I got it in the mail, but you could still see some significant problems with the body:
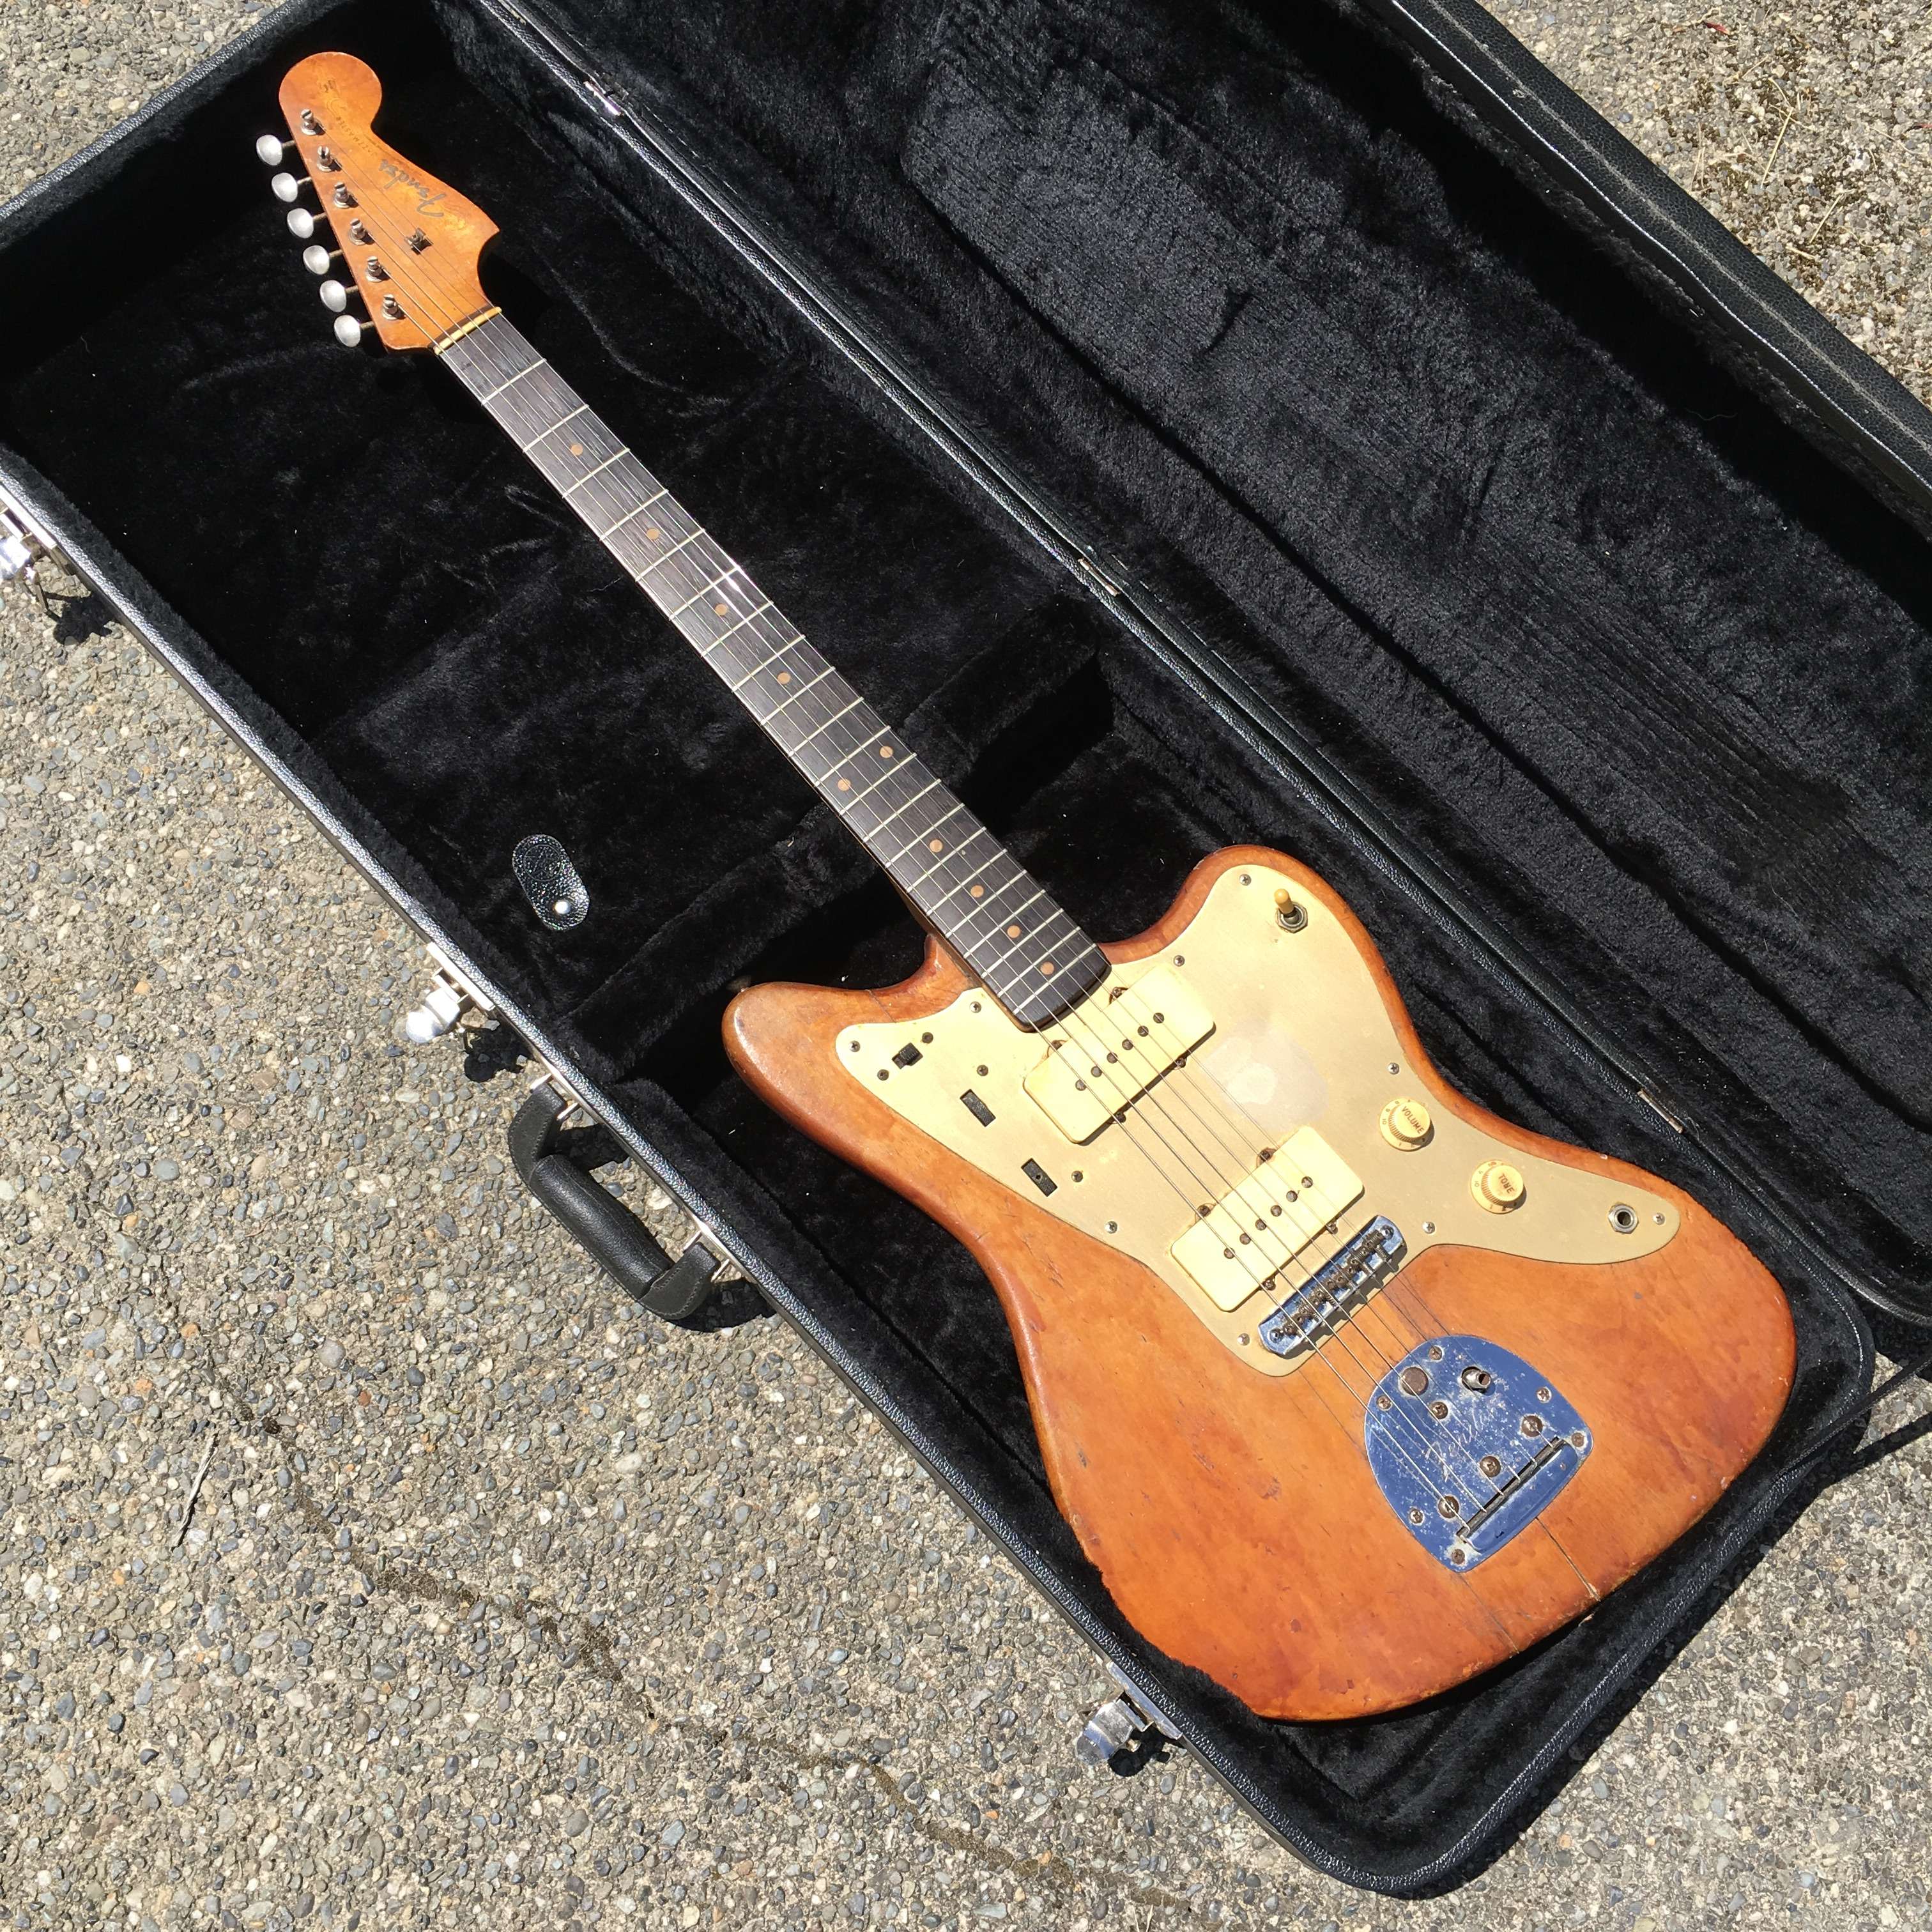
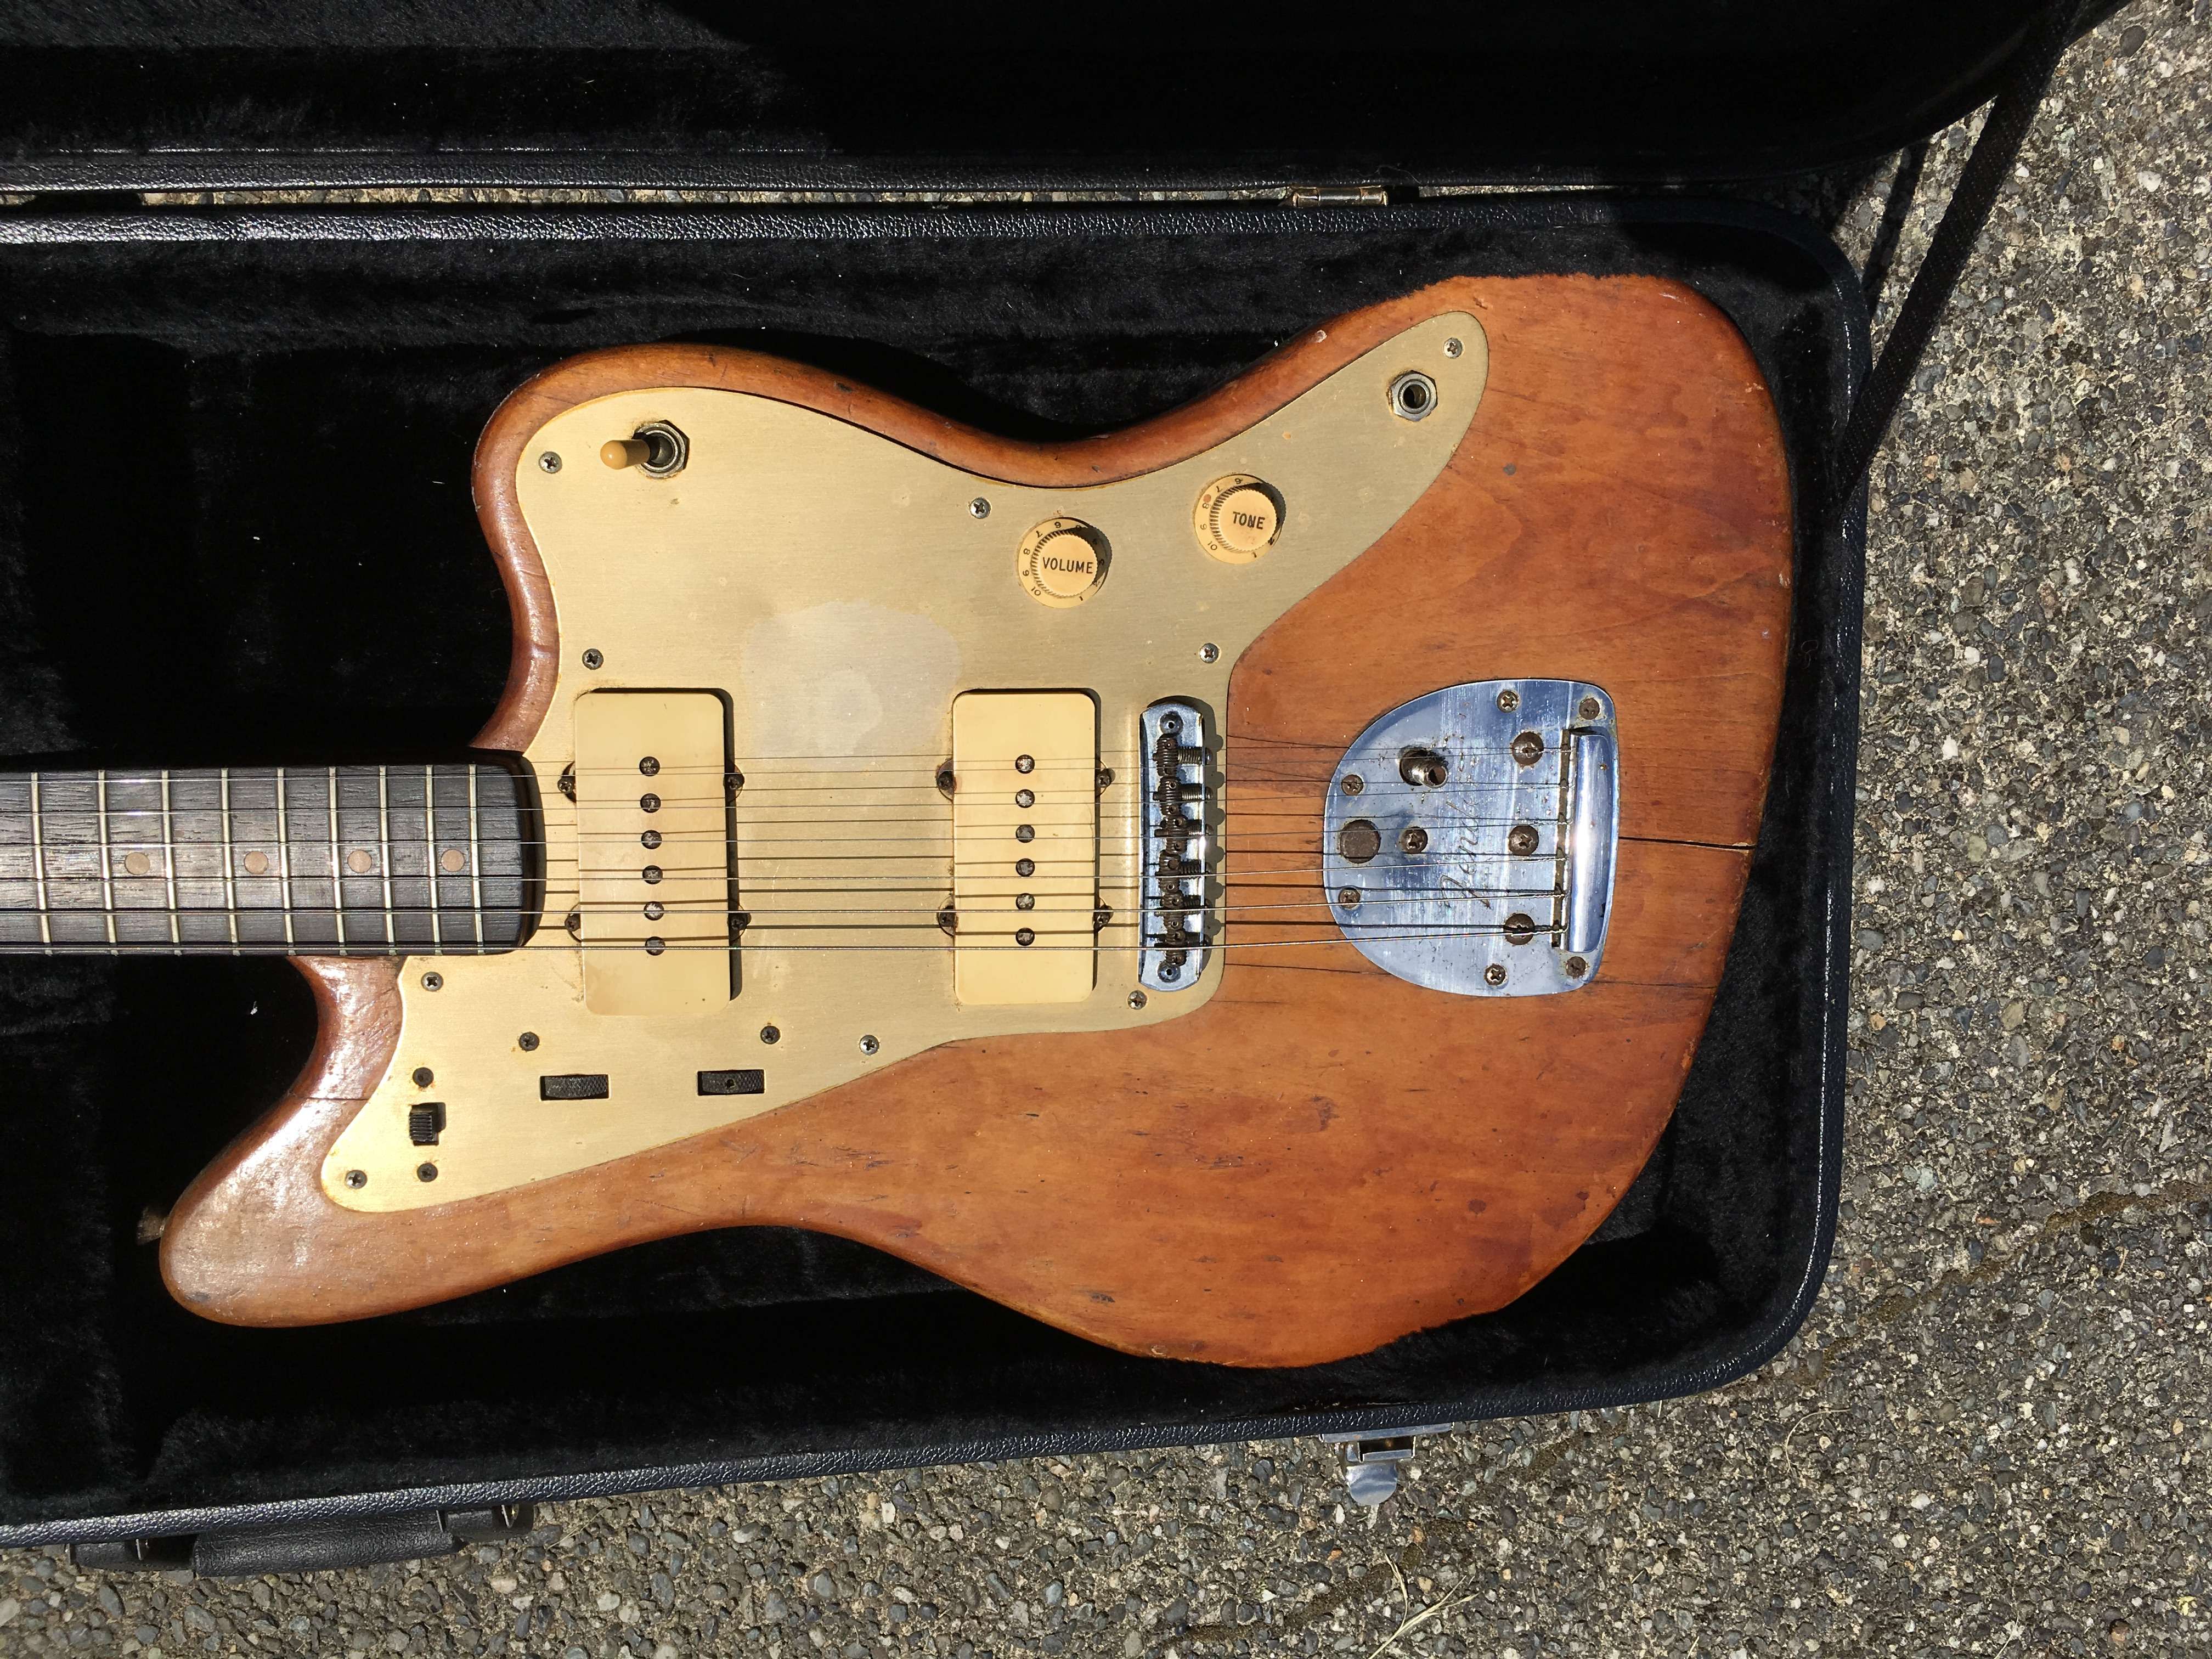
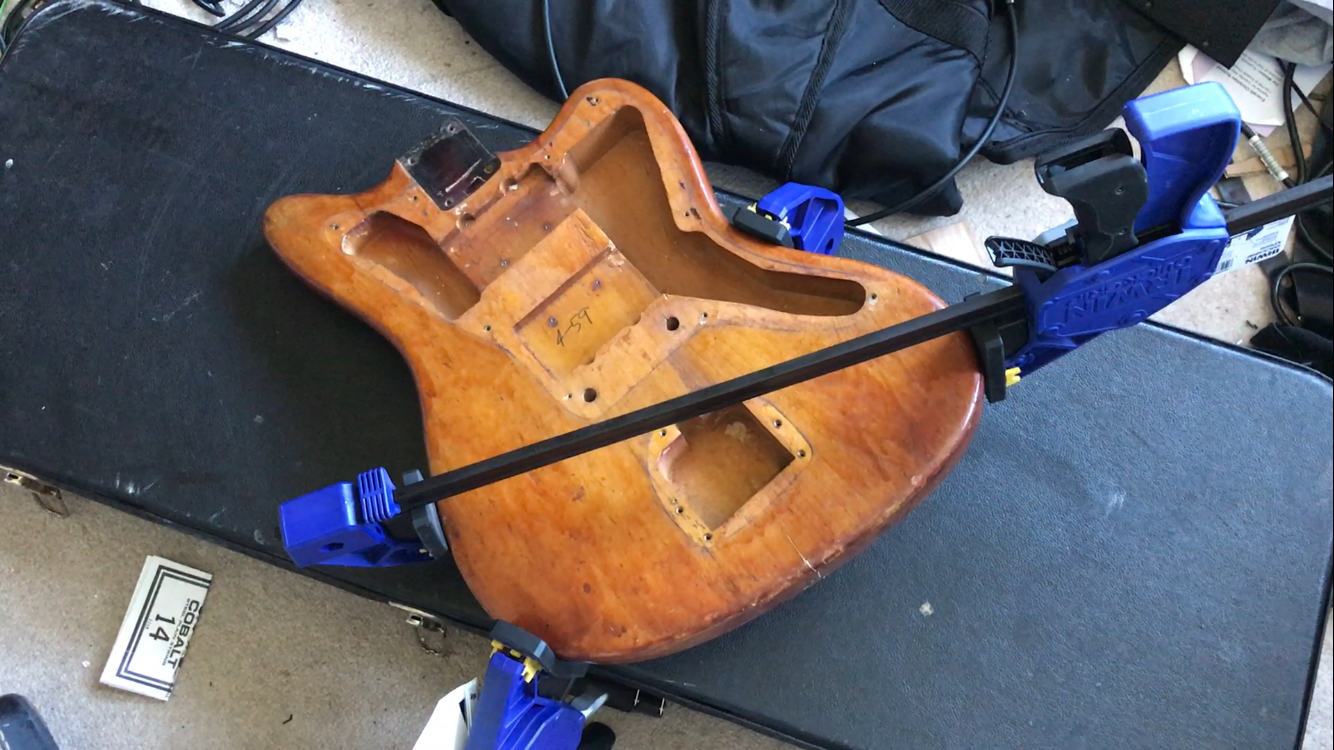
So, there are some significant body problems, but thankfully the electronics are all there.
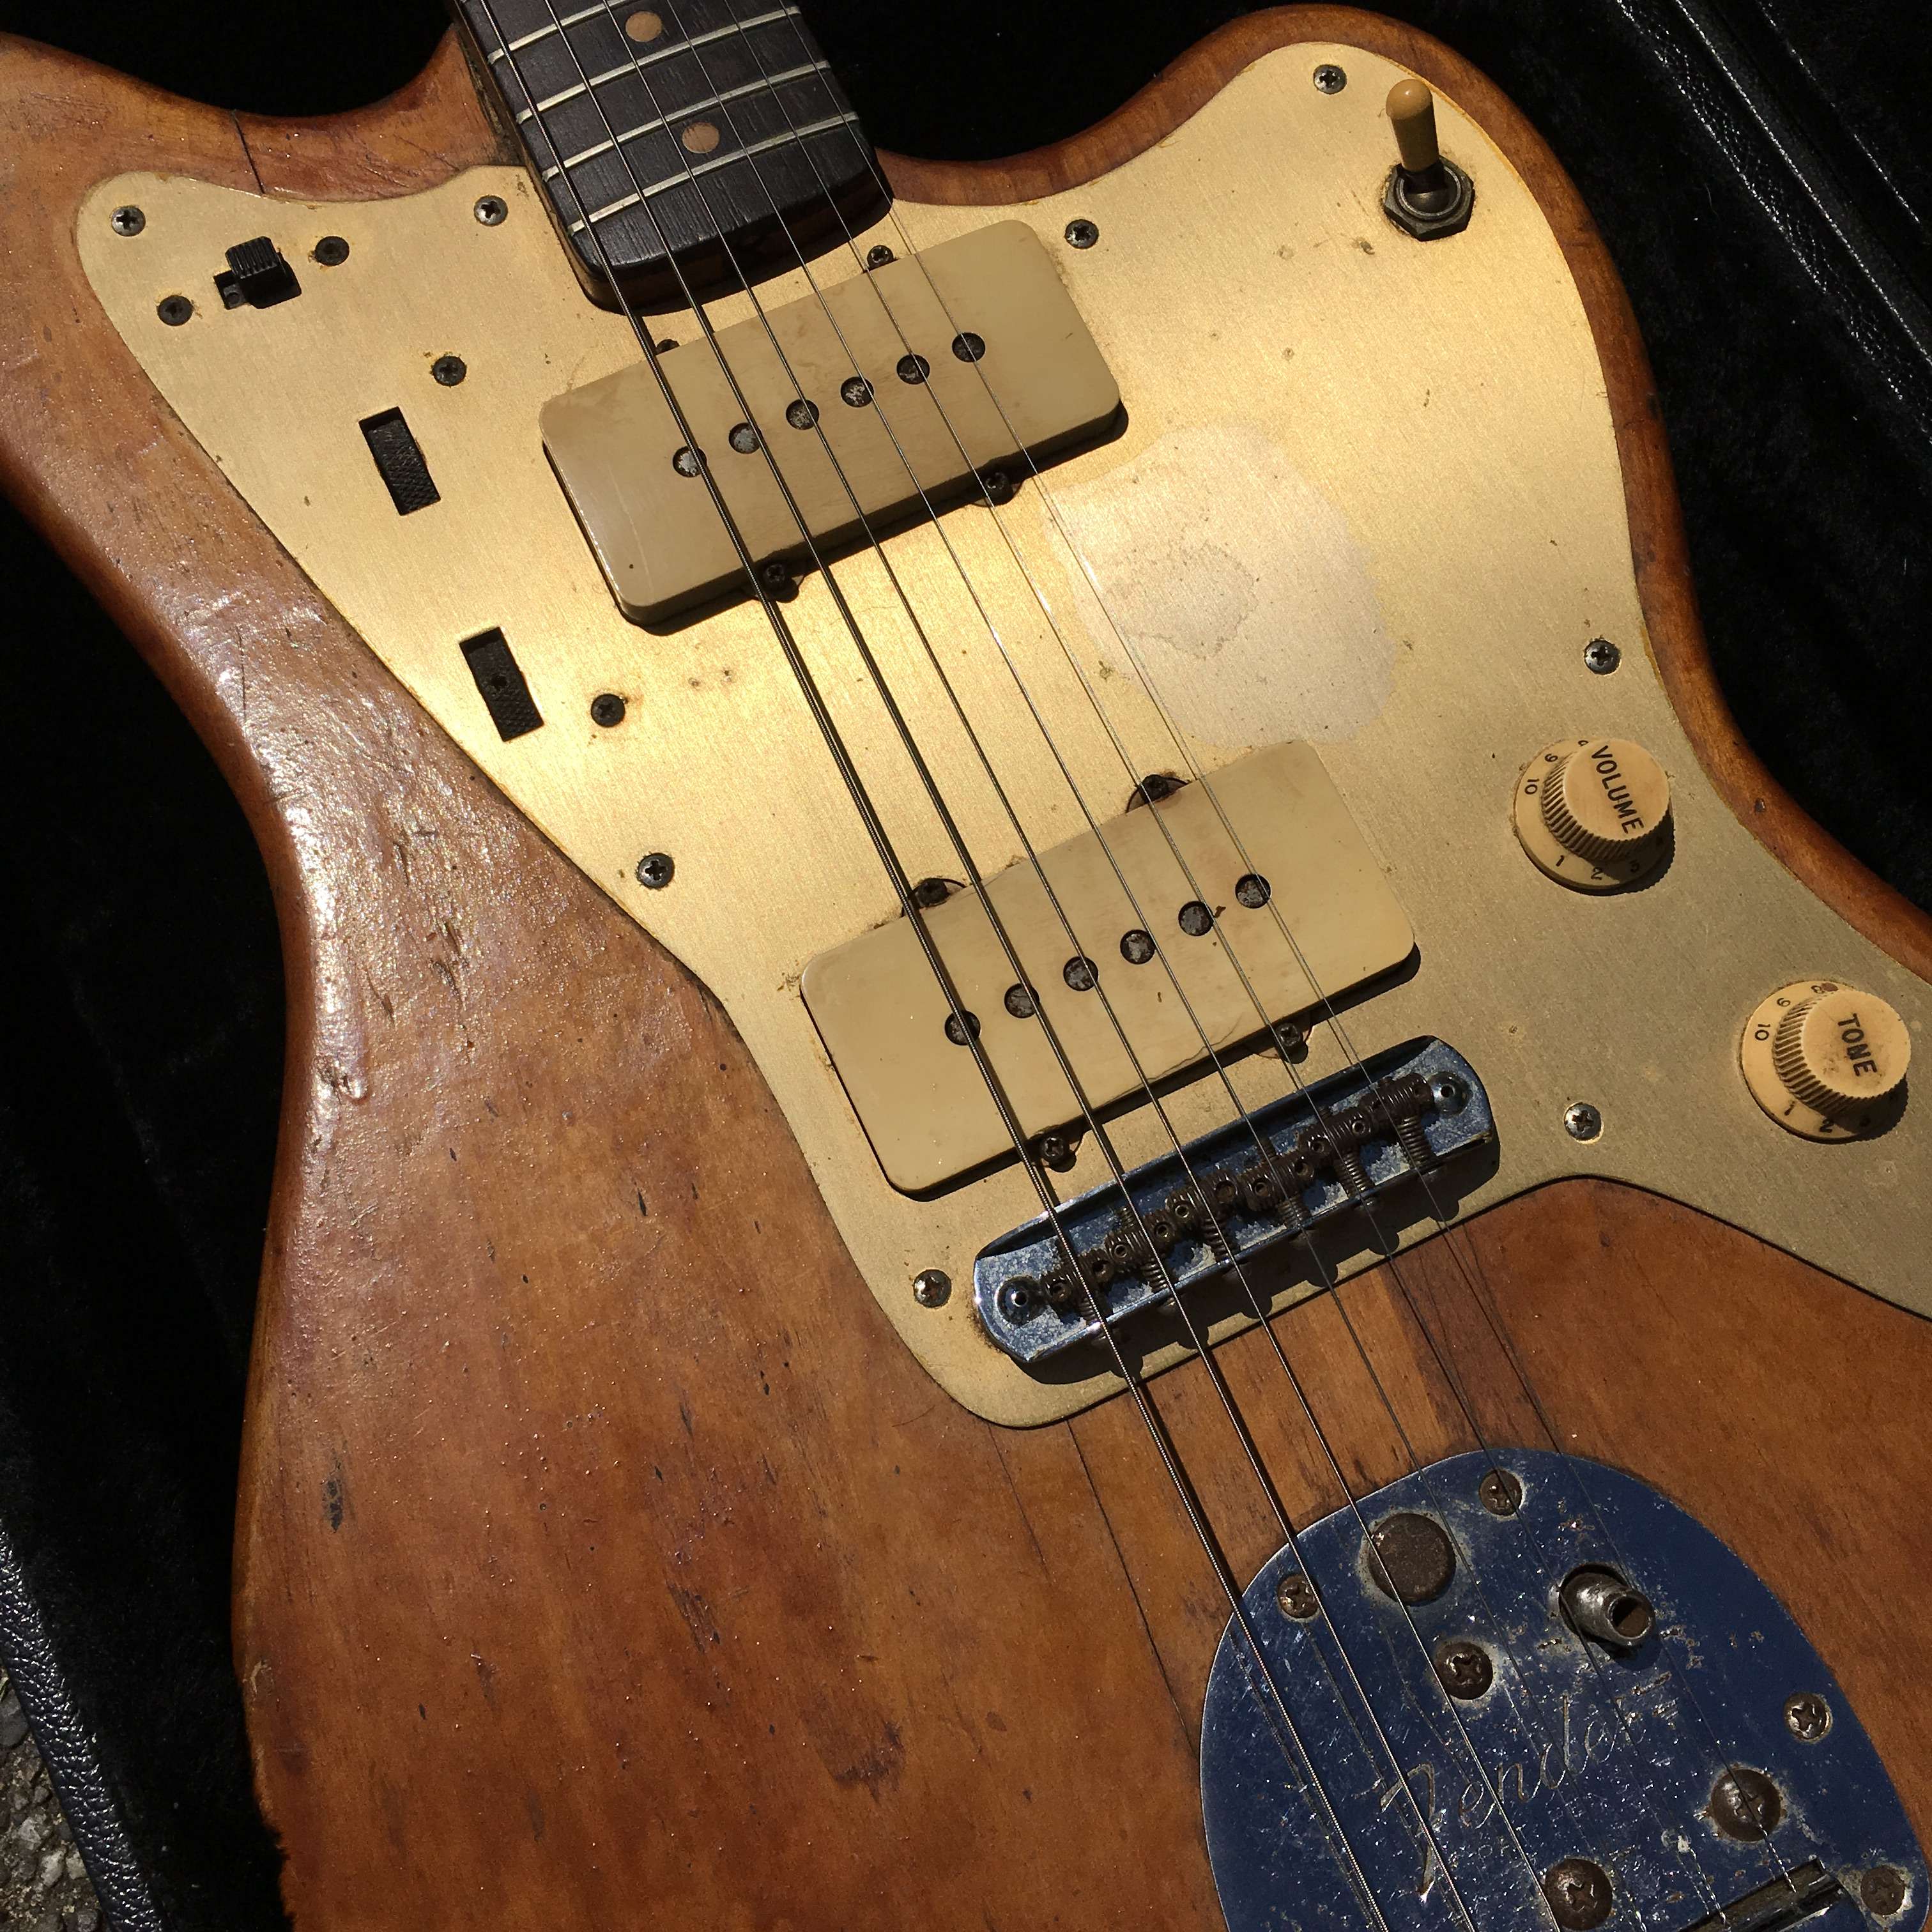
The next step was to clamp the body together and repair the cracks. It worked pretty well except that some of them weren't quite cooperative, and I had to use some wood filler to fill in some gaps. In addition to the two you can clearly see on the bottom, there are also two on the top adjacent to the neck pocket. It took several different stages to get them all repaired.

Keep in mind we're running through these pictures pretty quickly, but at this point we're several weeks into the project!
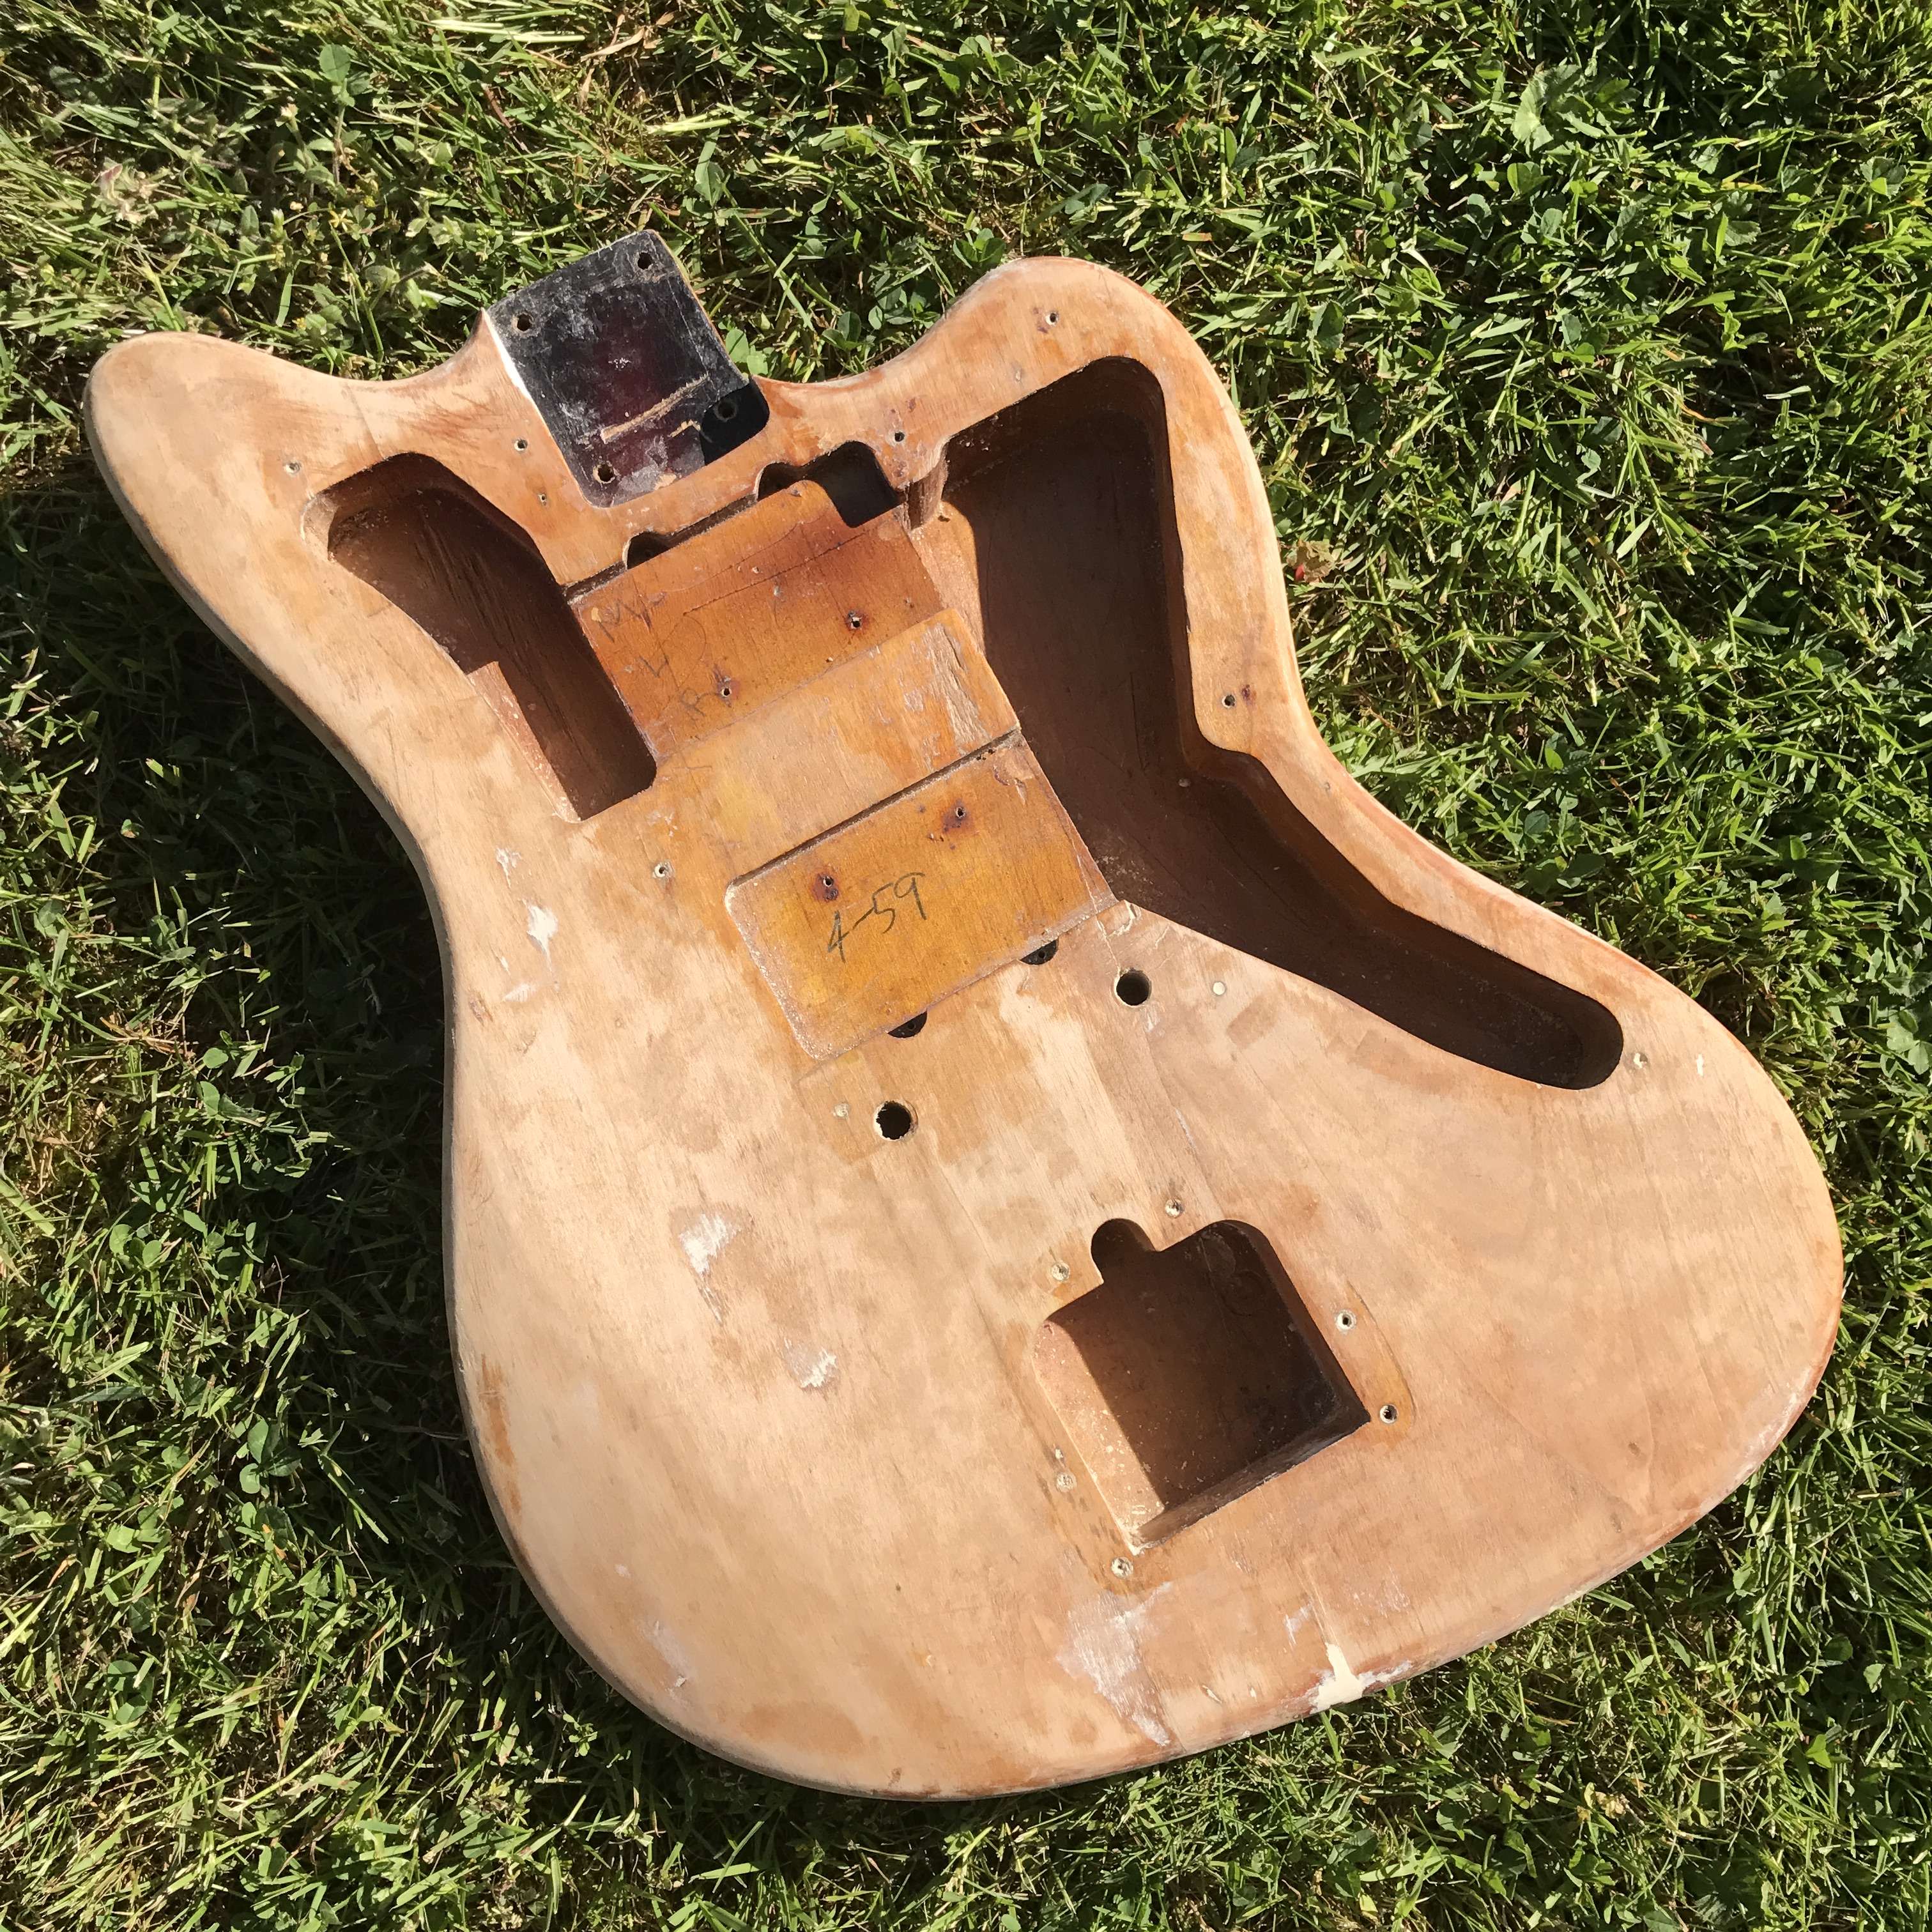
Next was to prep the body for paint. First I had to strip that horrible varnish off the body. Next I had to use wood filler to level it out as best as I could in the places that were most problematic. Finally I had to coat it with A lacquer sand and sealer to provide a stable base for the coats of paint. Here's what it looked like just before the sand and sealer went on:
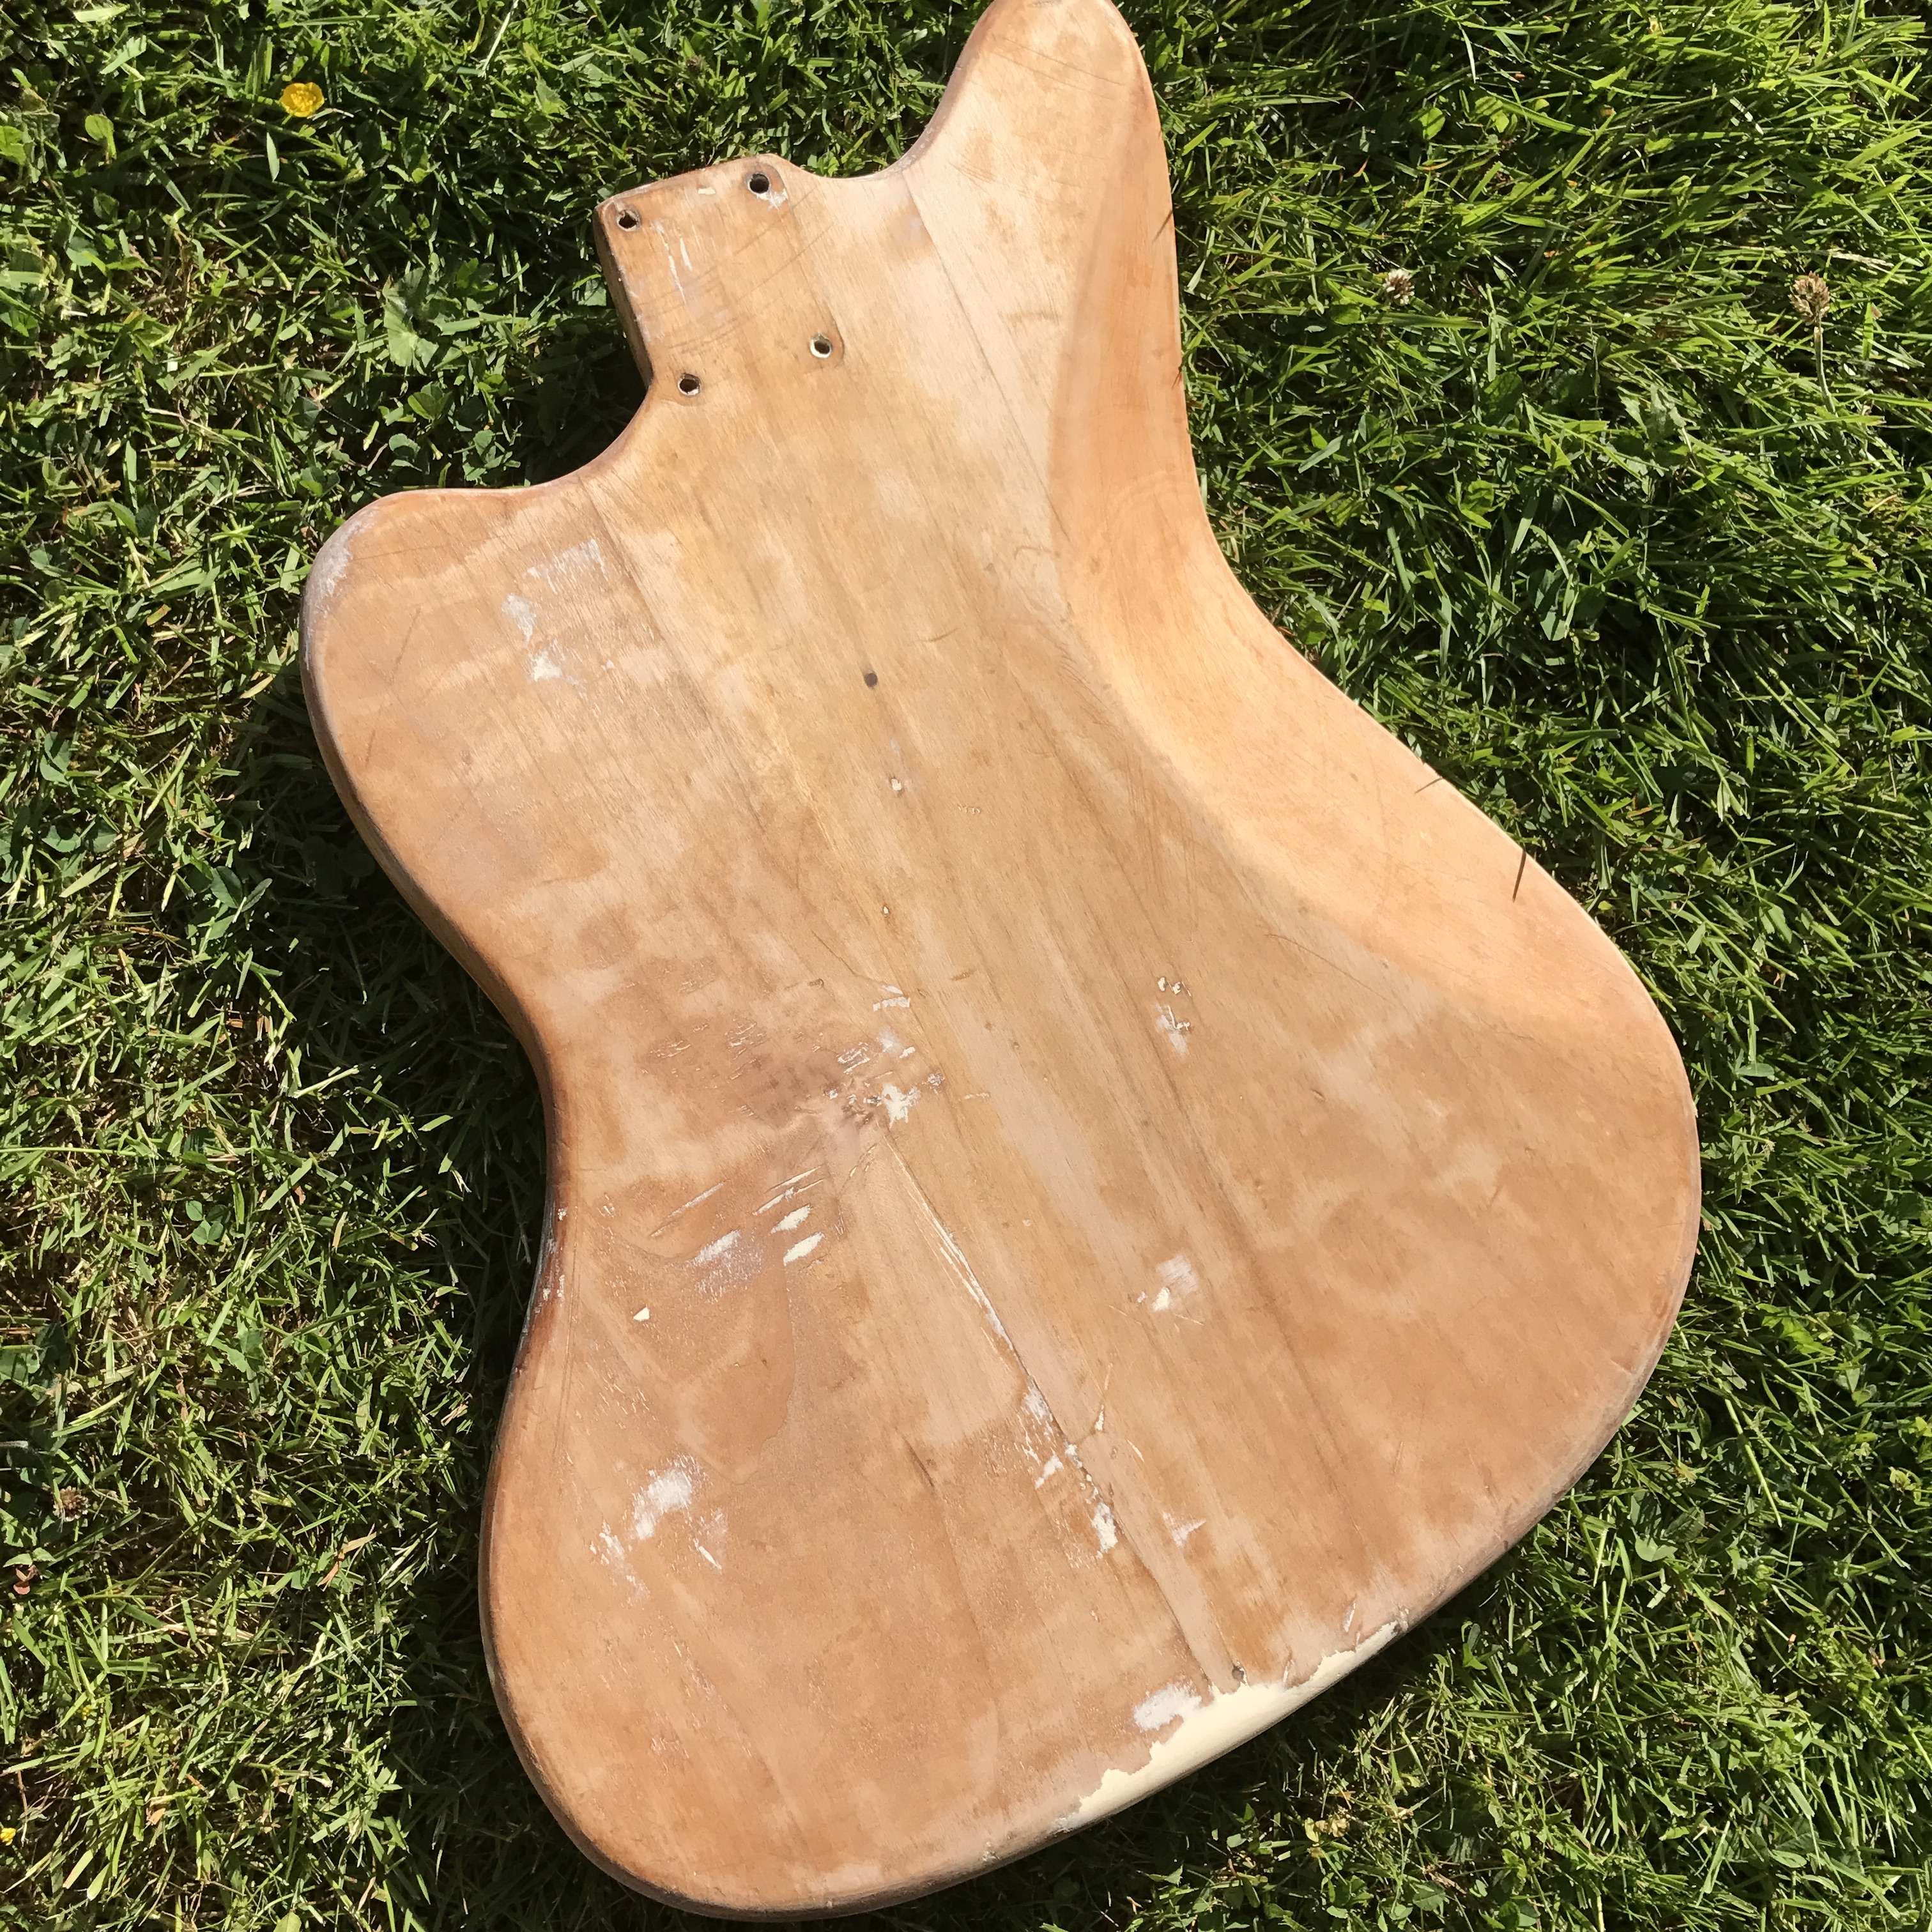
The bottom of the guitar near the strap button proved particularly problematic, but I got it to work:
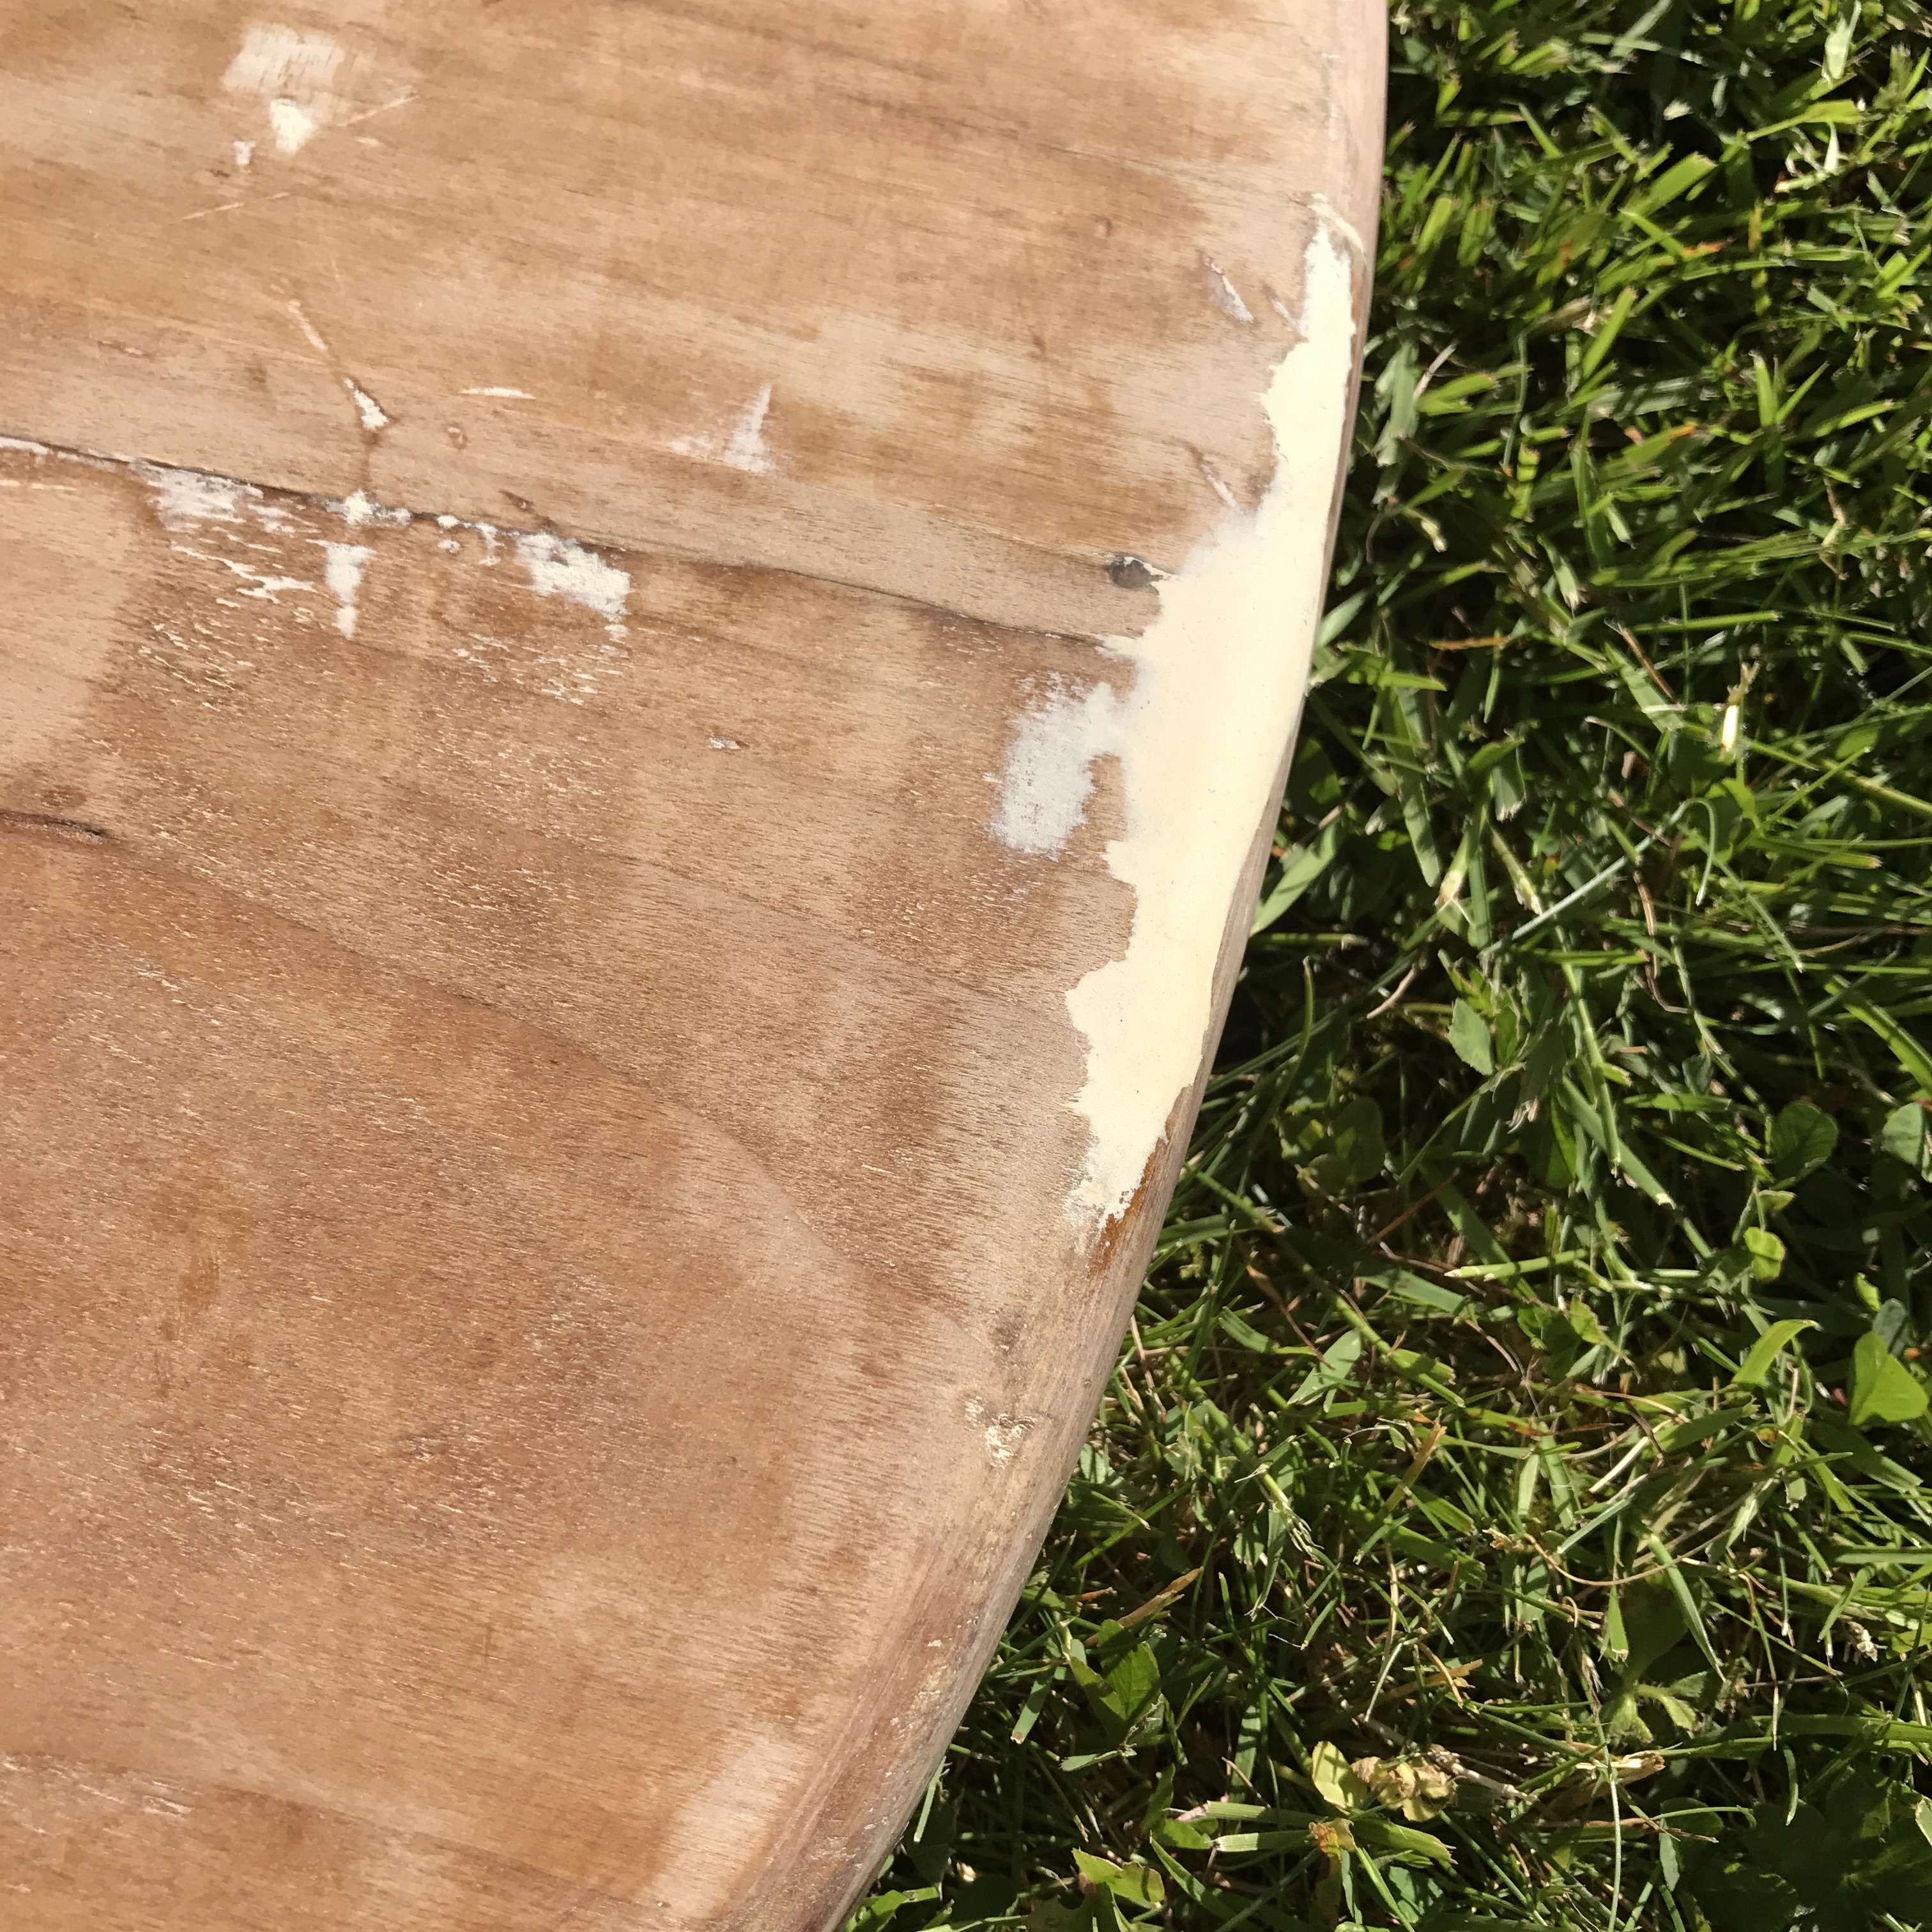
Another close-up shot:
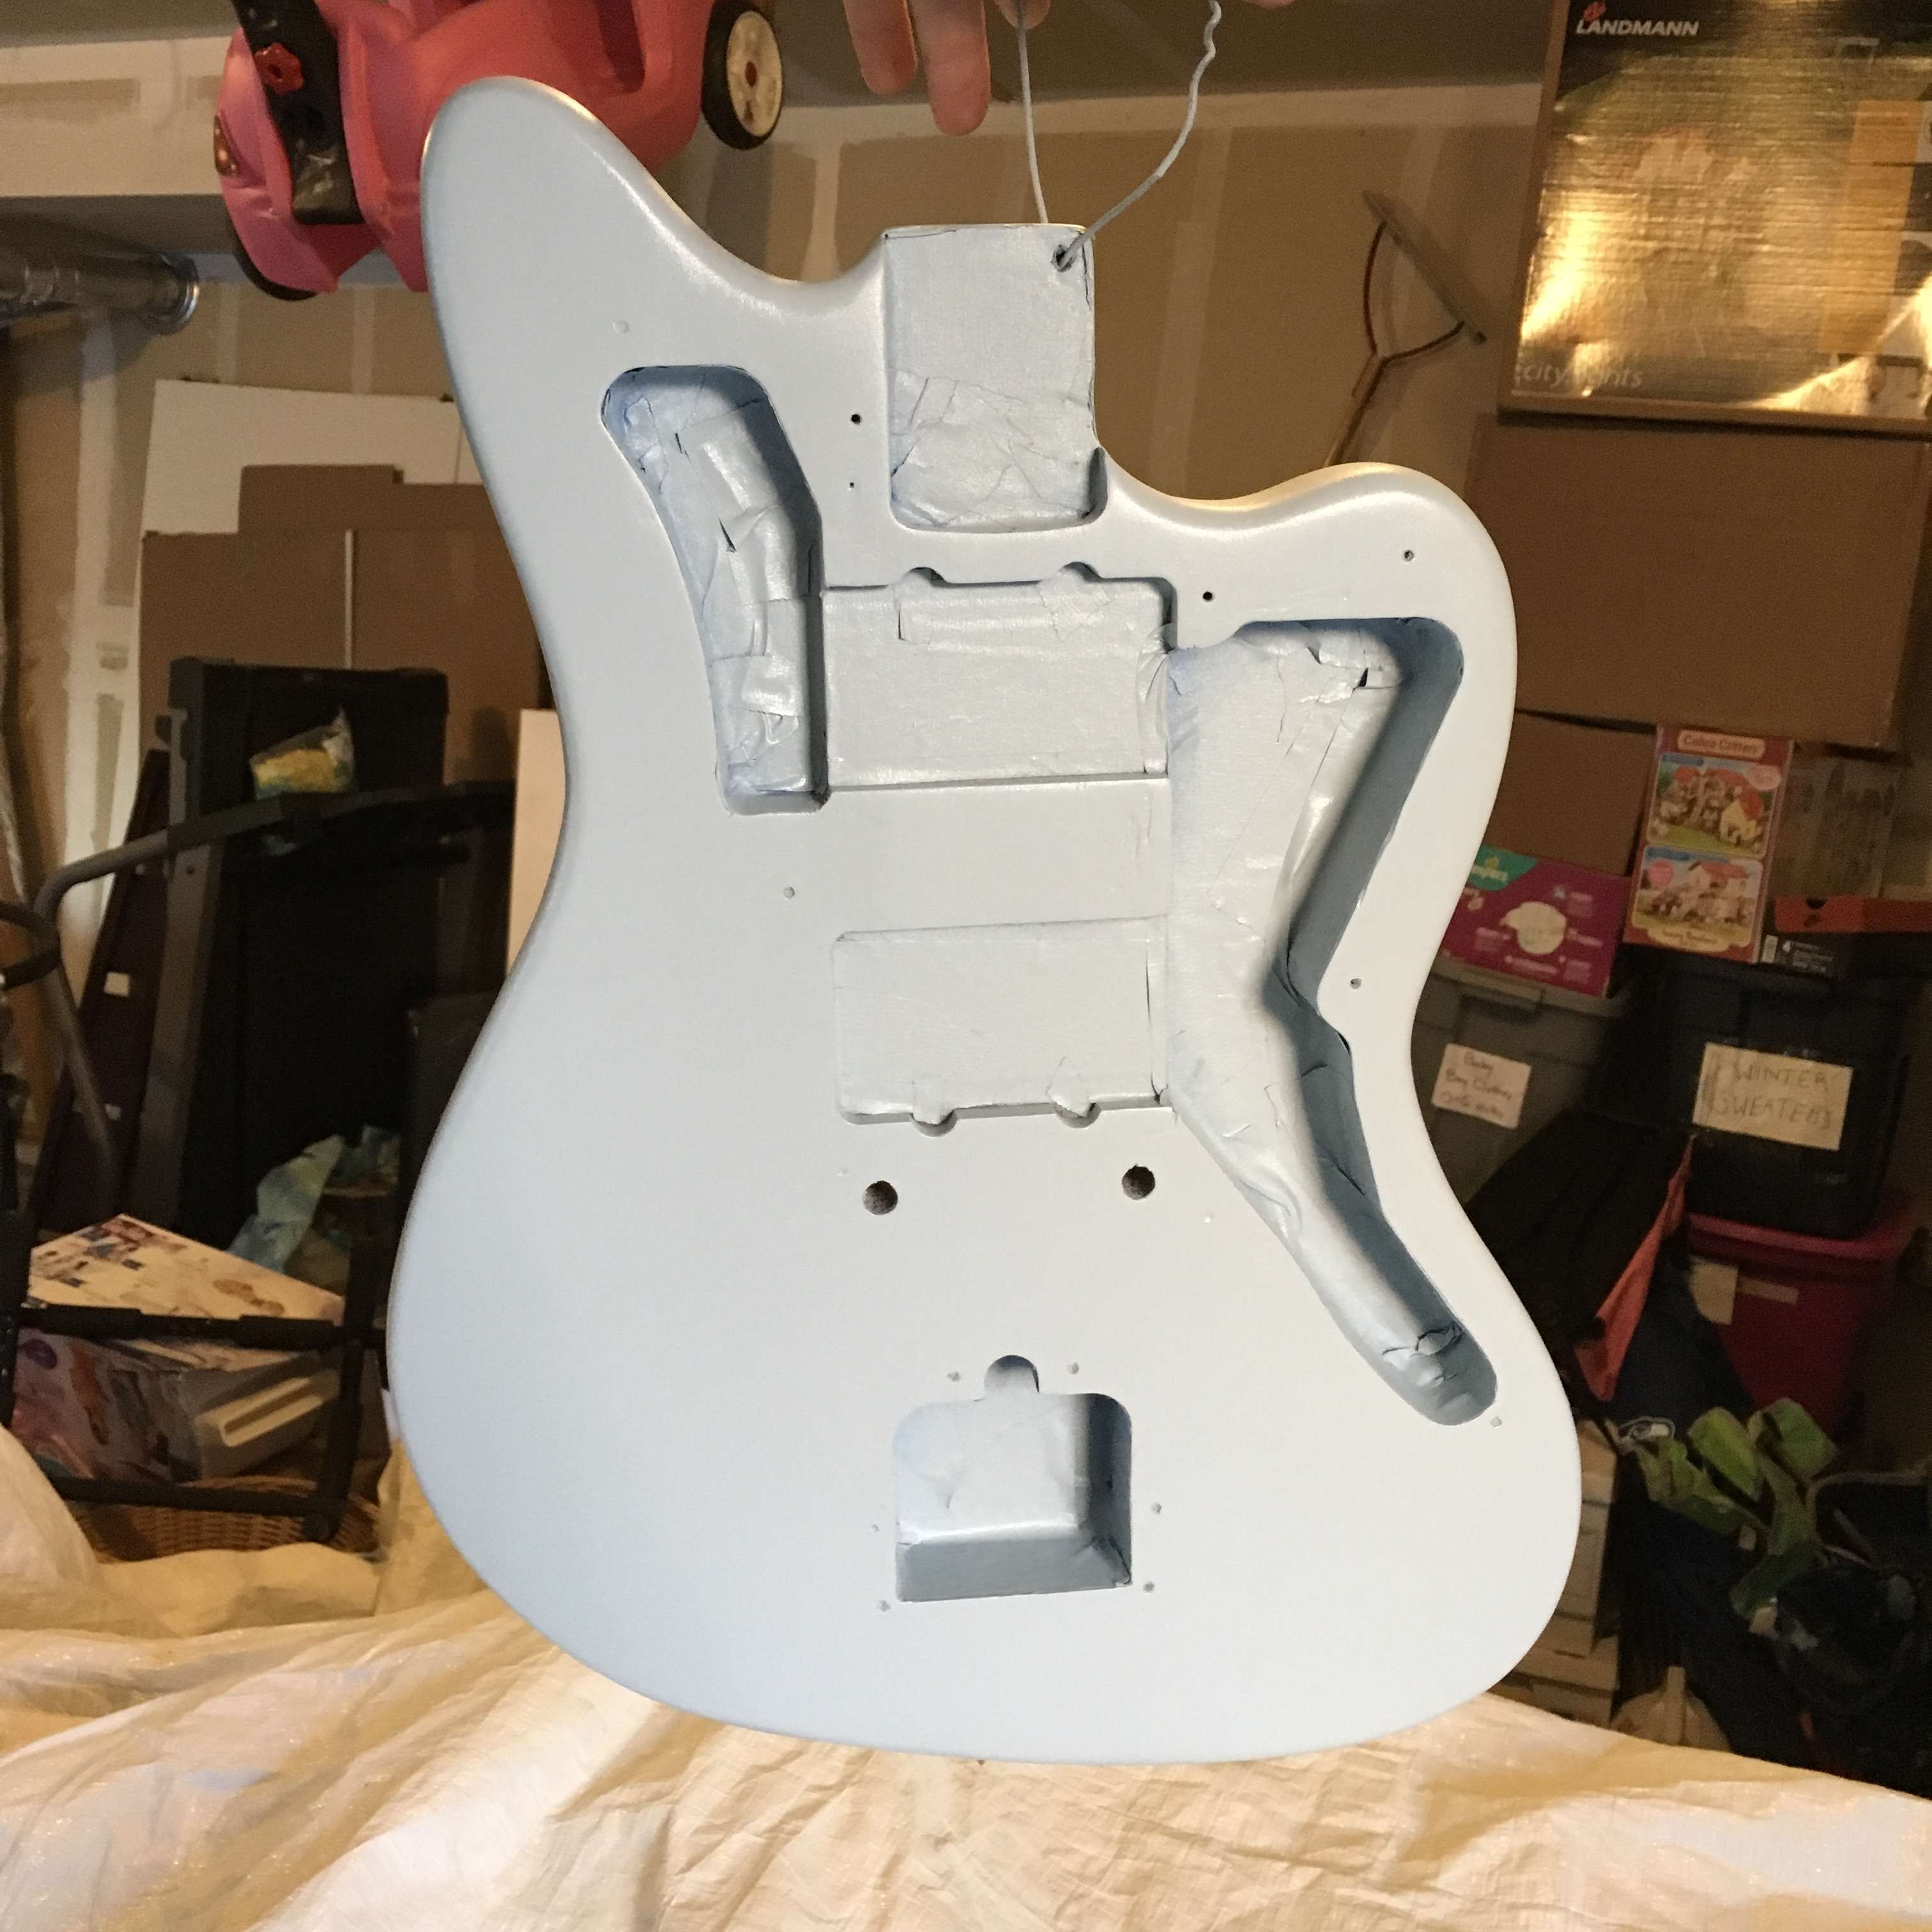
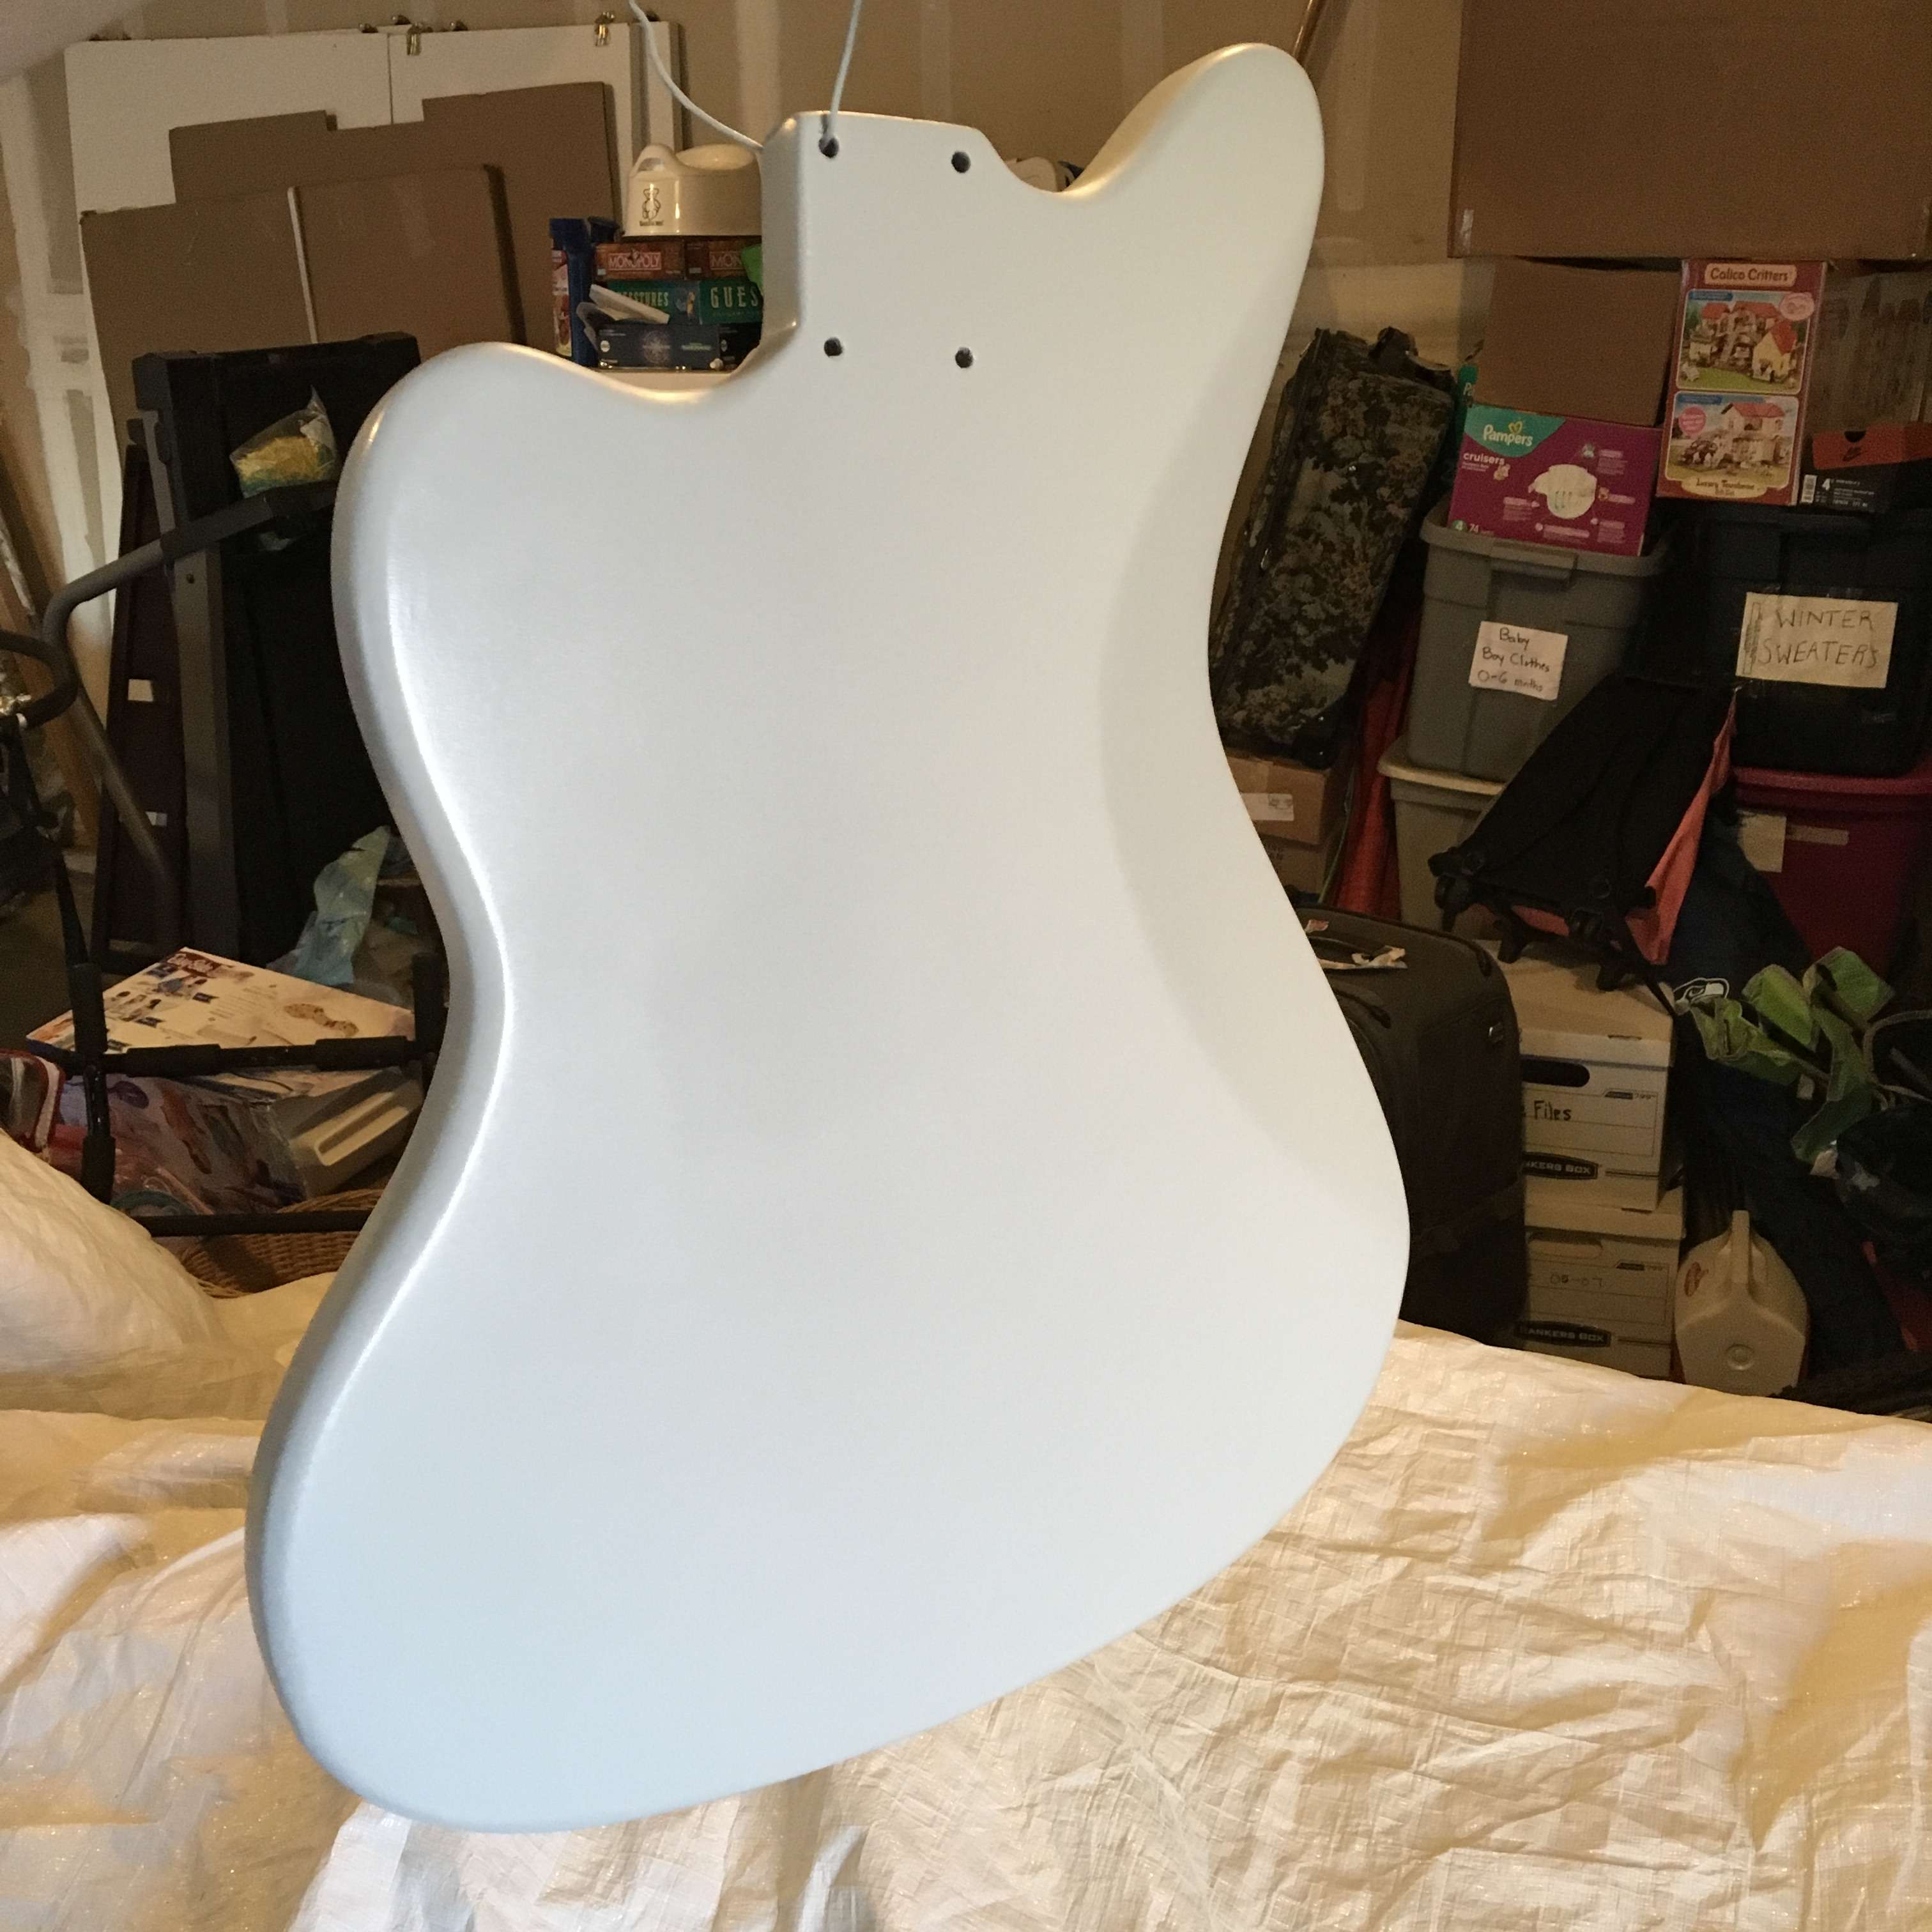
Next time move to the basecoat of nitro. Are used Olympic white as an undercoat, even though I think they originally used desert sand for fiesta red finishes.
Finally, I went for the fiesta red. Along the way I messed up and actually dinged the upper horn. It was a pain in the neck, because I had to send back down to the base level, use wood filler to flatten it out, and then re-spray. Basically it took me another week of work!
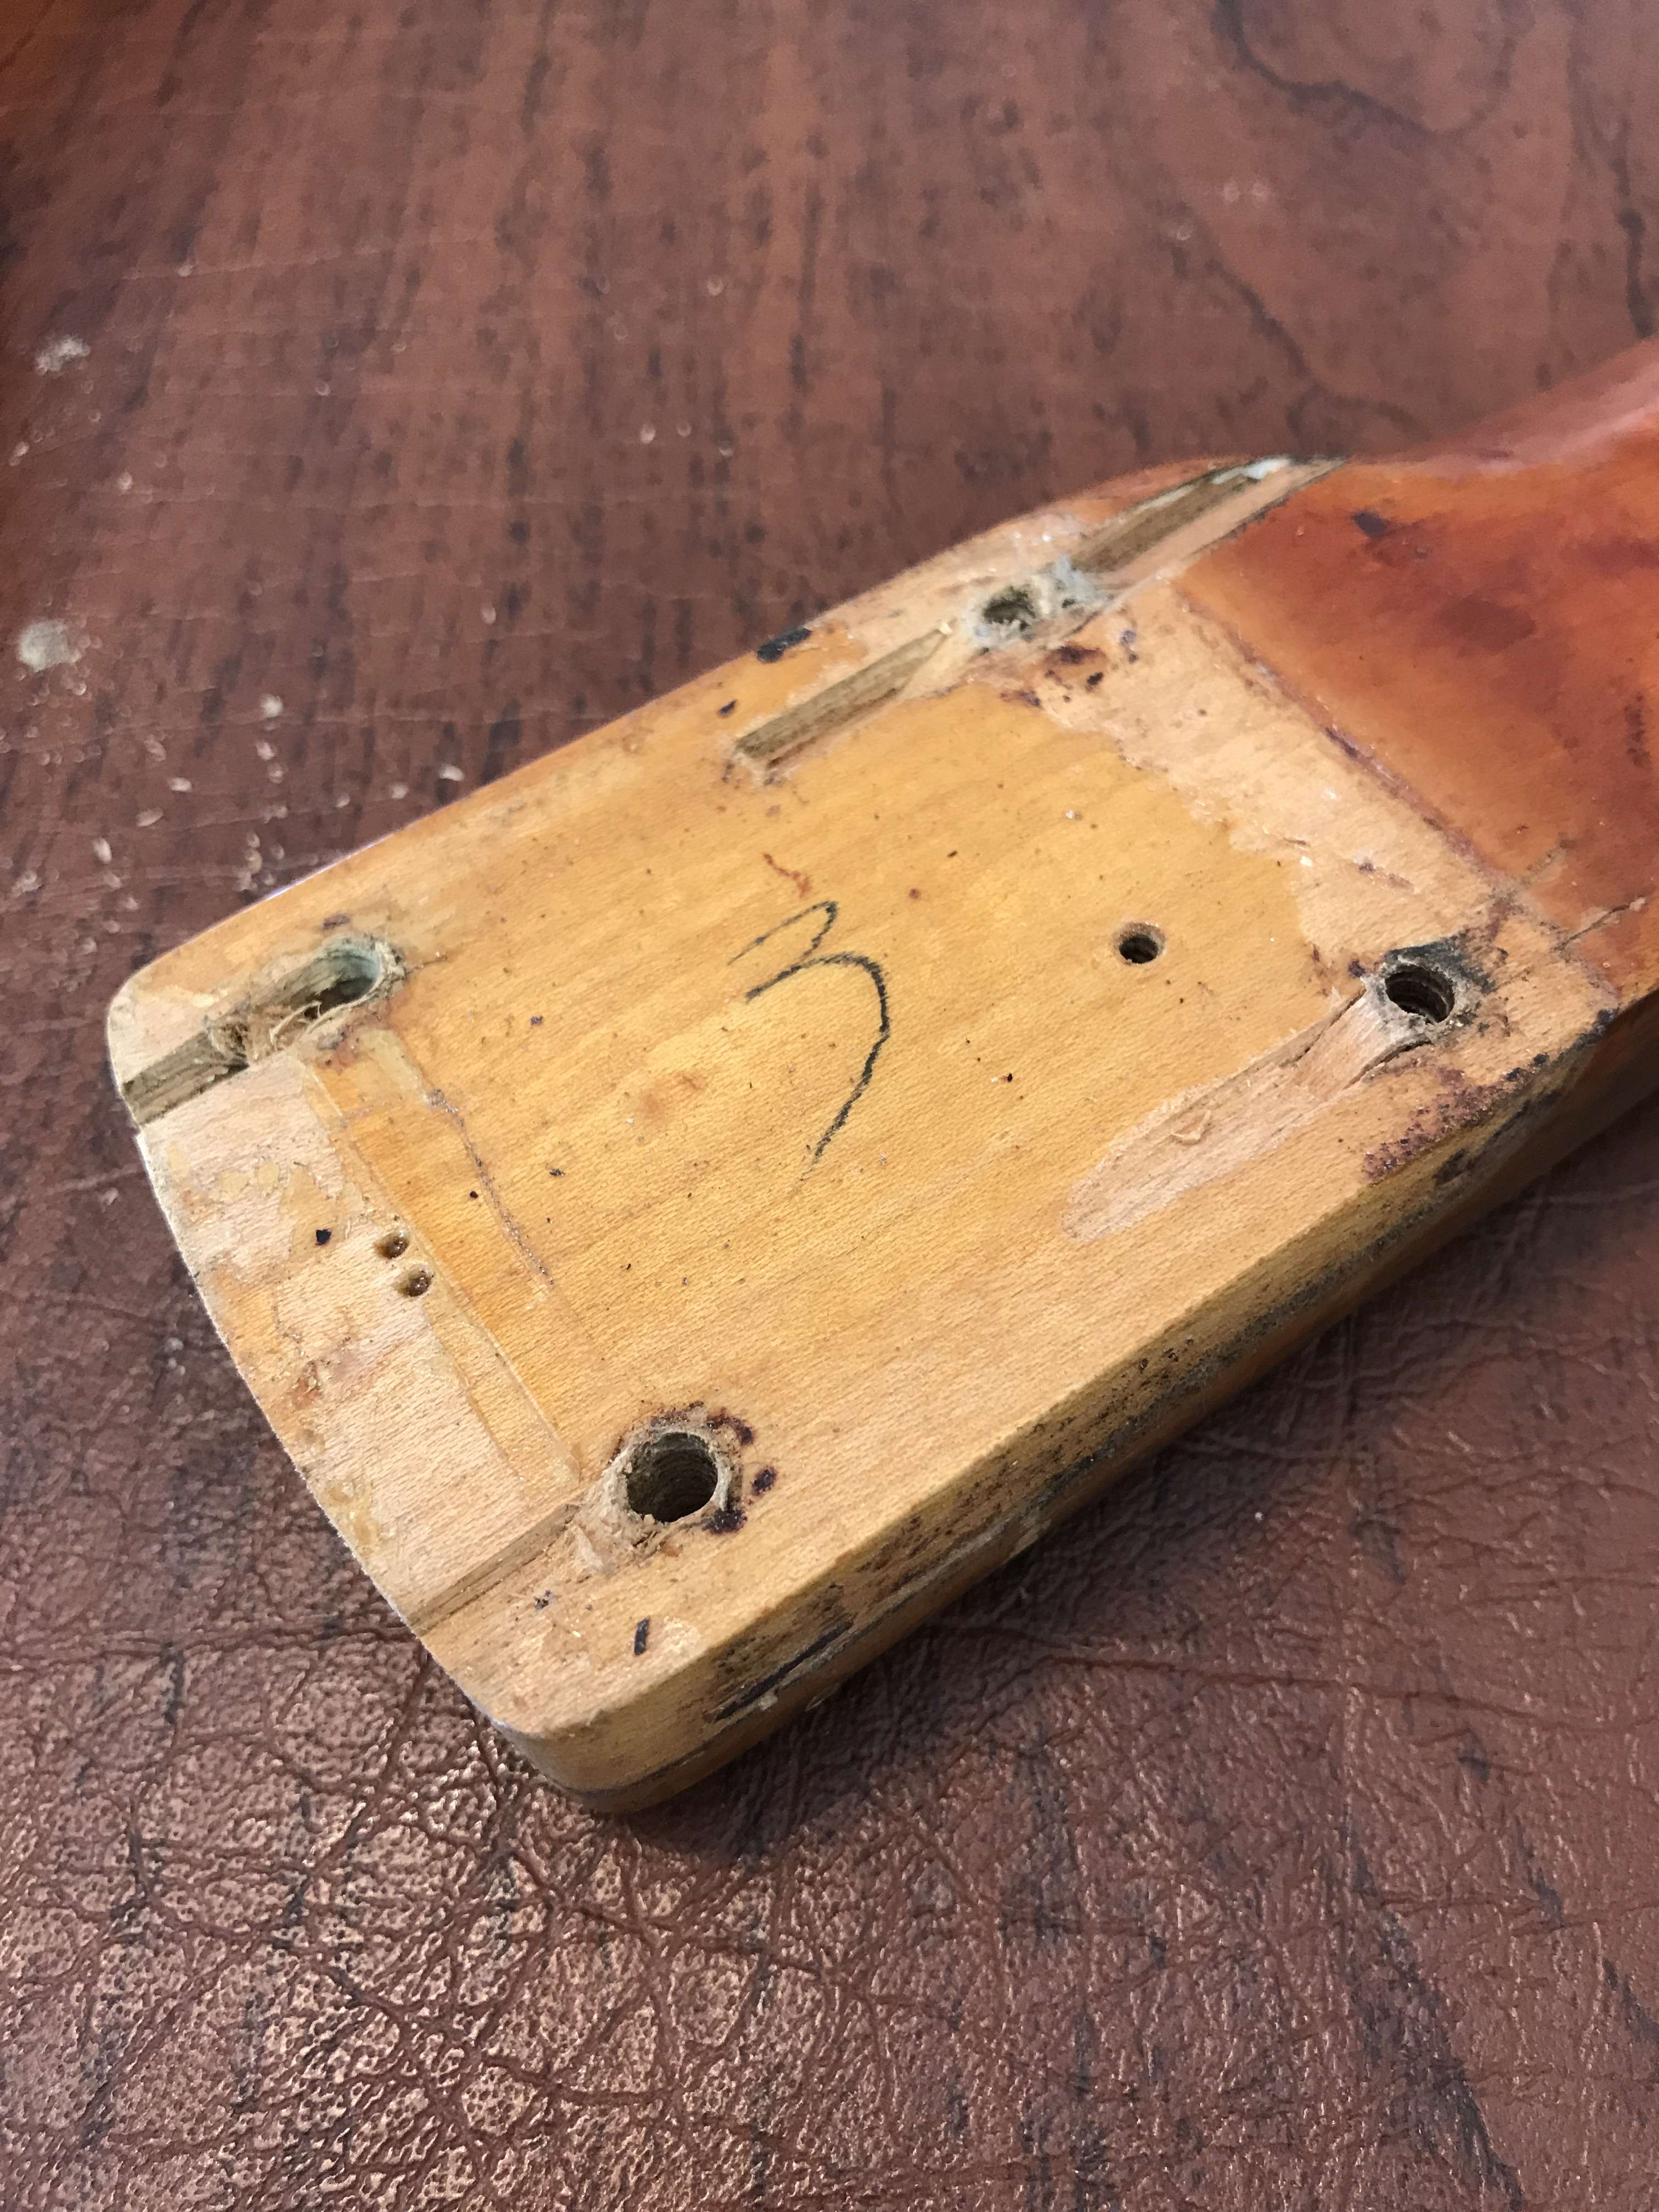
I'll spare you the shots of the multiple coats, but here's what it looks like now after sanding and polishing:

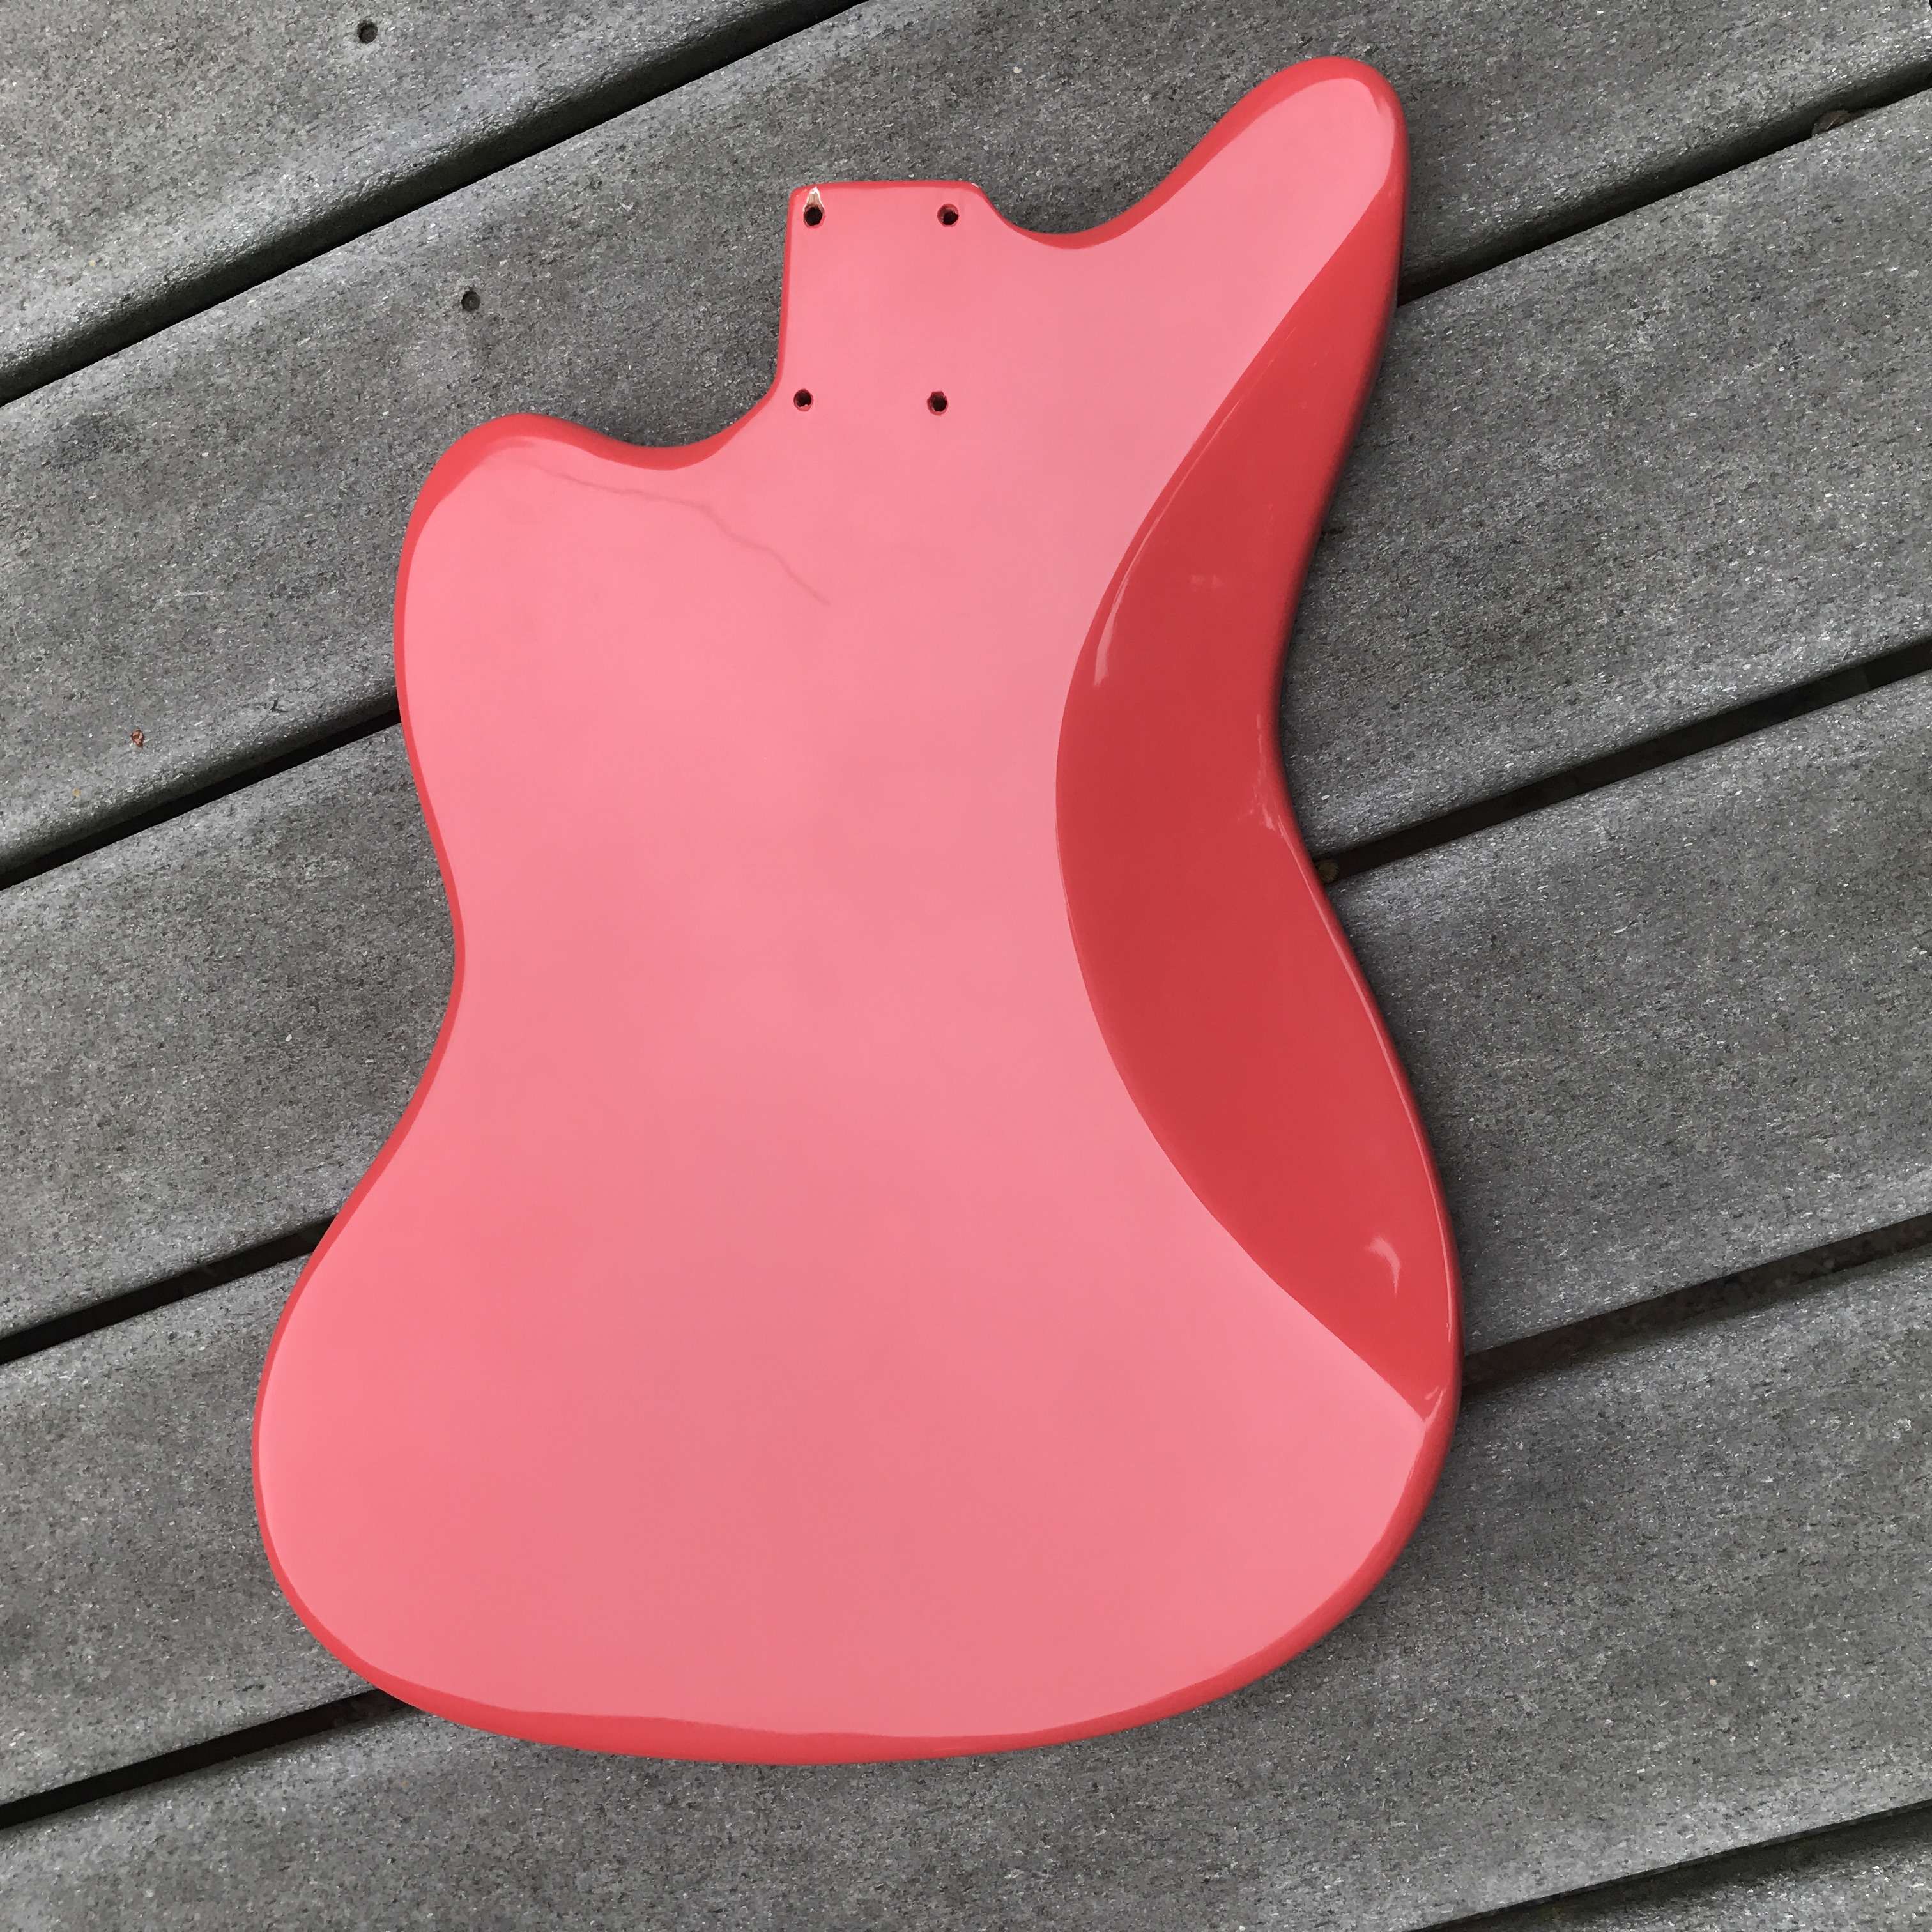
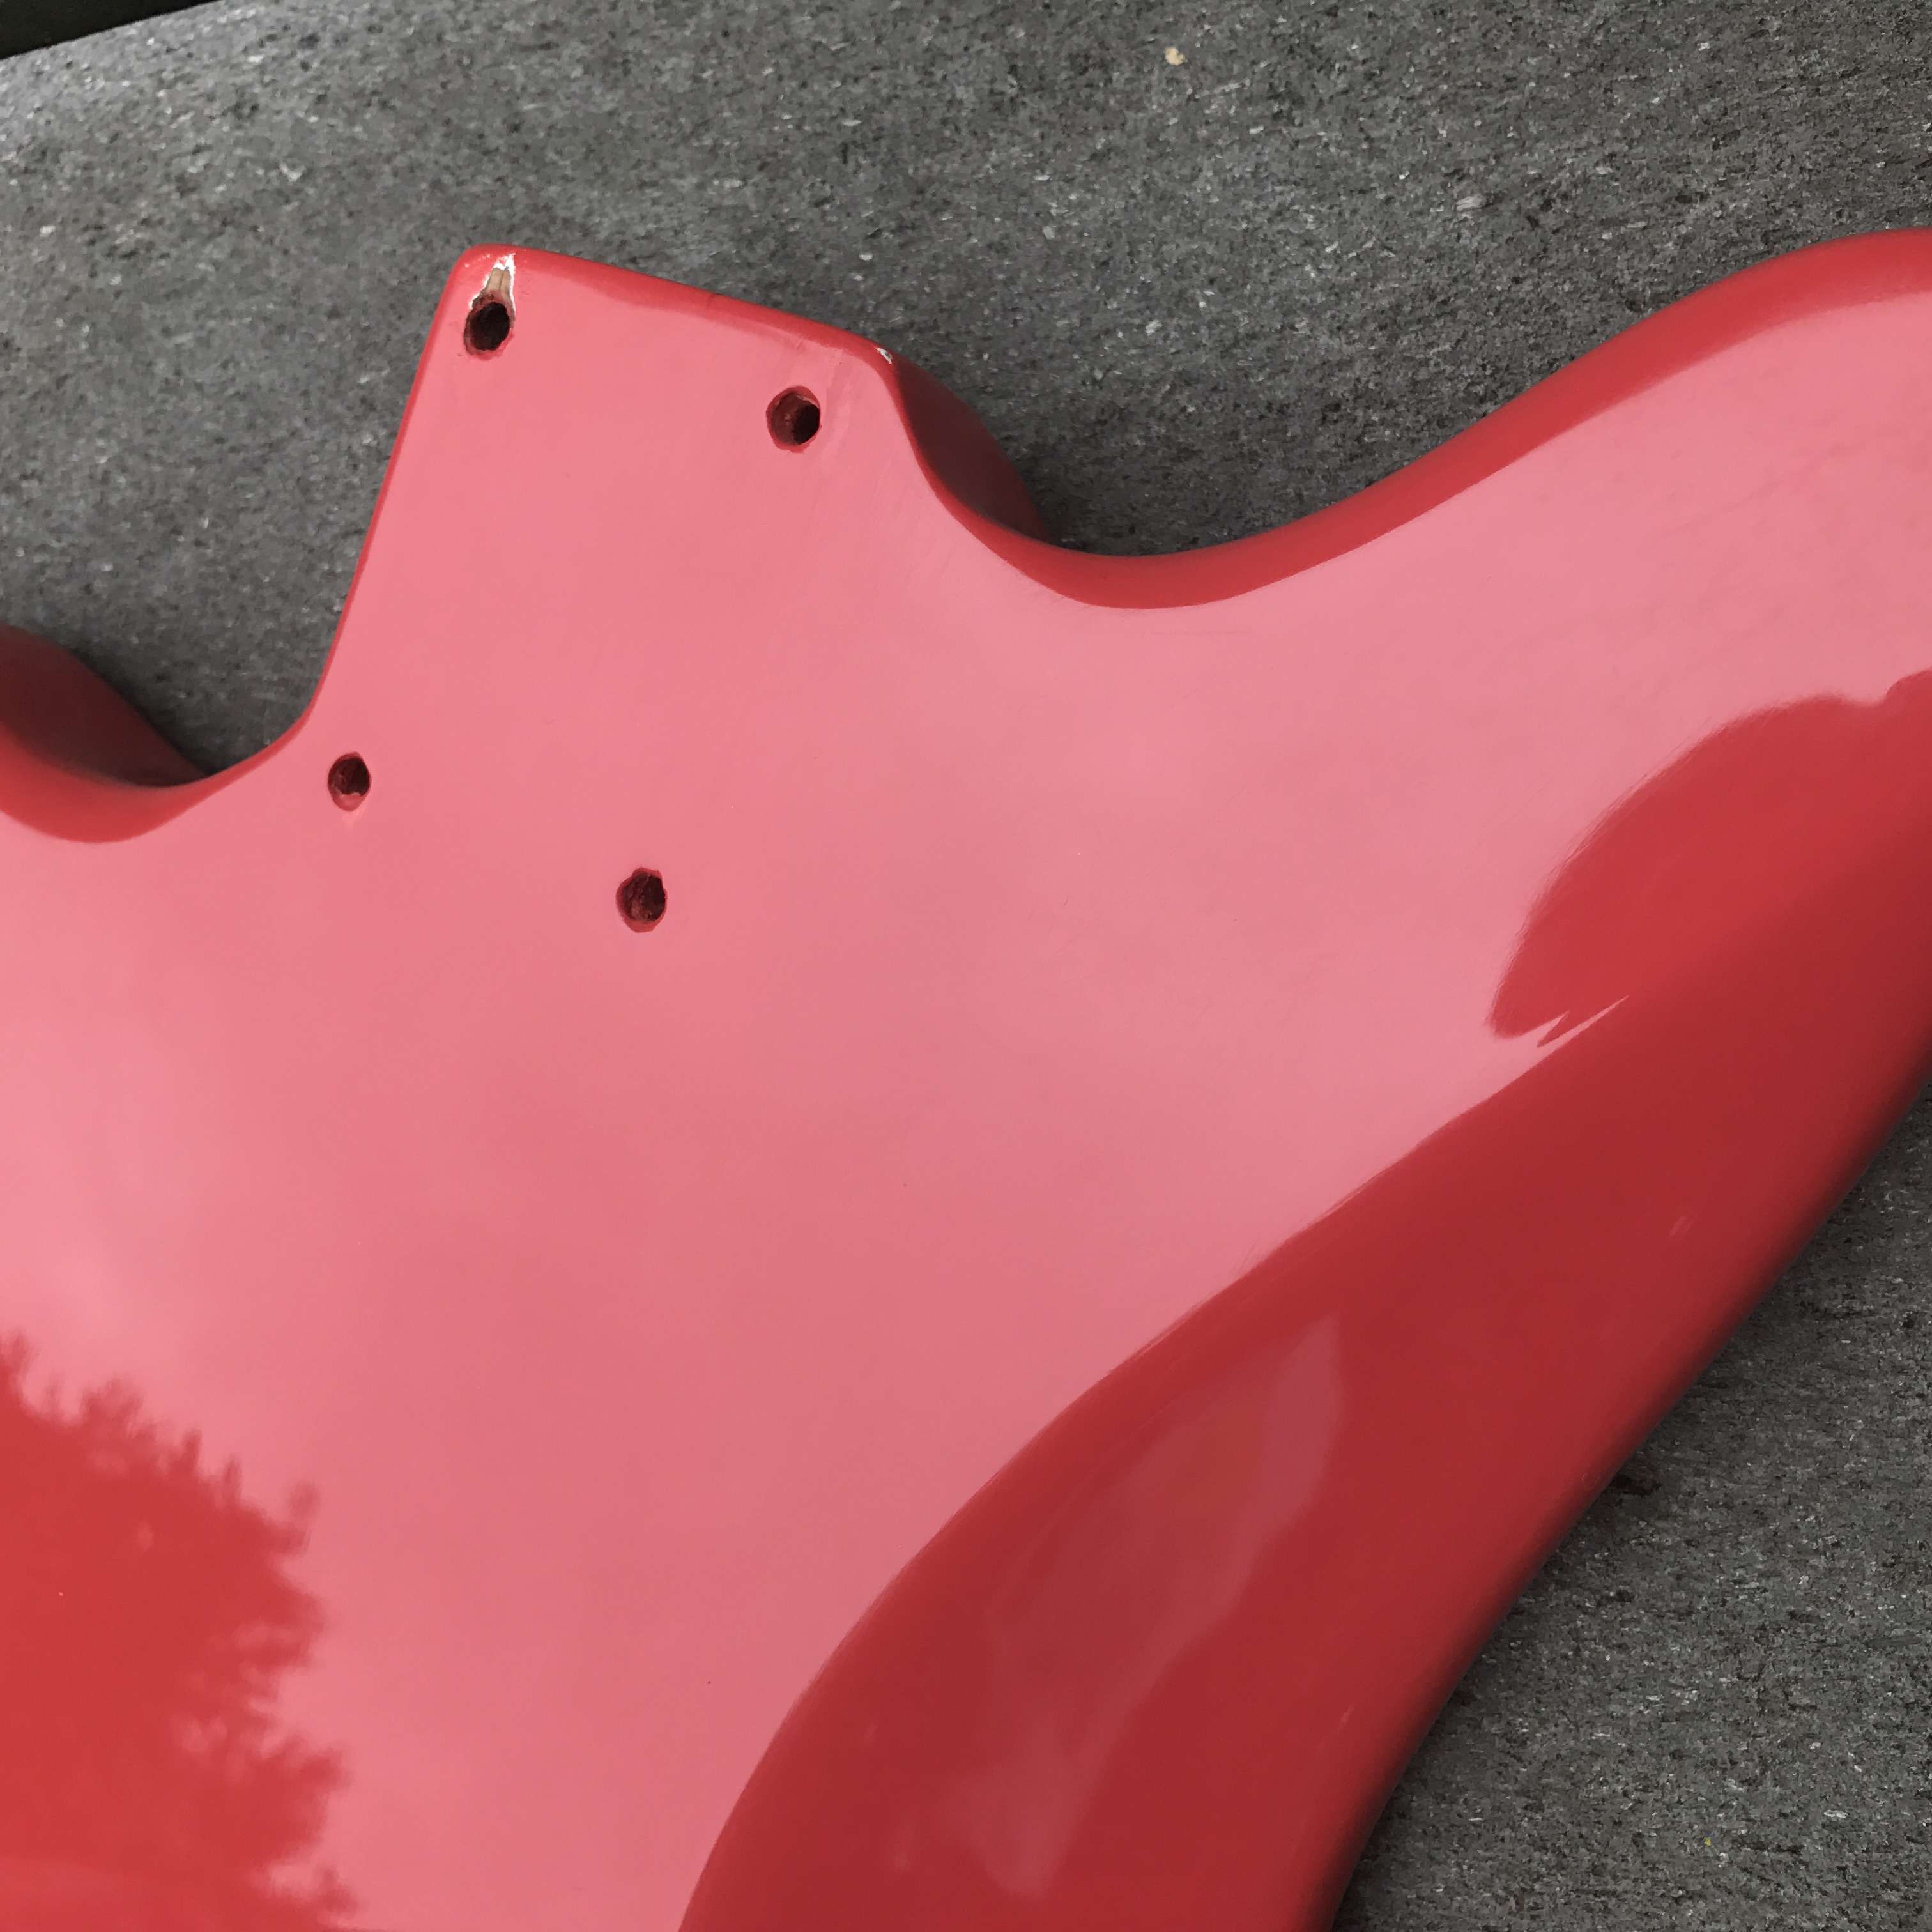
I know it's not perfect, but given where it started I'm pretty happy with the results! It was all done with spray can nitro and hand sanded and polished: no machines used!
Once the neck repair is finished at the luthier, I'll be able to put it back together and give it a whirl. Hopefully I don't have any further issues :-).
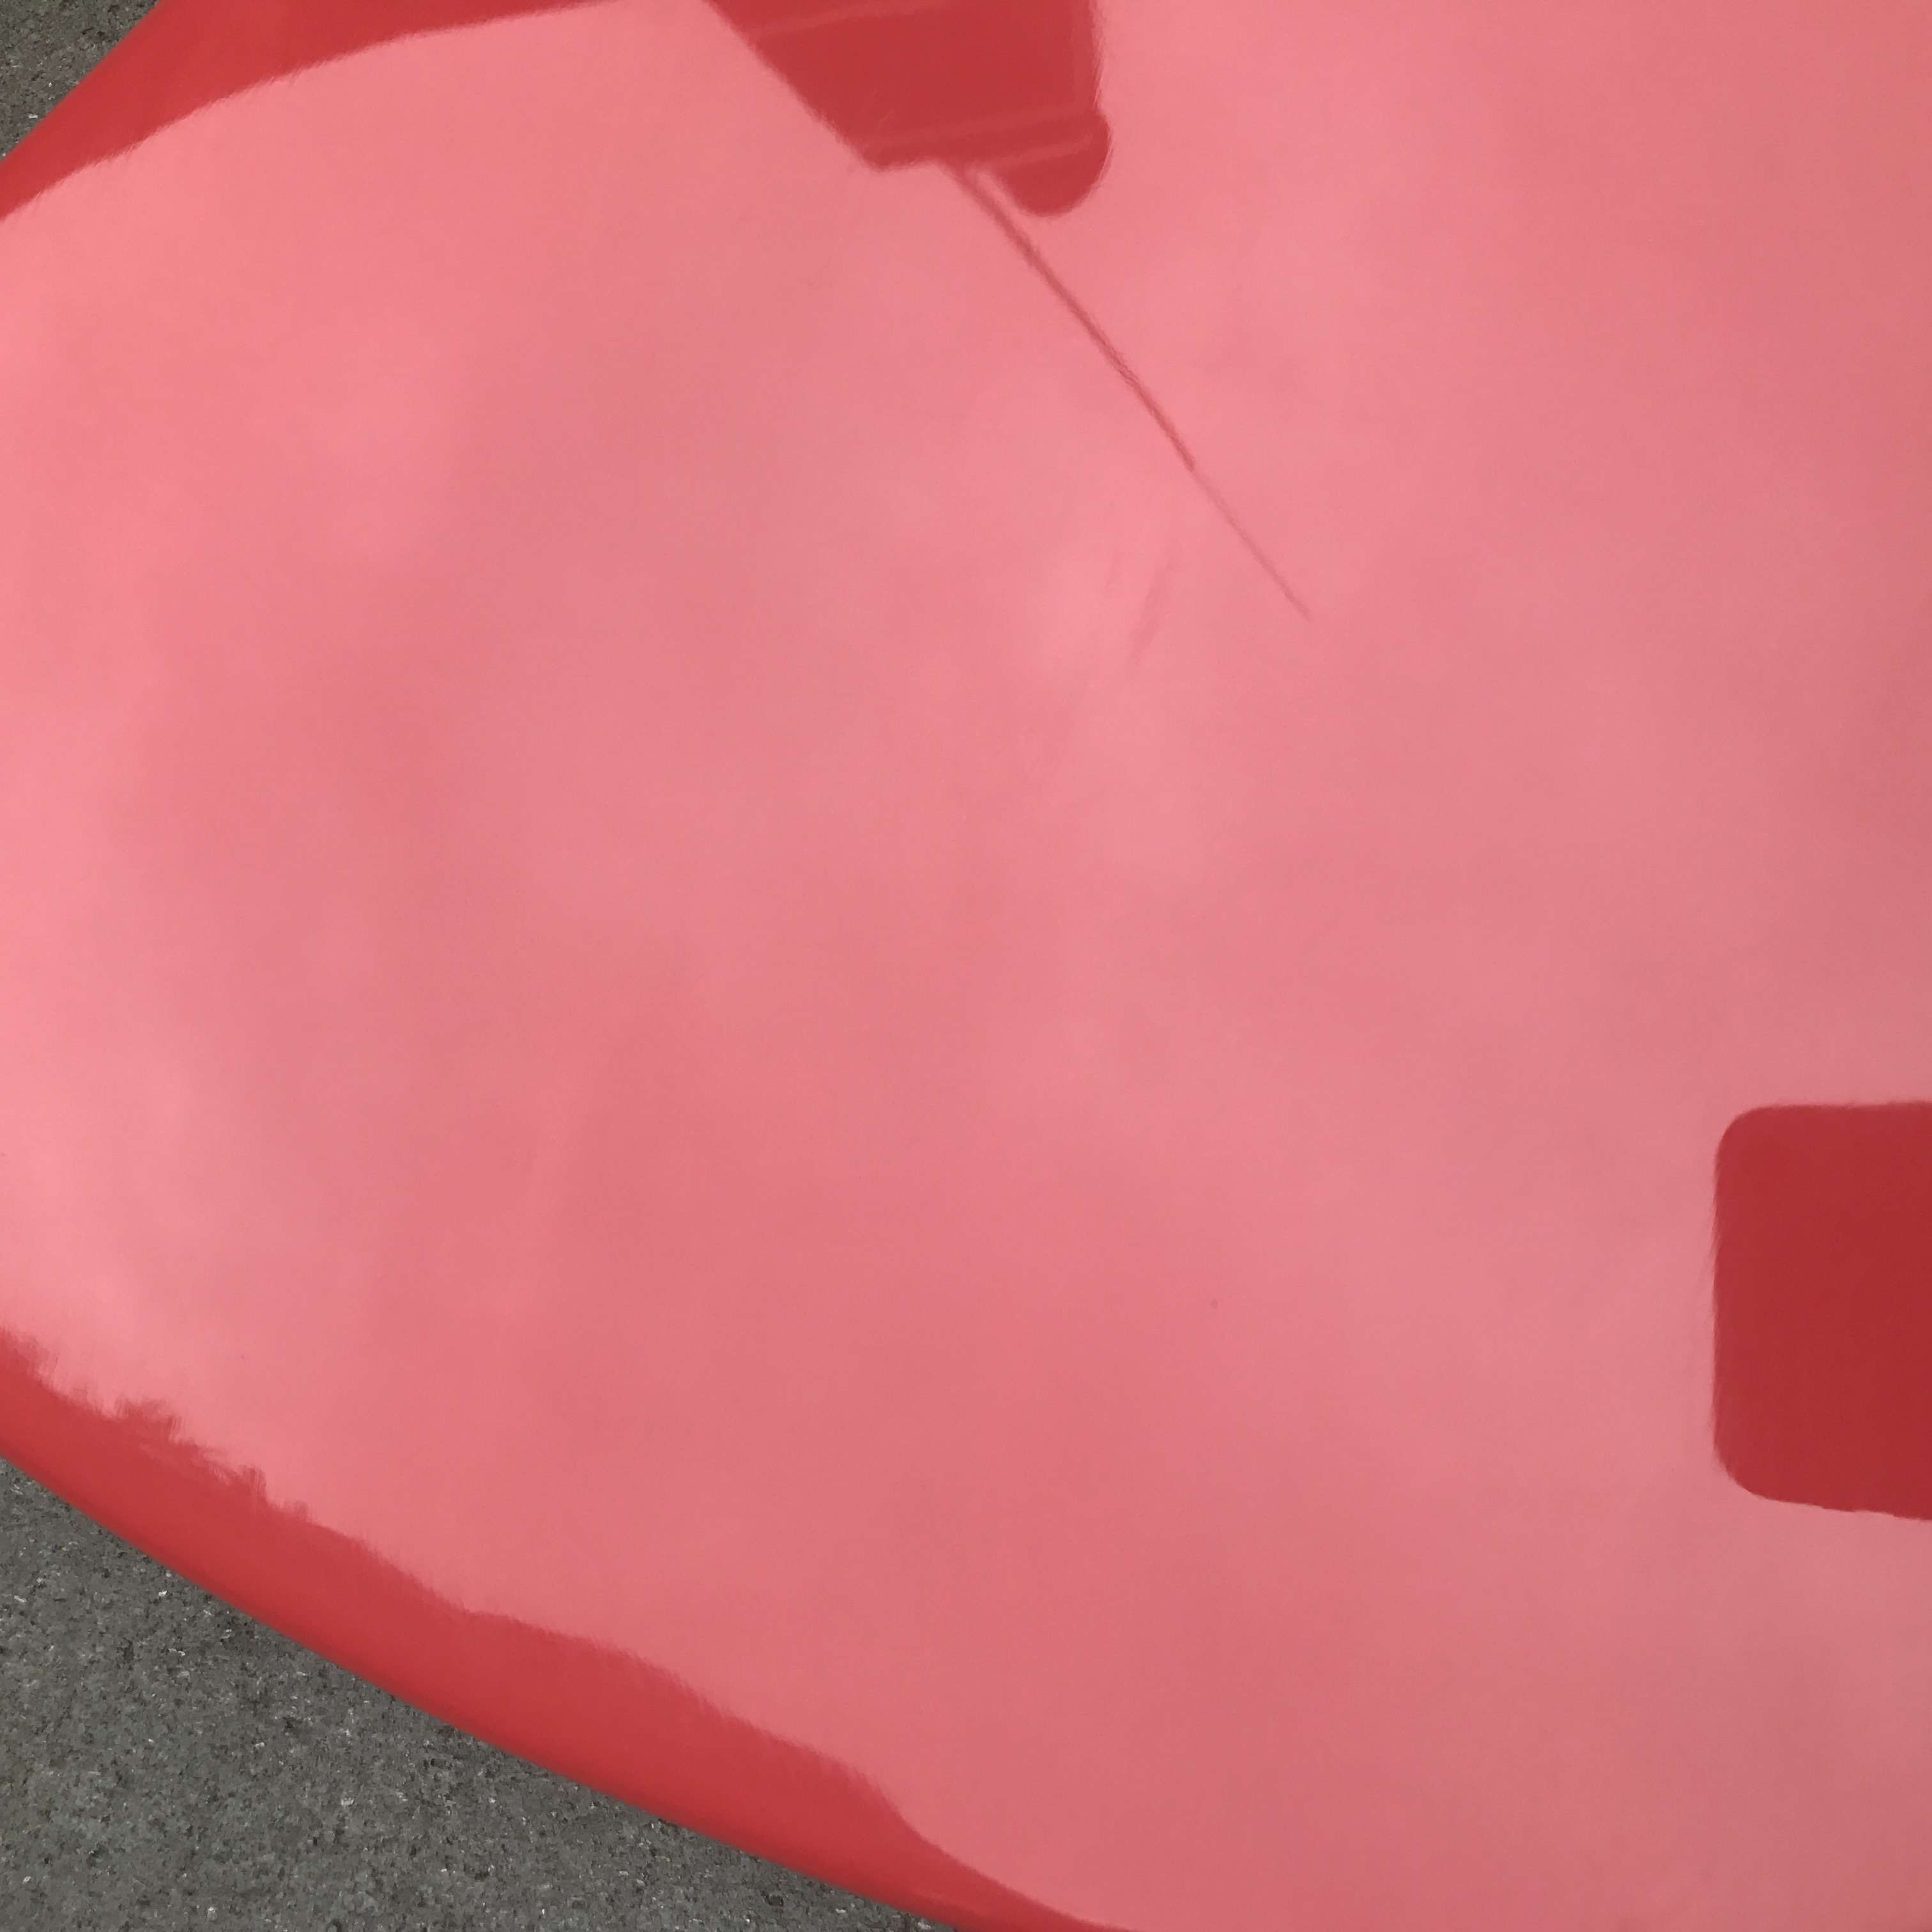
Here's one final shot indoors that better shows the color, although I found it hard to capture this color in pictures: